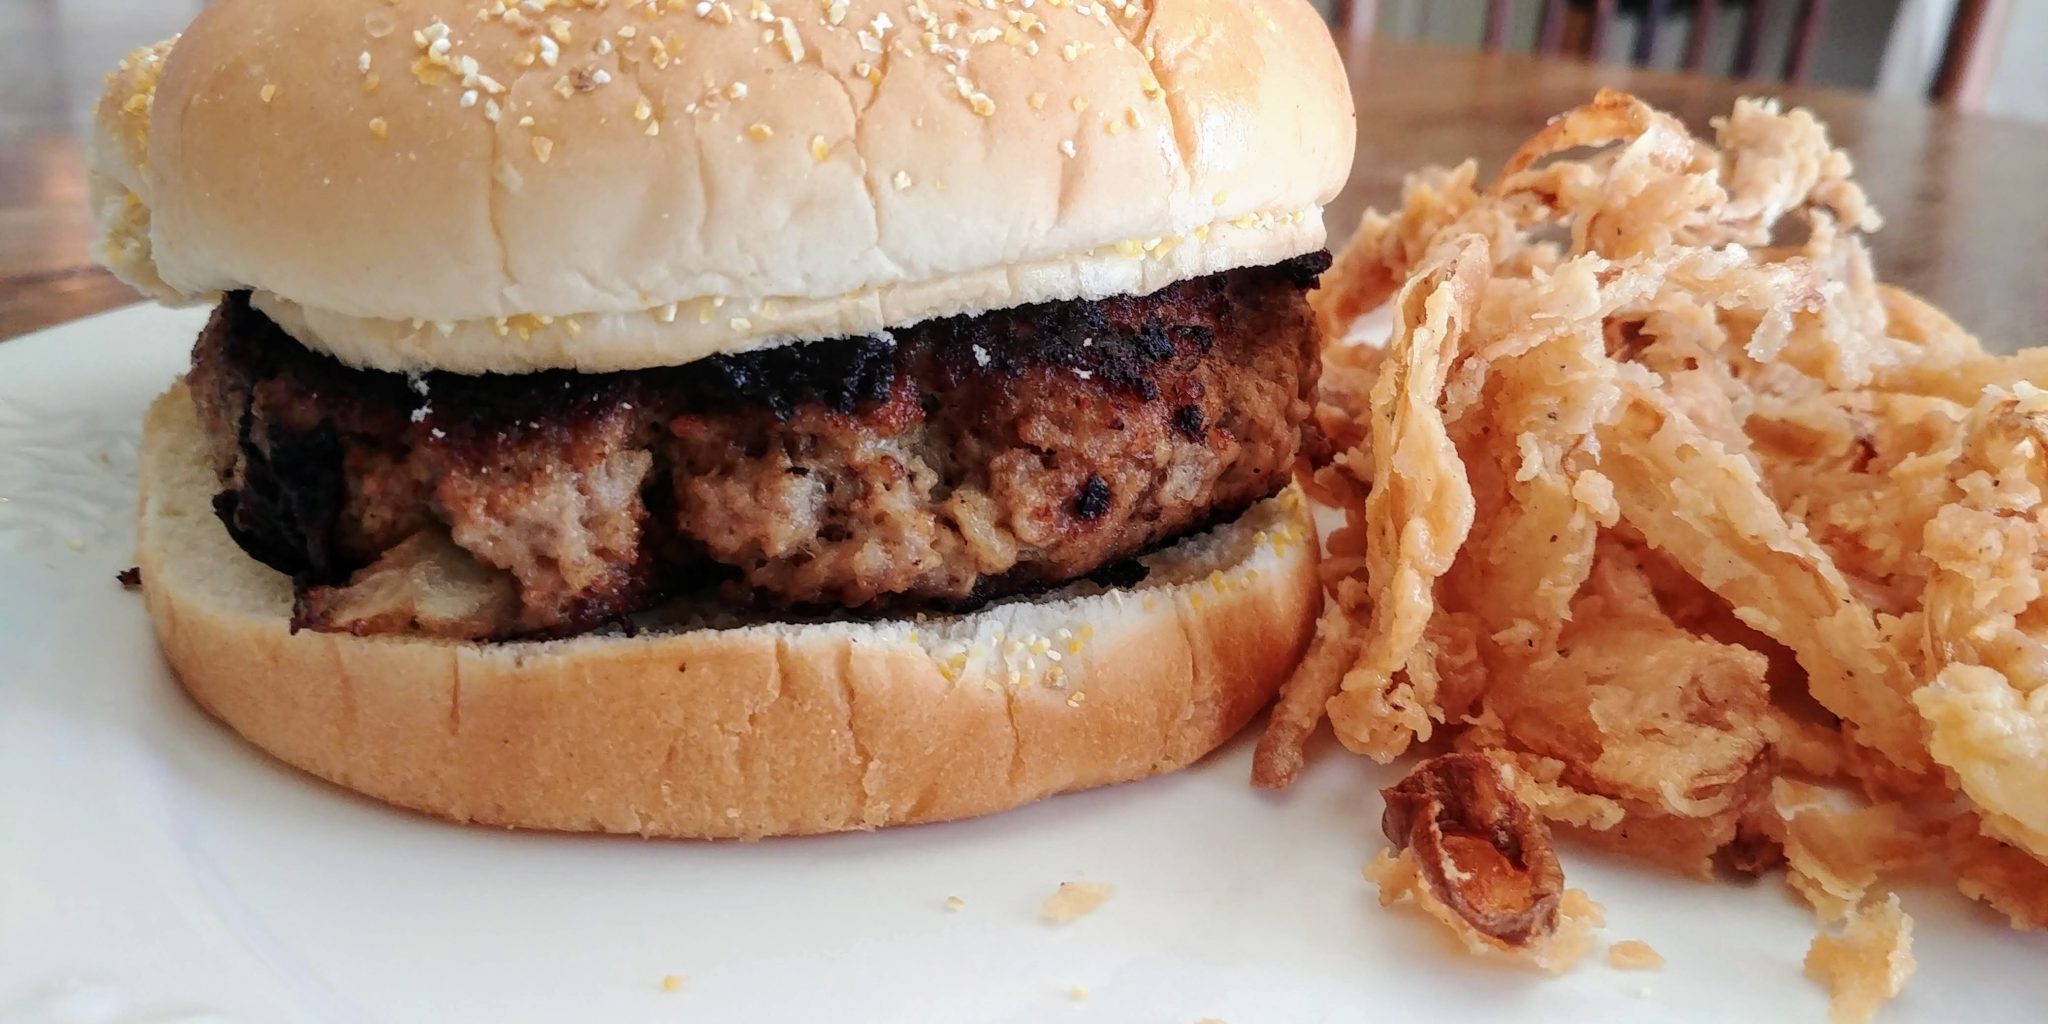
Perfect Turkey Burgers
Well, here we are. I was wishing for Spring. Spring has come. My one complaint right now is that we aren’t having spring-like weather consistently. One day it will be 80 degrees and the next (today for example) it will be in the 50’s and raining. I know, I know. I live in Illinois so what should I expect, right? You just can’t please me sometimes. And, we are all sheltering-in-place here in Illinois so we can’t really go anywhere or do anything that feels like Spring. We can’t gather with family and friends. The world just sucks right now. But, we still have to eat so I am still cooking and baking.
I thought that working from home would afford me more time to write up blog posts but that has not been the case. I keep finding little and big projects that have been ignored for way too long that take up my extra time. I have also been attempting to avoid gaining weight during this crisis. I have not been successful though. Hmmm. Seems like I have more than that one complaint, after all. Oh well.
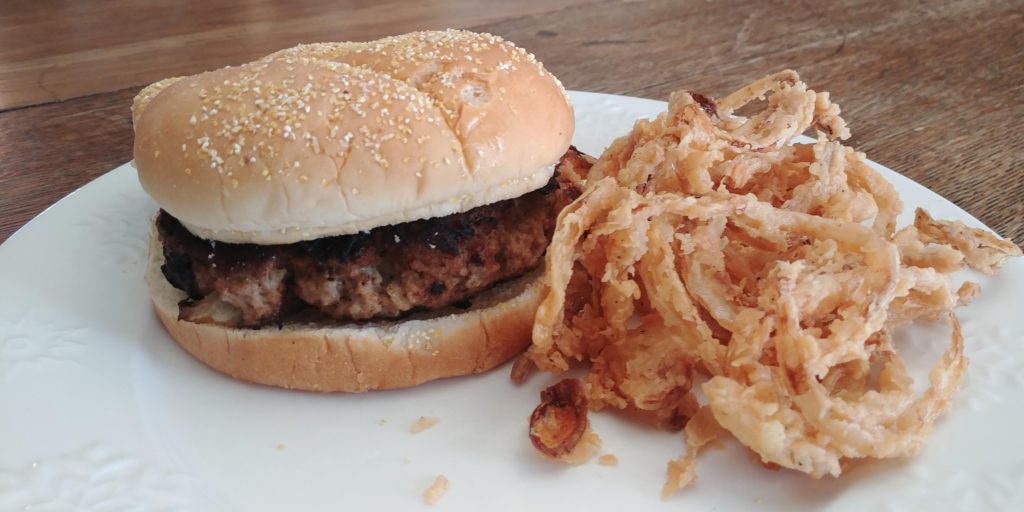
I promised that I would share my favorite turkey burger recipe and I am going to keep my promise. Maybe you will be lucky enough to cook these burgers and eat them on your deck or porch during a nice warm evening. My family has developed an affection for turkey burgers. 10 years ago I never would have thought of feeding my boys anything but big old beef burgers. But, they really like turkey burgers…as long as they are not dry. That is the trick to good turkey burgers…they need to be juicy. I have tried several recipes and this is my favorite. I think that these moist and tender burgers are so good because of the ingredients and the method. Now, I use Greek seasoning for these because I love the flavor but you can use any spice blend that you love. A few years ago my younger son, Alex, got me started using Greek seasoning and I have decided that it is incredibly versatile. I especially like to use it with poultry. The mild flavor of the meat lends itself so nicely to this seasoning. Anyway, you do you and choose your own spice blend or give my favorite a try. You won’t be disappointed. These turkey burgers are a flavorful, tender, juicy and healthier option for burger night. The spice blend can be adjusted to make them your own.
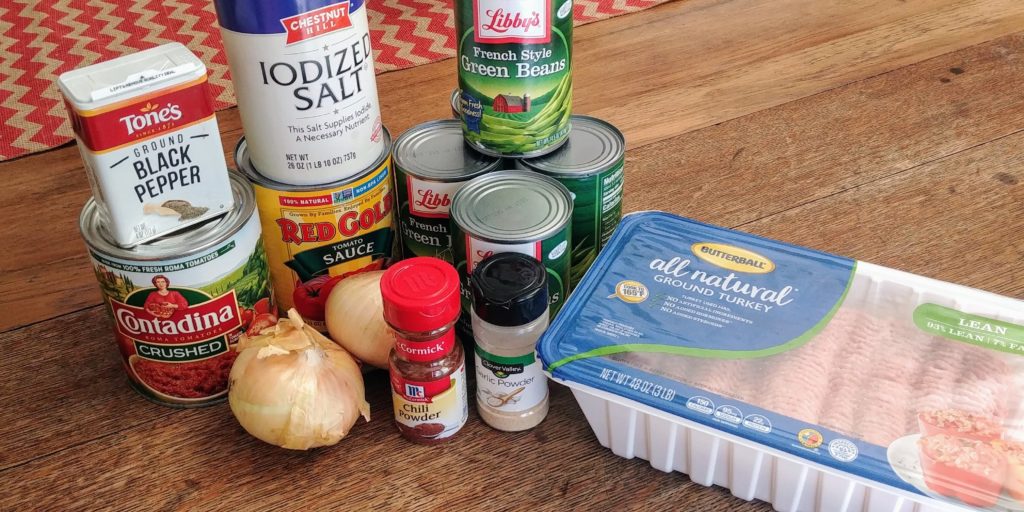
Now, I know that if you are trying to be uber healthy you will want to use the ground turkey that has the least amount of fat. I am all about flavor though so I use the 85% -15% blend. It is juicier and usually a little less expensive. I like to get the big old 3 pound roll of ground turkey. You can use most of it for this recipe and save the rest for the freezer.
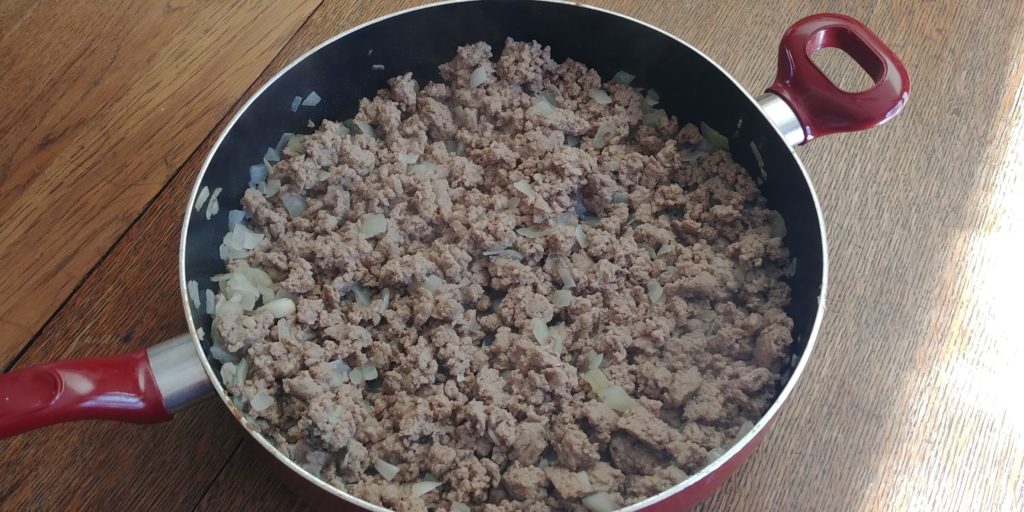
I made 6 burgers this time so these measurements are for a family meal. You can halve these amounts if you don’t need that many. So, for 6 burgers you will need 2 pounds of ground turkey. I know that seems like a lot but one thing to remember is turkey burgers do shrink considerably when cooking. You will also need one sweet onion, minced. I used a smaller one because I didn’t want the onion flavor to overpower the turkey. I also put mine in the food processor to grind it up pretty fine. You will need ⅔ cups (at least) Panko bread crumbs. If your burgers don’t hold together you can add another ¼ cup. You will need a teaspoon of salt and a teaspoon of black pepper. You will need about 1 Tablespoon of Greek seasoning, more or less. I might add a bit more sometimes. Give the spice blend a taste and see how strong it is before you add it to the meat. The only other thing you will need is a bit of vegetable oil for the skillet. I needed about ¼ cup because I was using a very large skillet. You just need enough to coat the bottom of your skillet.
(more…)