Cinco De Mayo Brownies
Hi Everyone! How are all my fellow foodies? Staying dry, I hope. So, I have always heard that April showers bring May flowers. But, here in Illinois, this year April showers brought May showers and May showers brought June showers. It just keeps raining! It’s crazy. The farmers in the family are getting pretty anxious because some crops are not planted yet and others need to be replanted. There are miniature swamps throughout the yard. And, there is flooding in many of our local communities. Fortunately, for us, we live in one of the highest spots in this county and our basement has never leaked. Thank goodness!
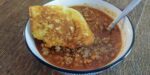
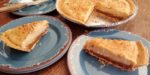
But, anyway, May came and went quickly and now June is almost gone. It seemed quicker than usual this year to me. I think because it was so very busy. May is chockfull of celebrations for this family. We have several birthdays, including mine. There are always graduations because we have such a large family. Mother’s Day, of course, is always celebrated in some way. And, then there is Cinco De Mayo. Now, I have absolutely no Hispanic heritage but I do love Hispanic food. So, Cinco De Mayo seems like a perfect reason to enjoy some really good food and have some fun making it too. I do love to make Mexican food. This year, we did a nacho bar with lots of toppings for blue and regular tortilla chips. I had shredded and seasoned chicken as well as taco-seasoned ground beef. Cody was home and we all loaded up our plates with chips and our favorite toppings and watched baseball while we munched. Then, I made little churro bites by frying up some chunks of leftover pound cake and then coating them with cinnamon and sugar. It was a good, good meal.
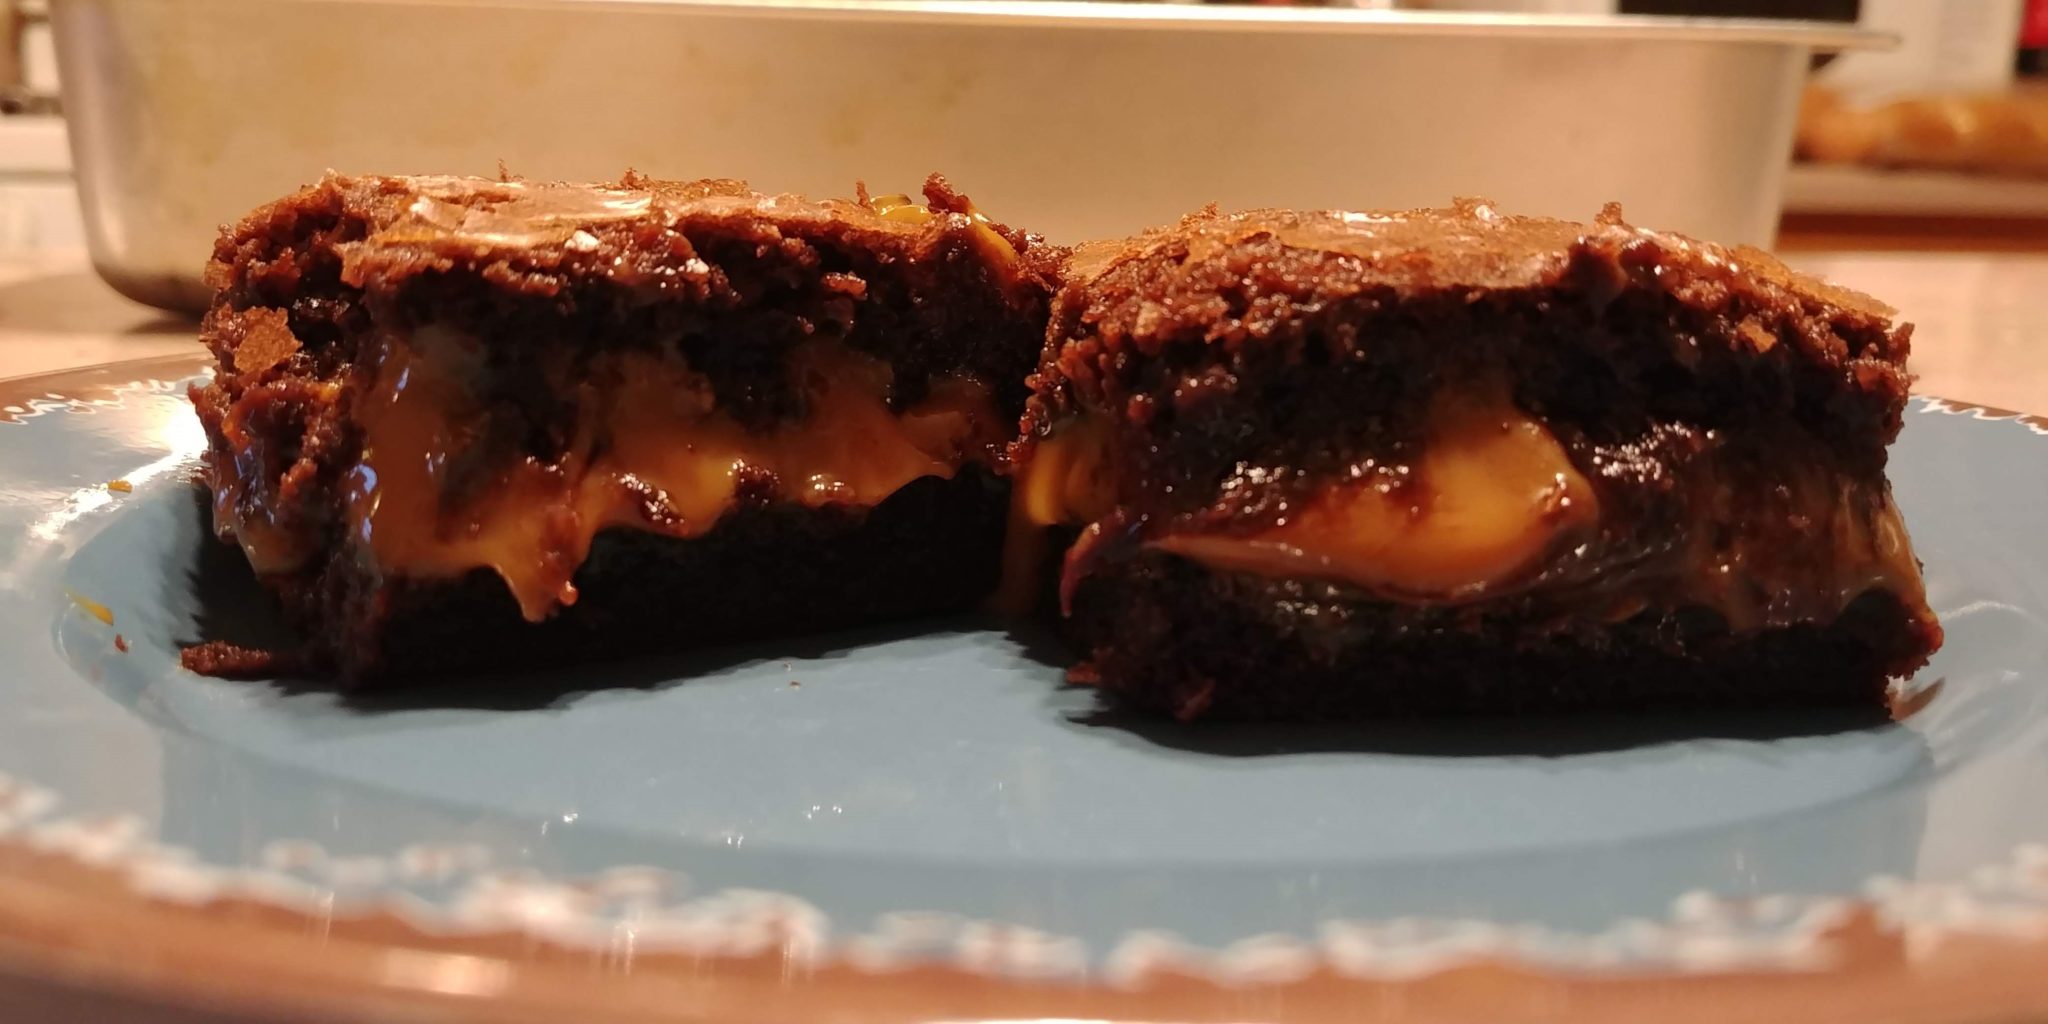
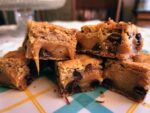
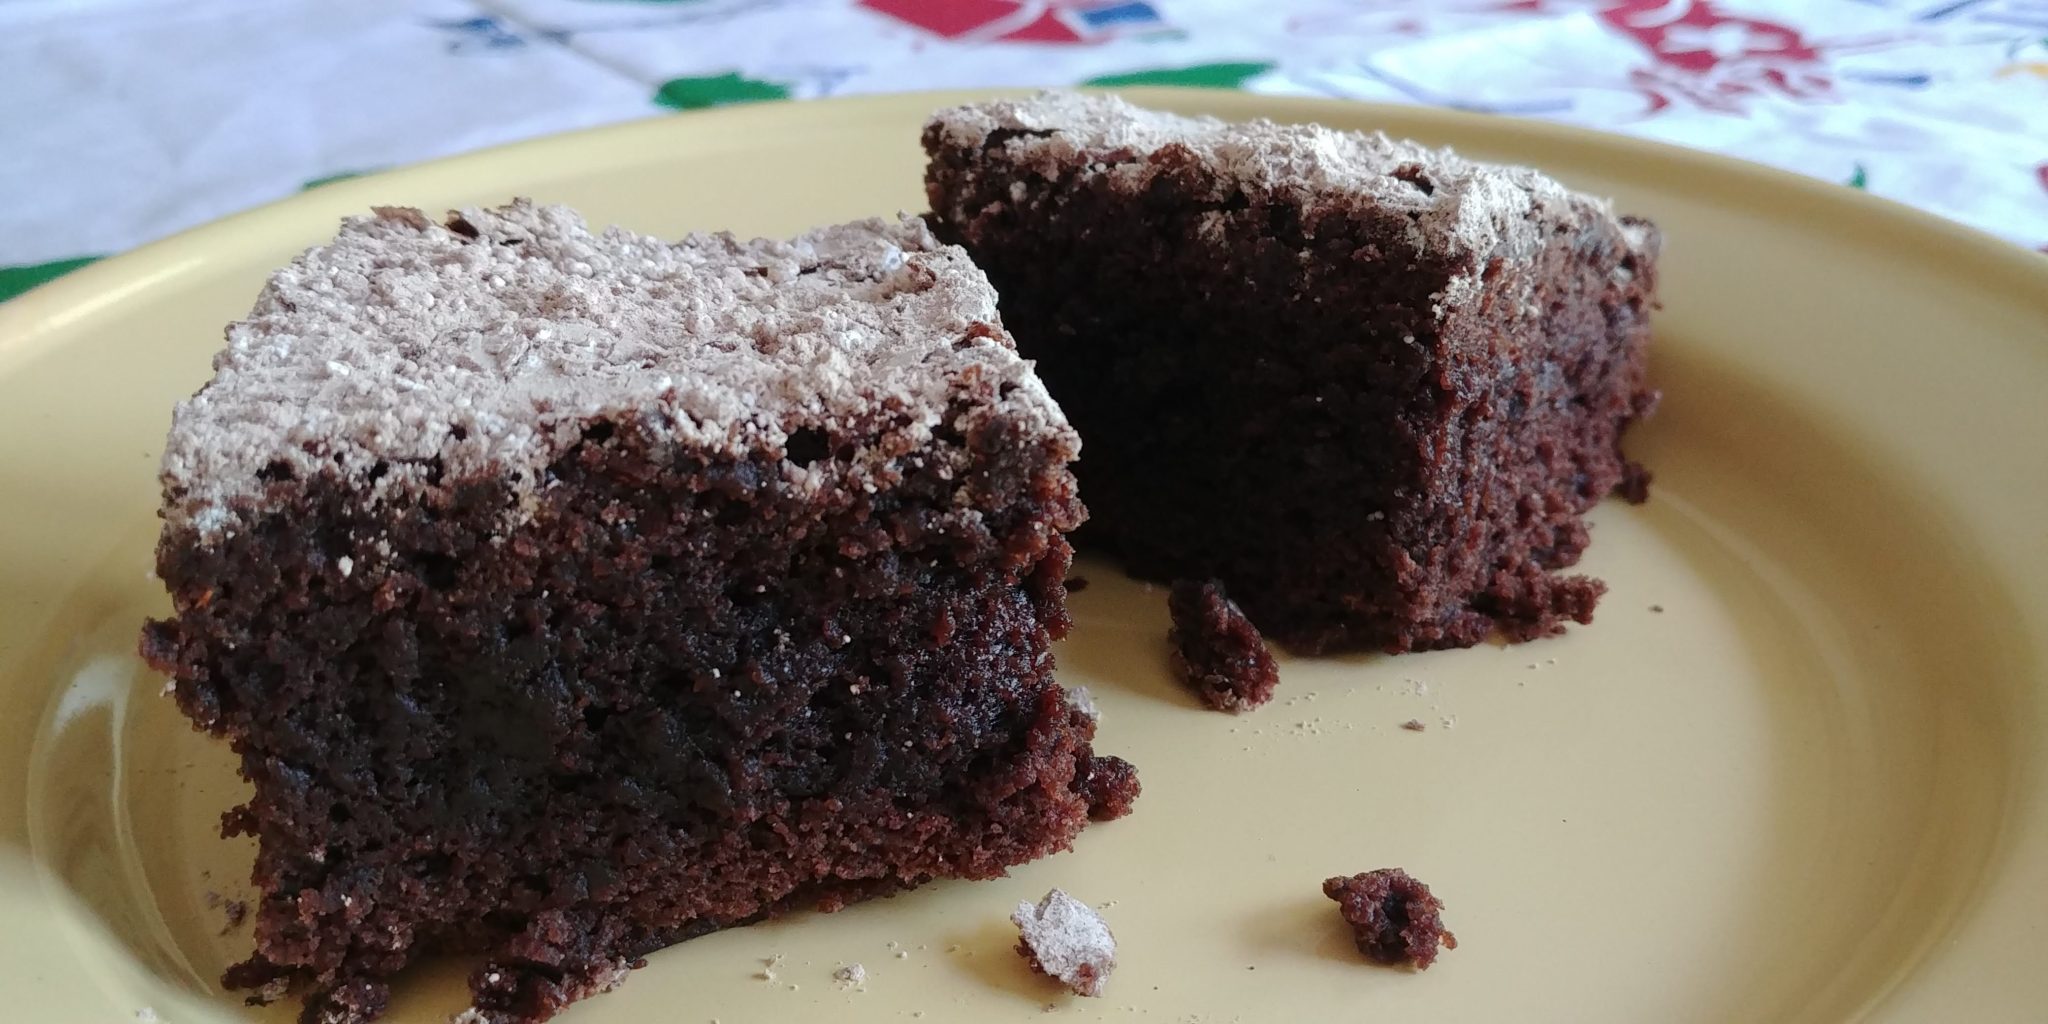
I wanted to take something to work to celebrate a belated Cinco De Mayo so I whipped up some of my Mexican Brownies. I really love this recipe because I use boxed brownie mix and add a few extra special ingredients and end up with a to-die-for spicy brownie. It is super easy and quick and you probably already have the fixins in your pantry. Now, you could make a from-scratch brownie but my family really loves the boxed brownies that I use. I do make them a little differently than it says on the box but I only change the pan size and the baking time. I always, always, always double the recipe so I use 2 boxes of the mix and then double up on the additional ingredients. I bake them in a 9 X 13 pan for 40 – 45 minutes. The result is a thick and gooey brownie with a dense fudge-like center and a little crunch on the edges.
(more…)