
Butter Pecan Cake Mix Cookies
Hello everyone! Happy March! I do hope that you are all beginning to see signs of spring. The winter has been so very long. I have daffodils and hyacinths blooming outside of my bedroom window. Of course, it is also supposed to snow within the next day or so. Such is spring in Illinois. One day it is 70 degrees and the next day it snows.
It is during the long cold days that I often think about summer days of the past. I love summer. Some of my favorite things happen in summer and many of my best and happiest memories are from warm days and nights. I have always adored swimming. I could not even guess how many hours I have spent in a pool. When I was a pre-teen and teen, I would go occasionally to my cousin Janet’s house to spend the day in her family’s pool. It was an above ground pool and not at all large but we had so much fun. My Aunt Eileen would always have a snack waiting for us and often it would be butter pecan cake. I normally do not love a dessert unless it is chocolate but that cake was fabulous. I have never found another to match it. Janet passed away many years ago and Aunt Eileen passed away this past year. I have considered asking if anyone in the family has the recipe.
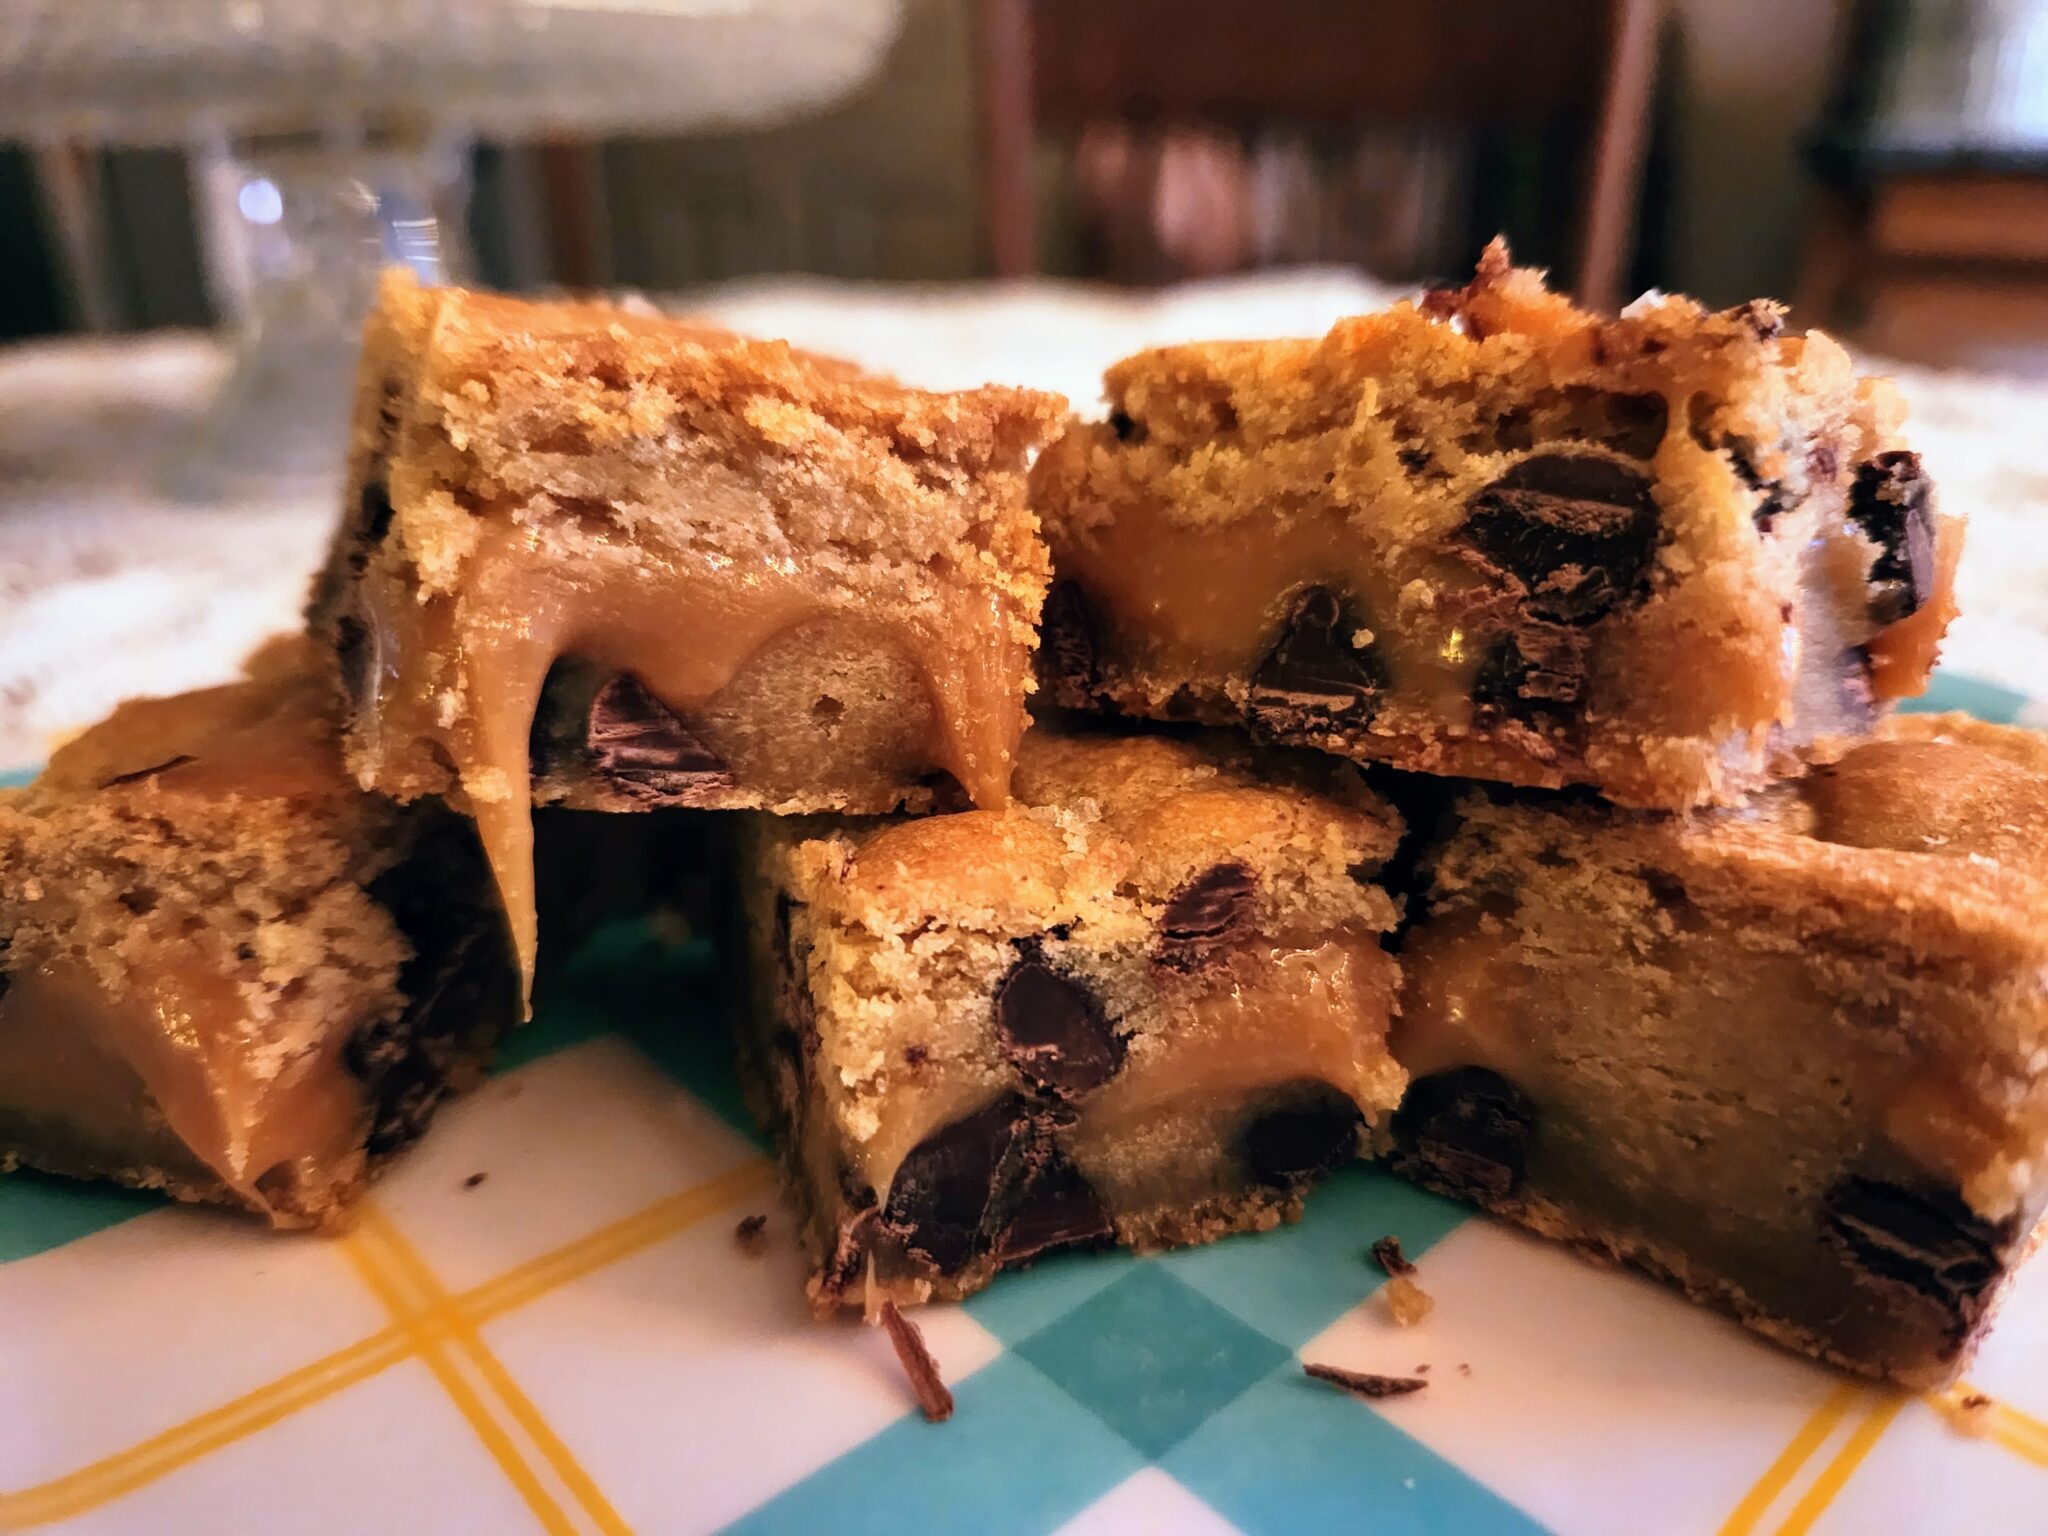
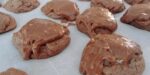
The recipe that I want to share with you today reminds me of that delicious cake. These cookies do in fact begin with a butter pecan cake mix with some other yummy additions. They are very moist and keep well for several days. I always double this recipe because they disappear quickly. I will be giving you the recipe for a single batch today. The measurements are easily doubled.
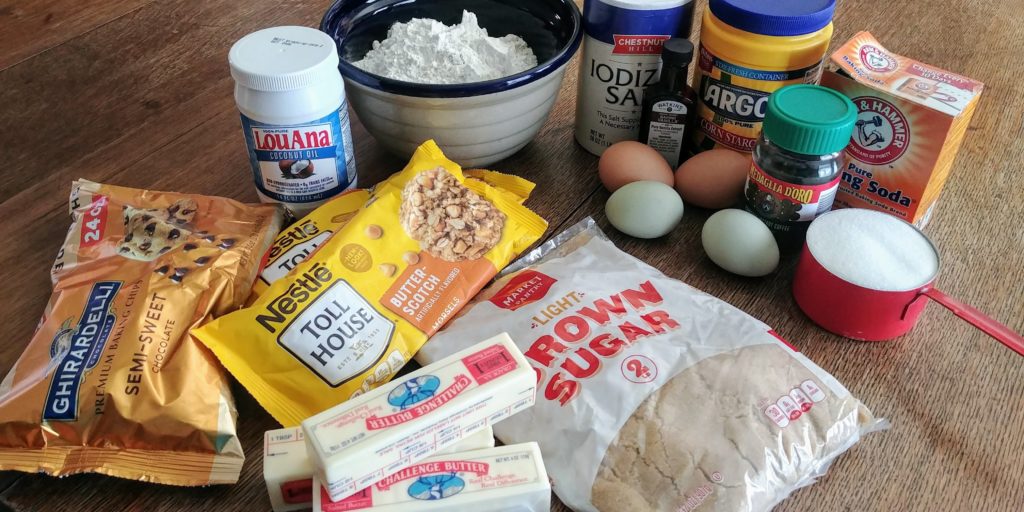
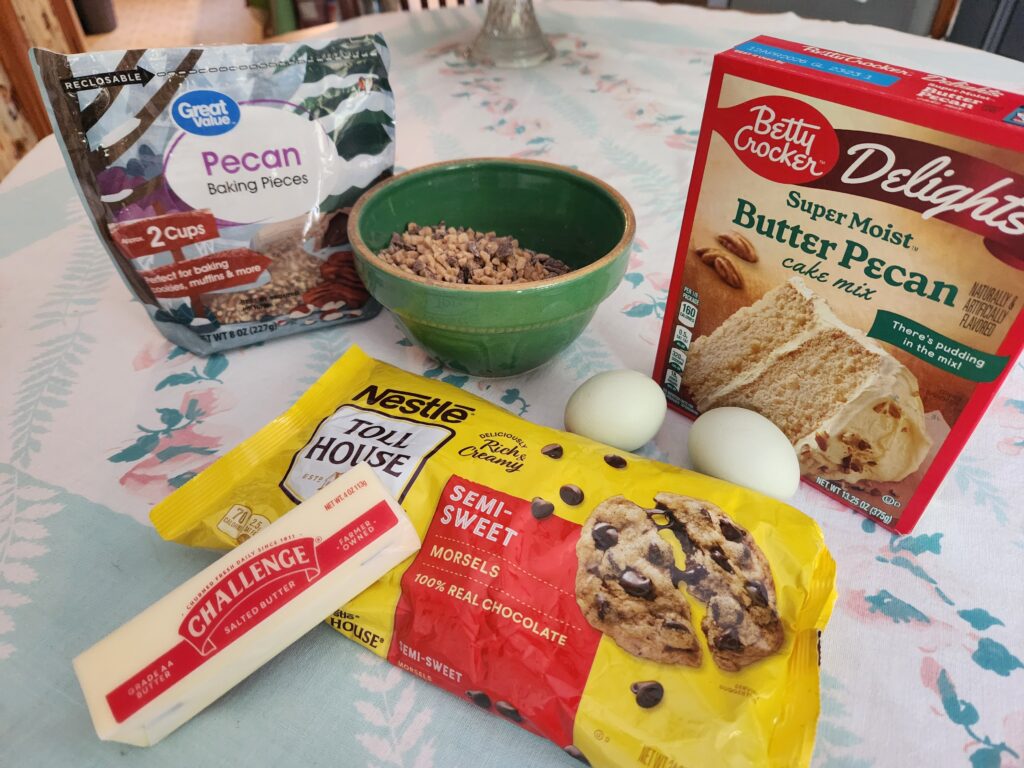
You will need a butter pecan cake mix. When I developed this recipe the cake mix that I used was 15.25 oz but, yet again, the cake mixes have become smaller. Now that same brand is 13.25 oz. If the box that you purchase is smaller than 15.25 oz., you can add about ¼ cup of flour or you can add the same amount of cake mix from another box of butter pecan or yellow. The recipe still works without the addition but the cookies may be slightly flatter.
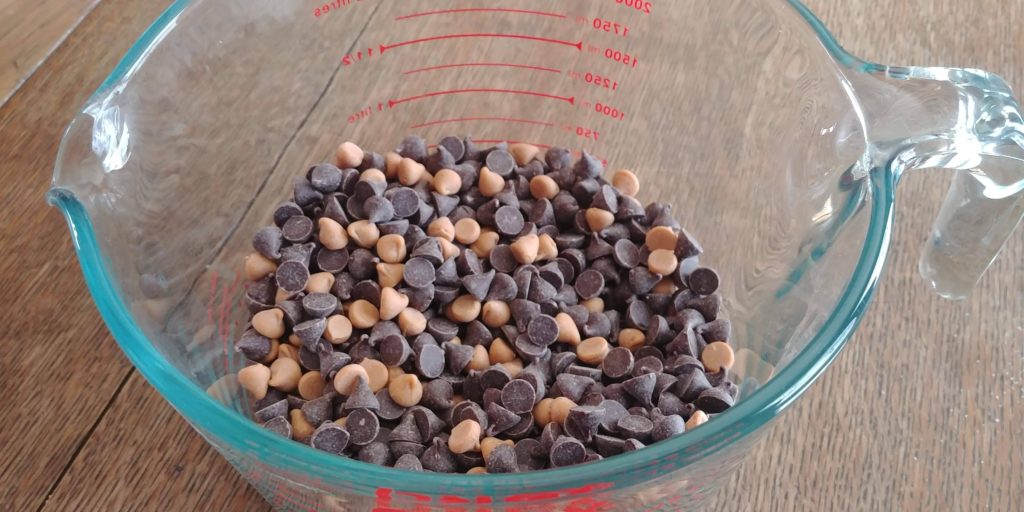
You will also need ½ cup (1 stick) of salted butter, melted and slightly cooled. You want to cool it a little so that you do not cook the eggs. Speaking of eggs, you will need 2 large ones. You will need 1 cup of semi-sweet chocolate chips and 1 cup of finely chopped pecans plus 1 cup of toffee bits. You can use the bits of brickle type of toffee bits or the bits that have chocolate coating.
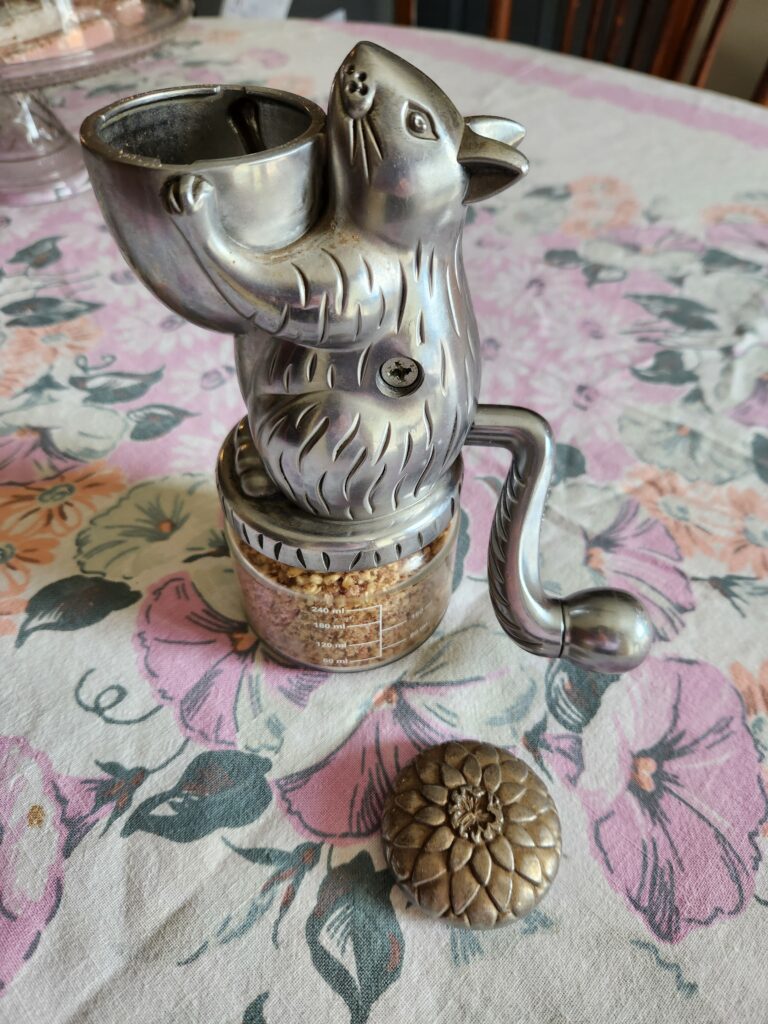
I have to tell you about my method for chopping pecans. I have the cutest nut grinder ever. She is shown in the picture below and her name is Hazel. Get it? Hazel…nuts…hazelnuts…bwahahaha. Ok, I’m weird, I know.
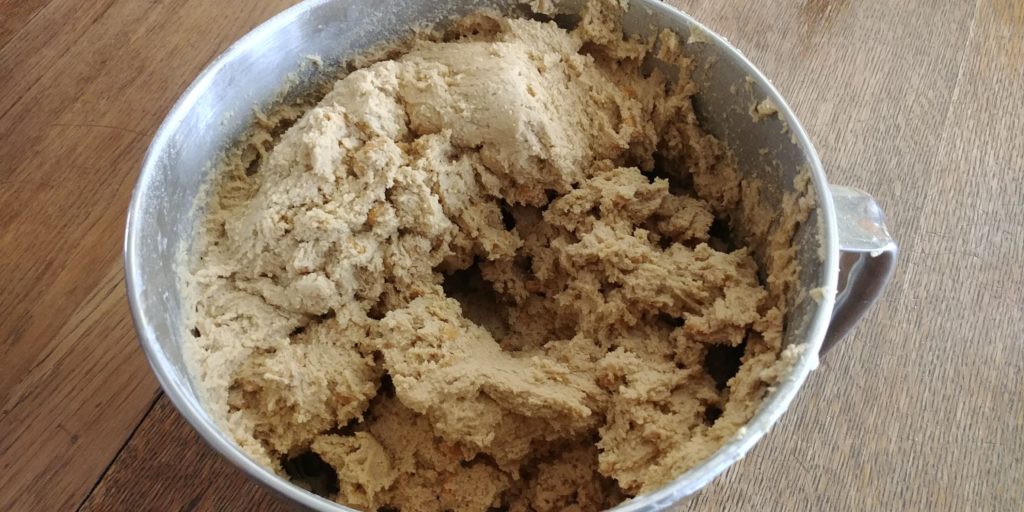
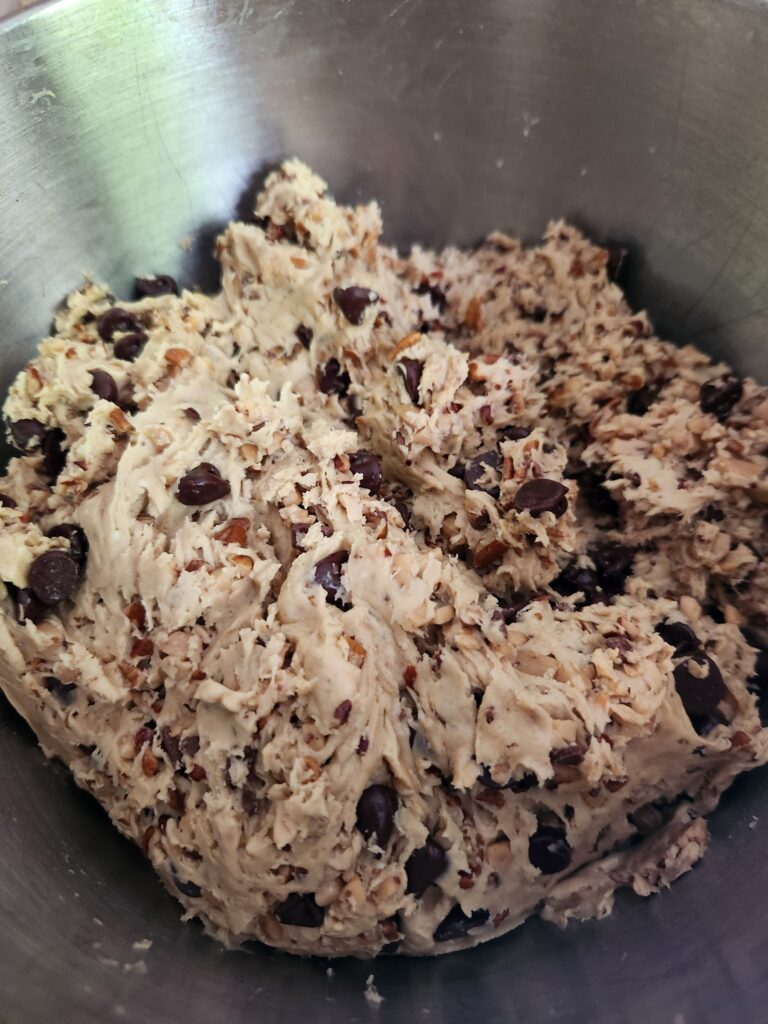
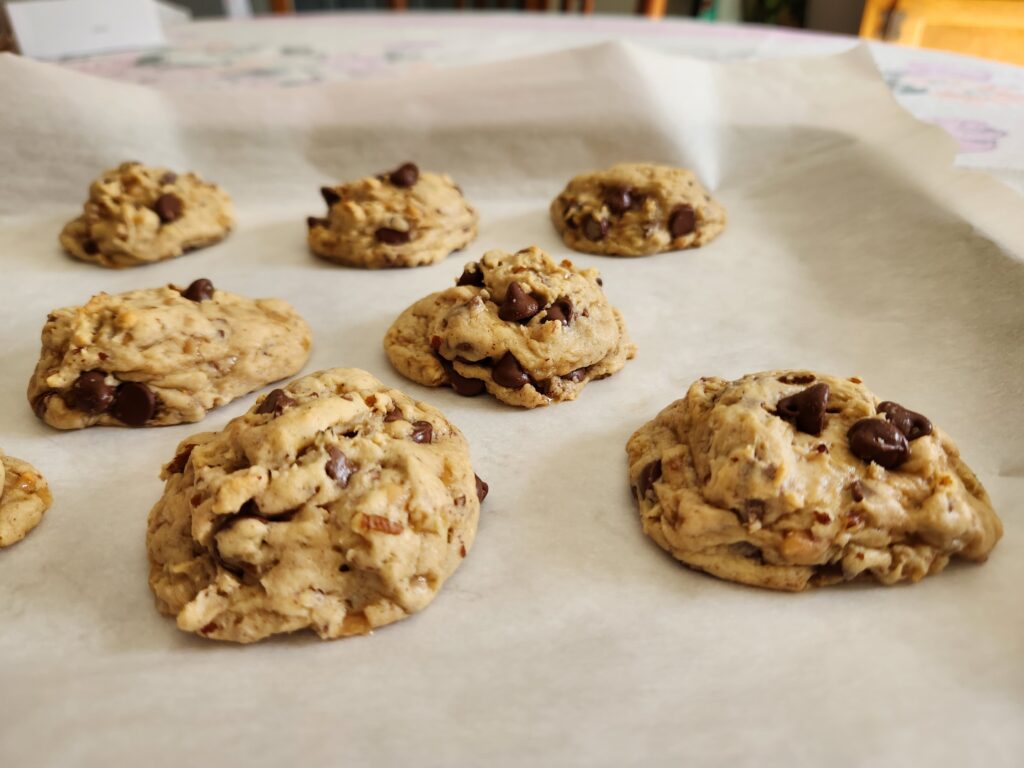
Now for making these cookies. Mix the cake mix, melted and cooled butter, and the eggs together until combined well. This should only take a minute or so but make sure to scrape the sides of the bowl a couple of times. If the dough seems too soft at this time you should go ahead and mix in the extra cake mix or flour now. By too soft, I mean if it does not hold its shape or stick to the beaters without dripping off. Stir in the semi-sweets, pecans and toffee bits. The dough will be very thick at this point. Cover the dough and chill for 1 hour.
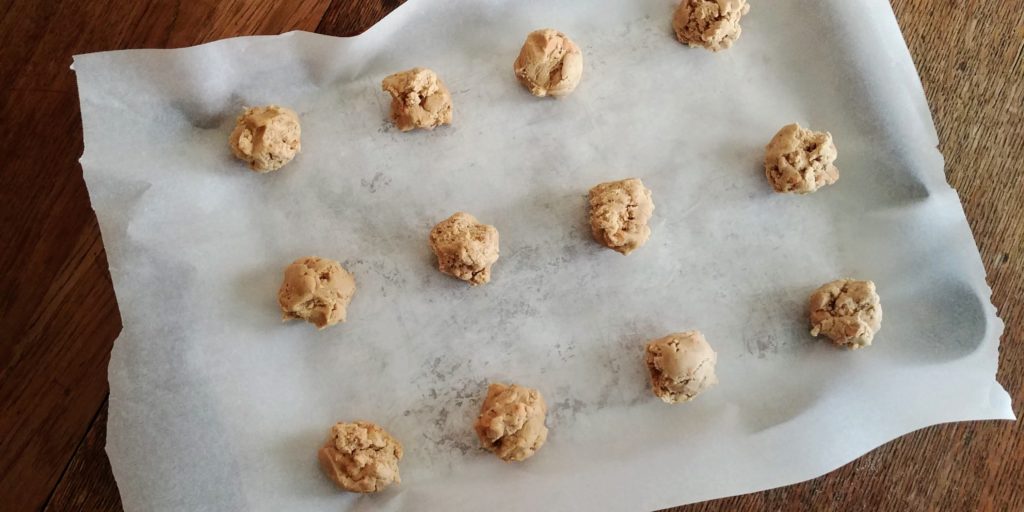
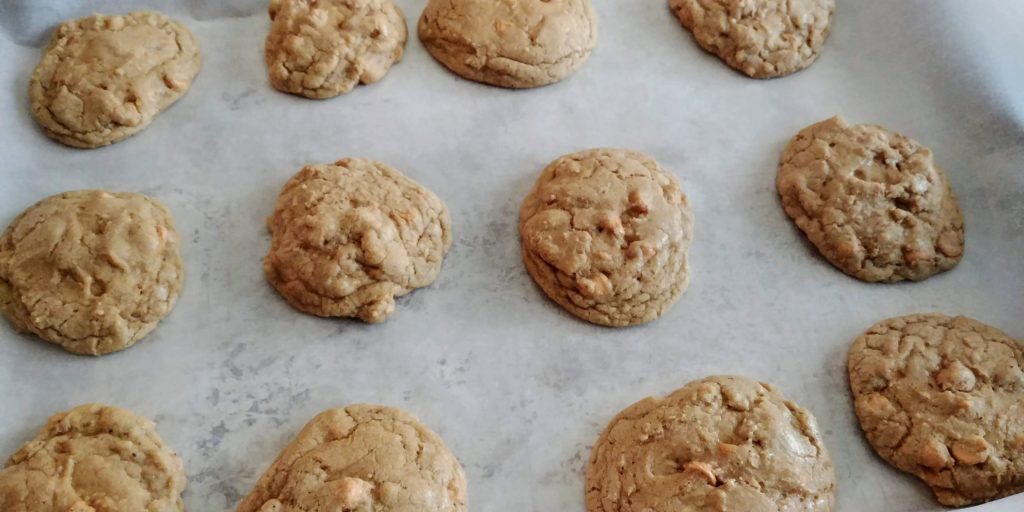
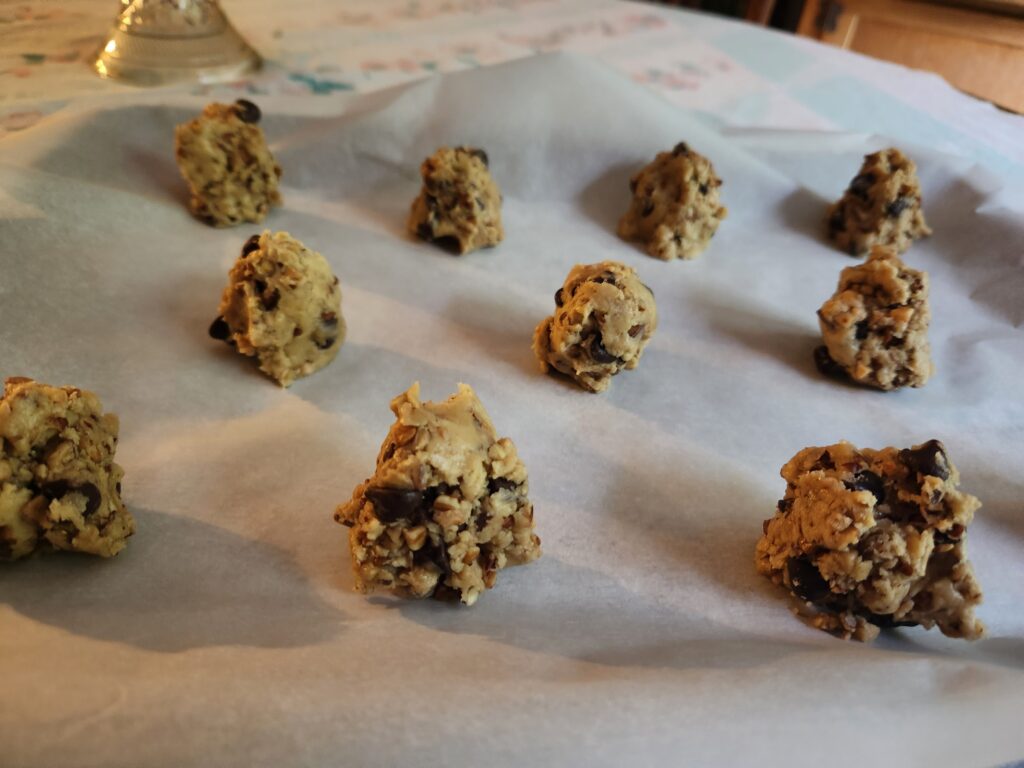
When the hour is up, preheat the oven to 365 degrees and line your cookie sheets with parchment paper. Drop heaping tablespoons of dough onto the cookie sheet, using your fingers to make the dough balls kind of tall. This will ensure that the cookies stay rather thick and puffy instead of flattening out. Bake the cookies for 9 to 10 minutes. I bake mine for 9 minutes. They will look rather light when removed from the oven but will continue to bake a bit while cooling. Leave them on the cookie sheet for about 5 minutes and then remove to a wire rack or board to cool completely.
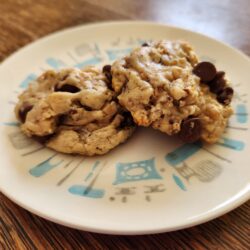
The cookies keep very well in an airtight container at room temperature for several days. I have frozen these cookies once they are completely cooled using parchment paper to separate the layers and it worked quite well.
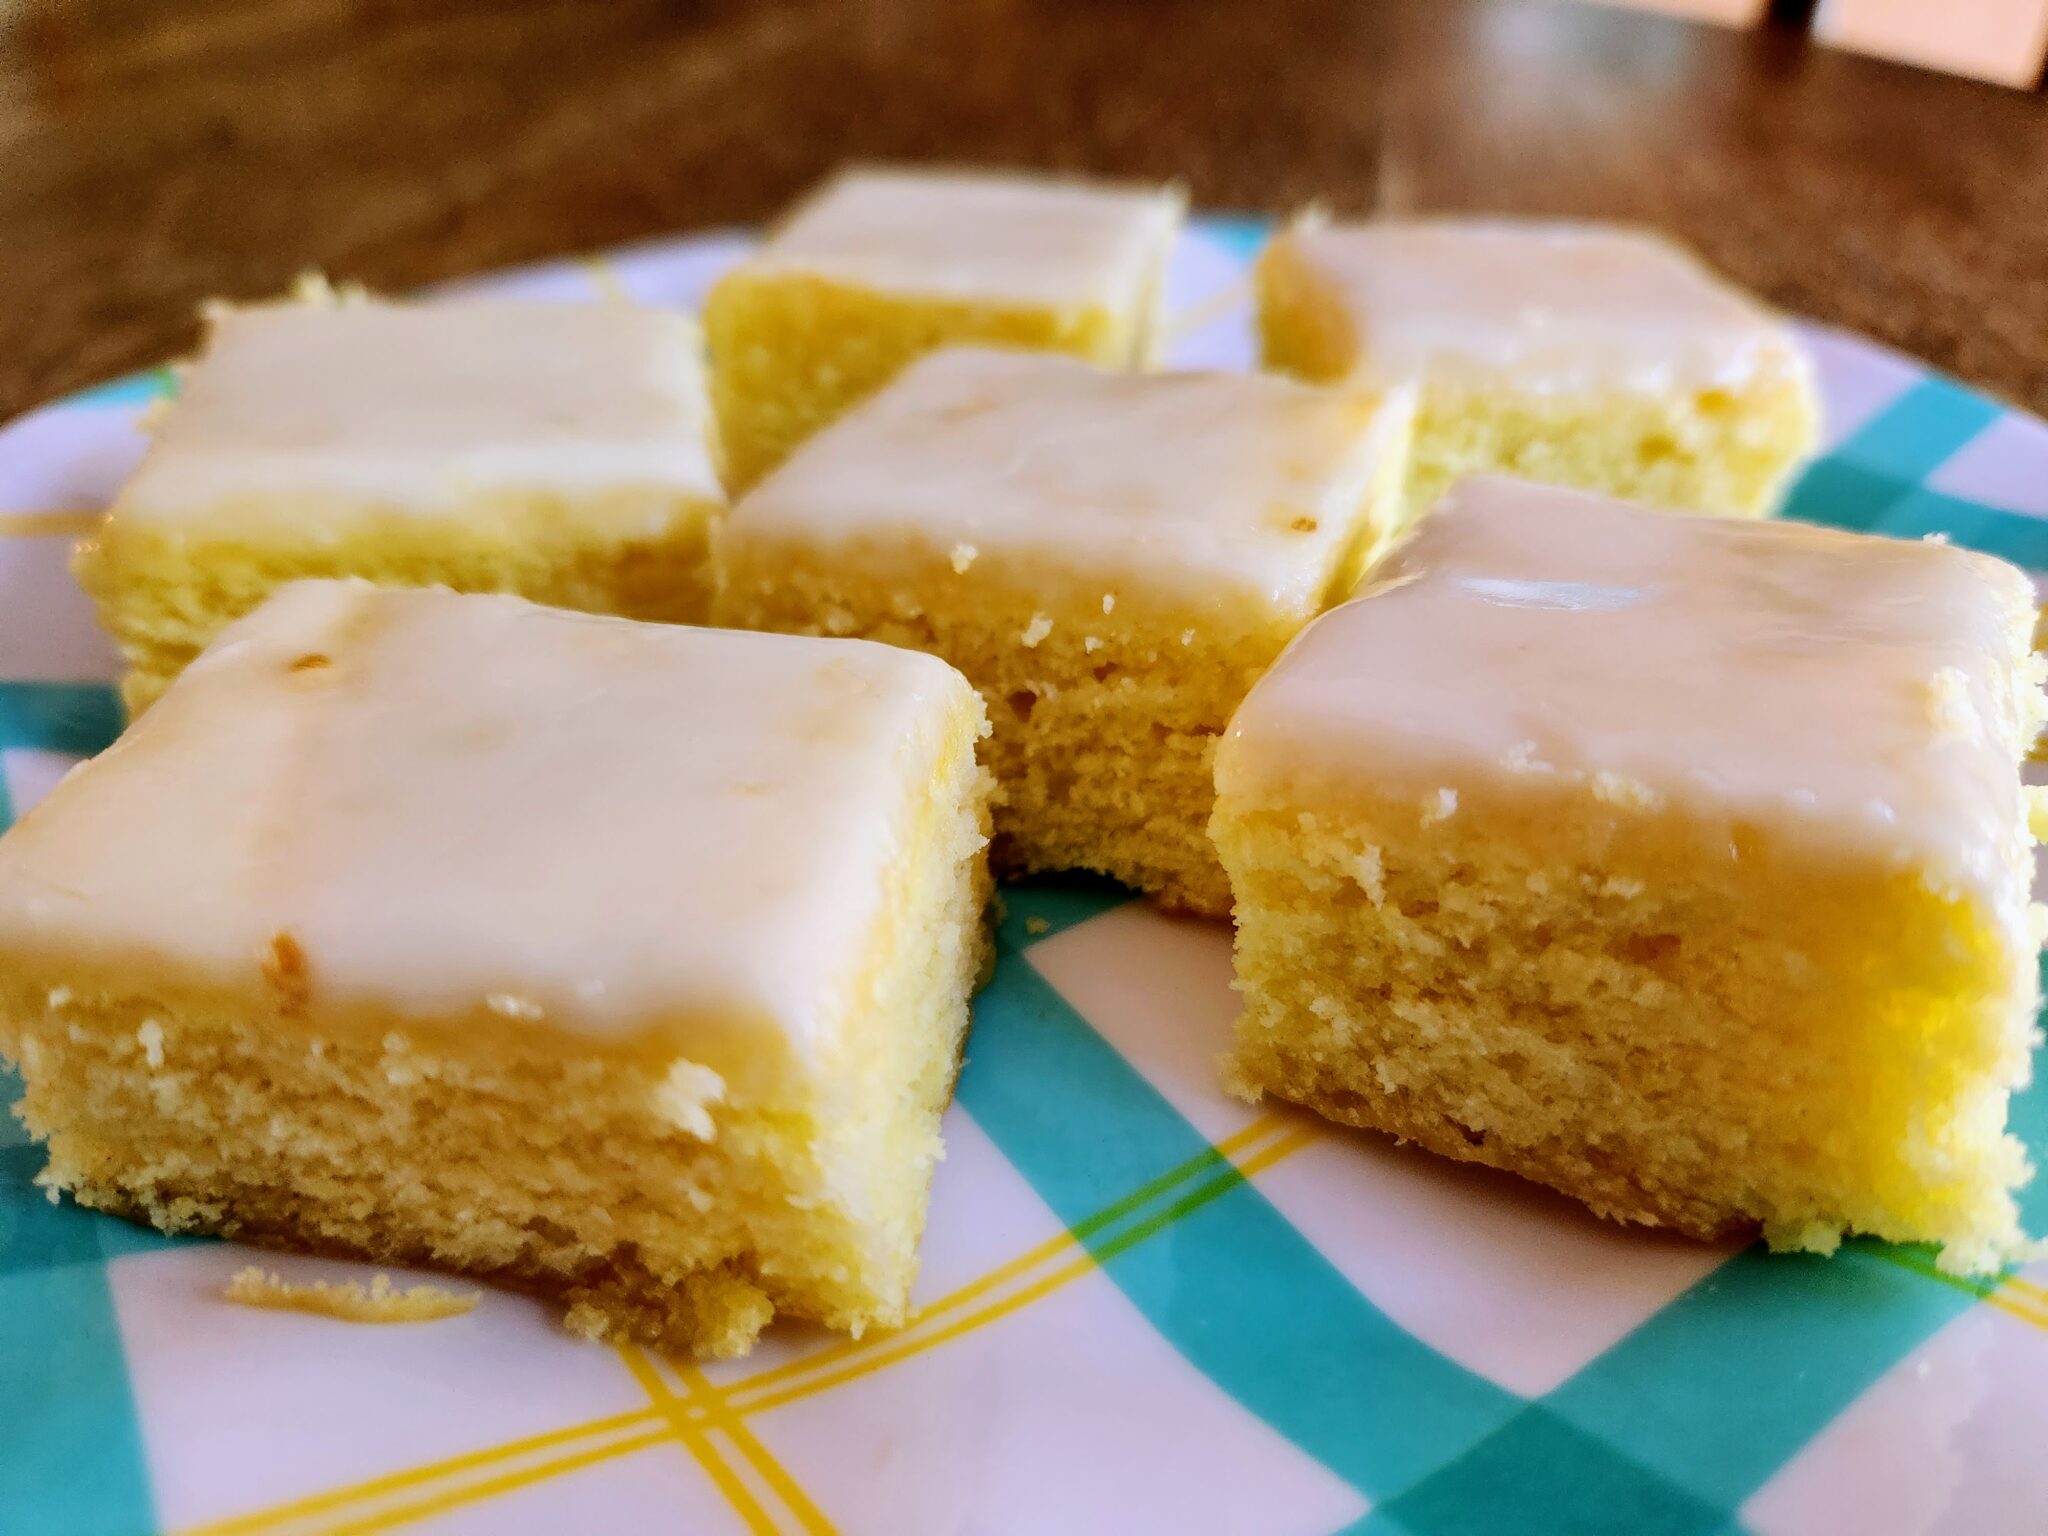
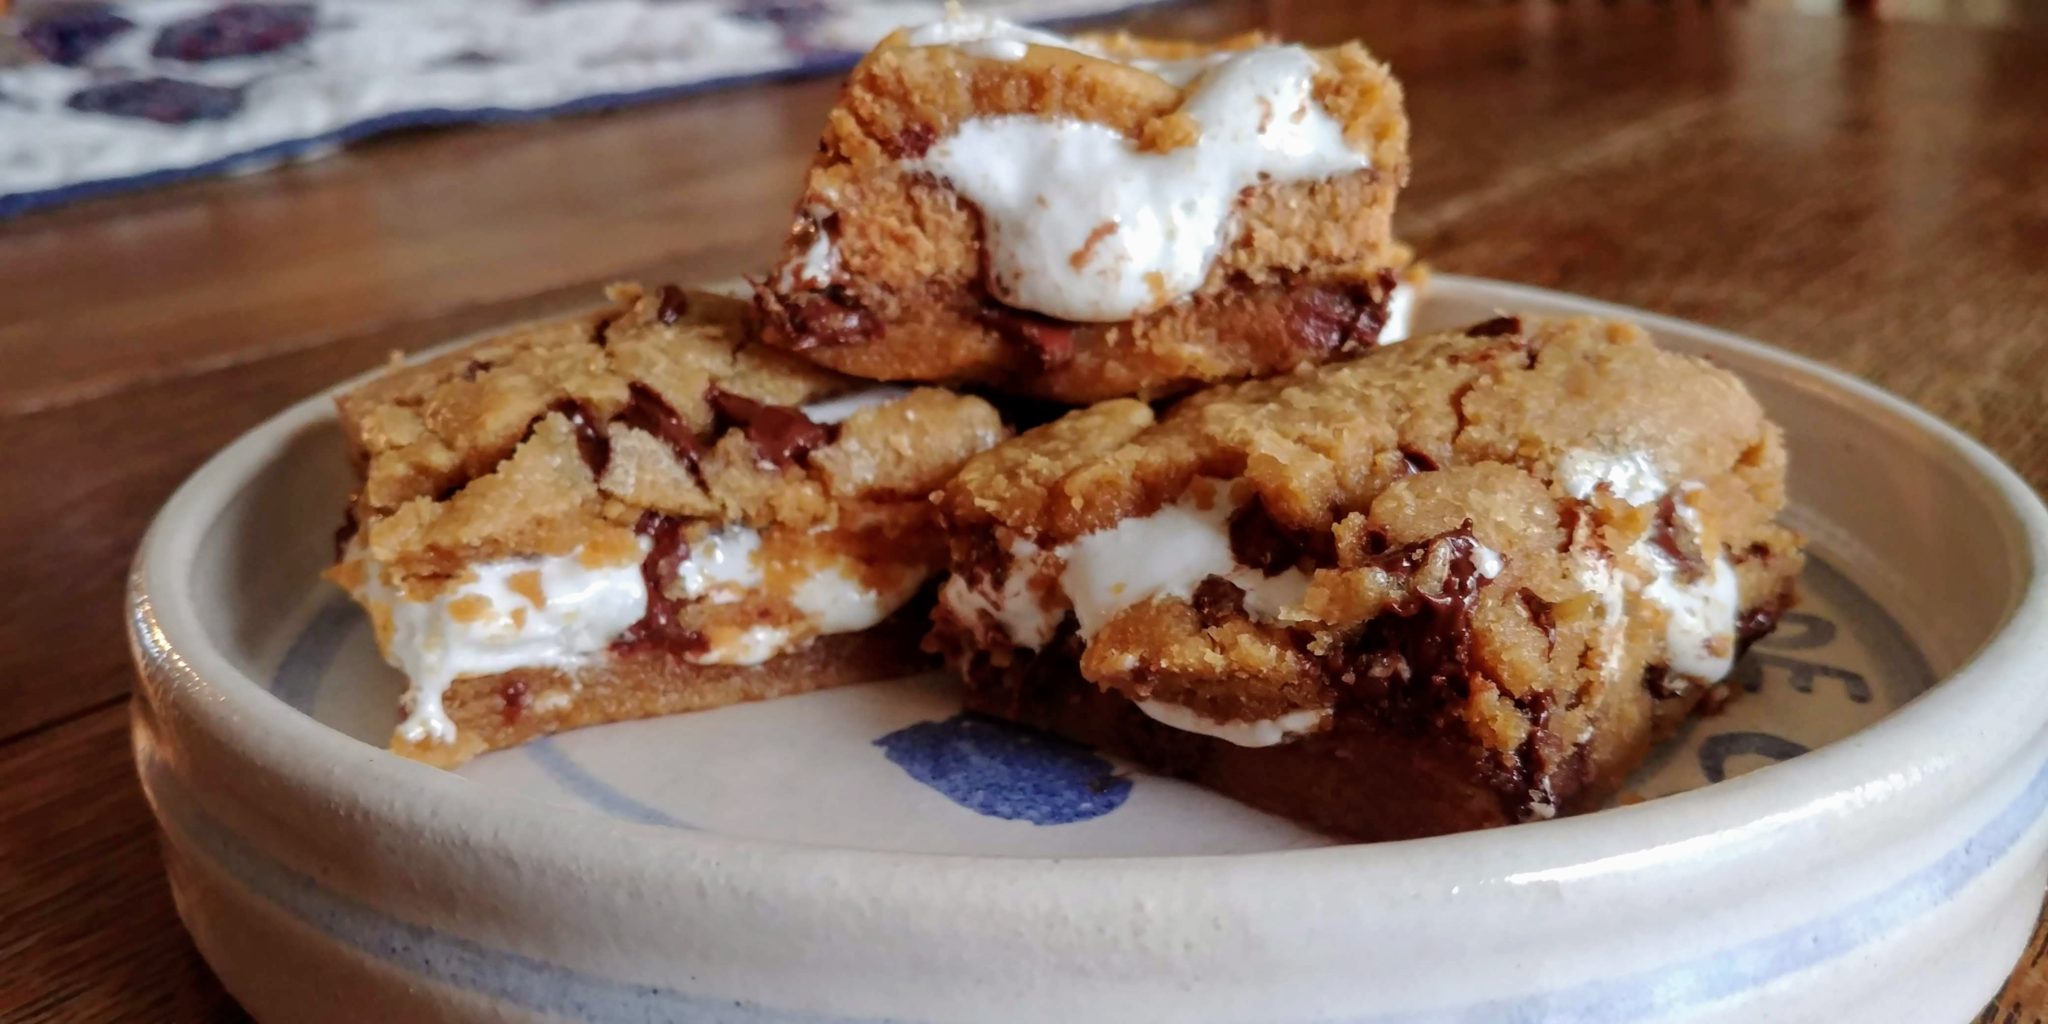
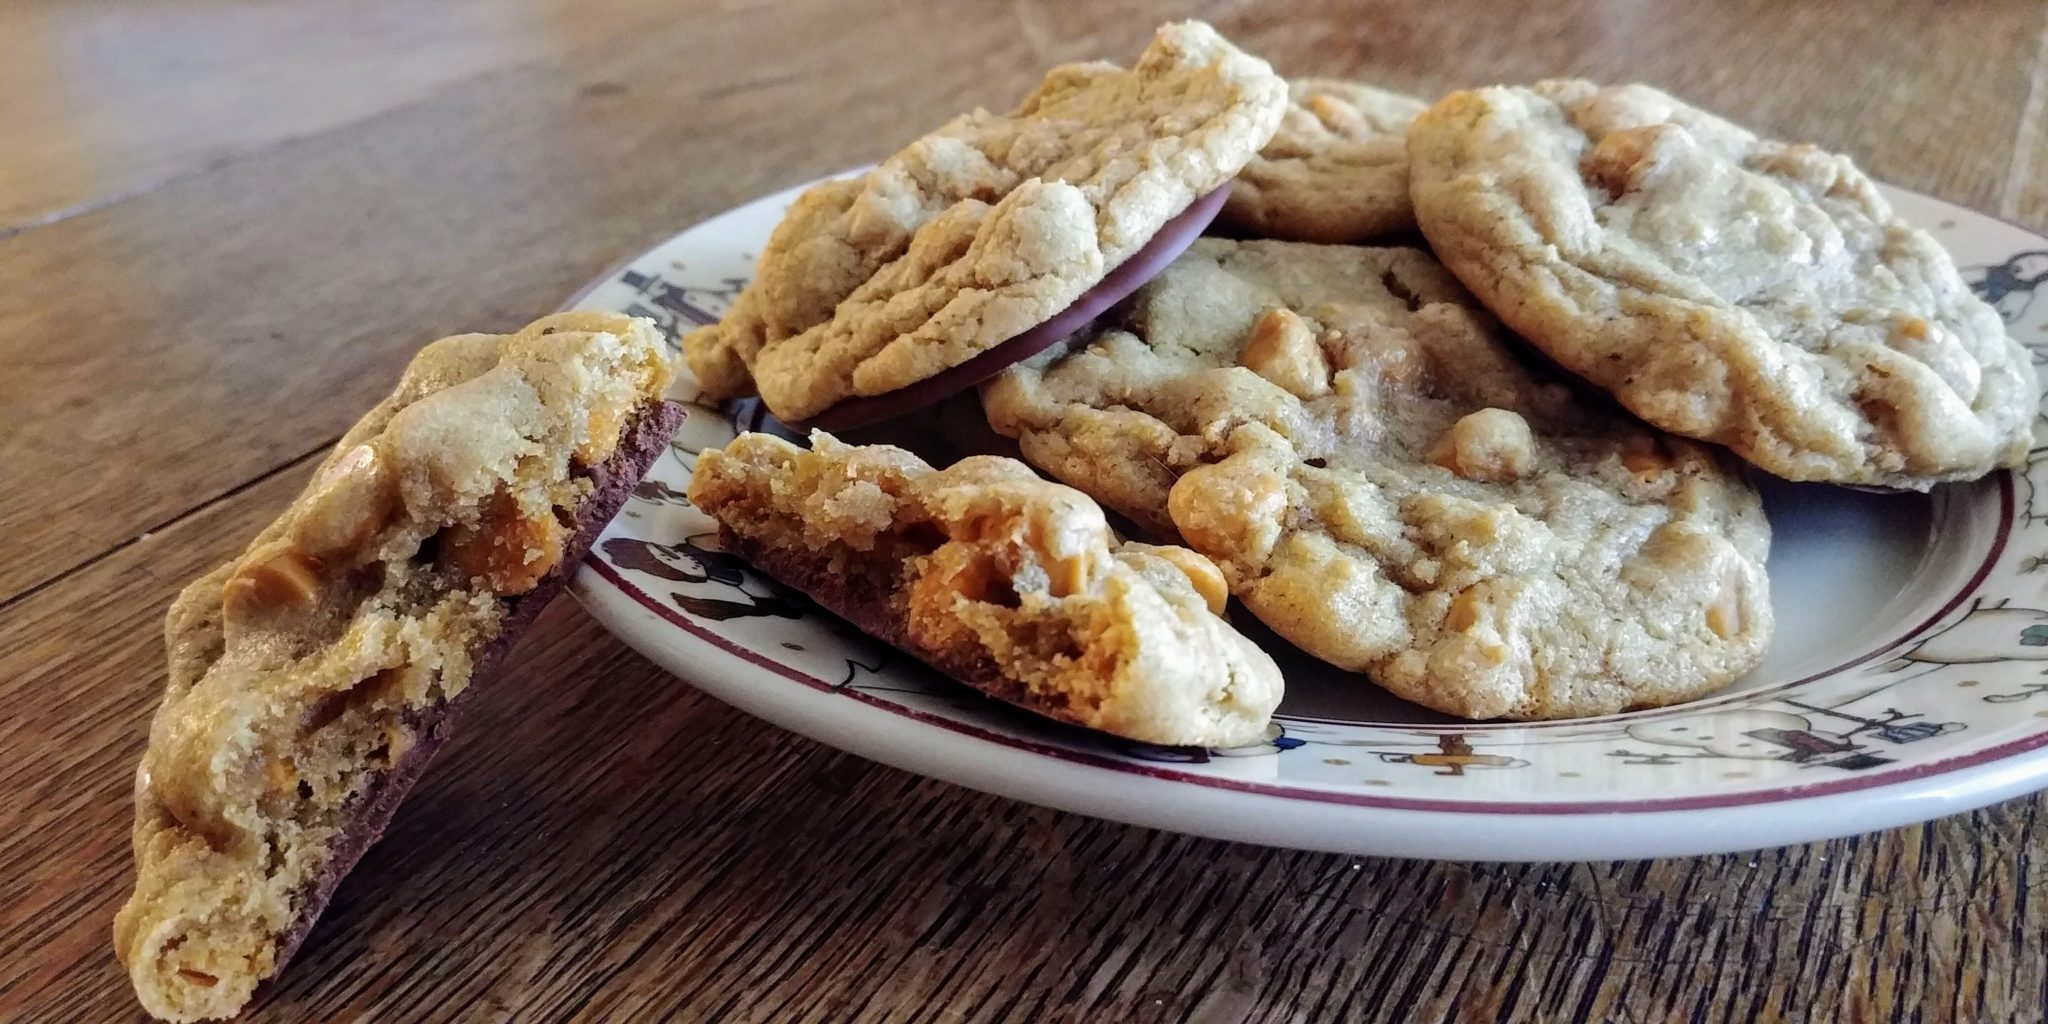
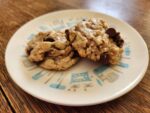
Of course, they are absolutely best while still slightly warm with some cold milk or some hot chocolate. These butter pecan cake mix cookies are slightly cakey with gooey chocolate and crunchy bits of pecan and toffee. I hope that you try these easy and delicious cookies and enjoy them as much as my family does.
Until next time, lovies!
Butter Pecan Cake Mix Cookies
Ingredients
- 1 15.25 oz Butter Pecan Cake Mix or 13.25 oz
- 1/2 cup salted butter melted and slightly cooled
- 2 large eggs
- 1 cup semi-sweet chocolate chips
- 1 cup pecans finely chopped
- 1 cup toffee bits
- 1/4 cup flour or cake mix from another box optional
Instructions
- Mix the cake mix, melted and cooled butter, and the eggs together until combined well with an electric mixer. This should only take a minute or so. Make sure to scrape the sides of the bowl a couple of times.
- If the dough is very soft and will not hold its shape, add 1/4 cup flour or 1/4 cup extra cake mix from another box. This is optional.
- Stir in the semi-sweets, pecans and toffee bits. The dough will be very thick at this point.
- Cover the dough and chill for 1 hour.
- When the hour is up, preheat the oven to 365 degrees and line your cookie sheets with parchment paper.
- Drop heaping tablespoons of dough onto the cookie sheet, using your fingers to make the dough balls kind of tall. This will ensure that the cookies stay rather thick and puffy instead of flattening out.
- Bake the cookies for 9 to 10 minutes.
- Leave the cookies on the cookie sheet for about 5 minutes and then remove to a wire rack or board to cool completely.