Enchanted to serve…dinner, cookies, cakes….

Tag: Butterscotch

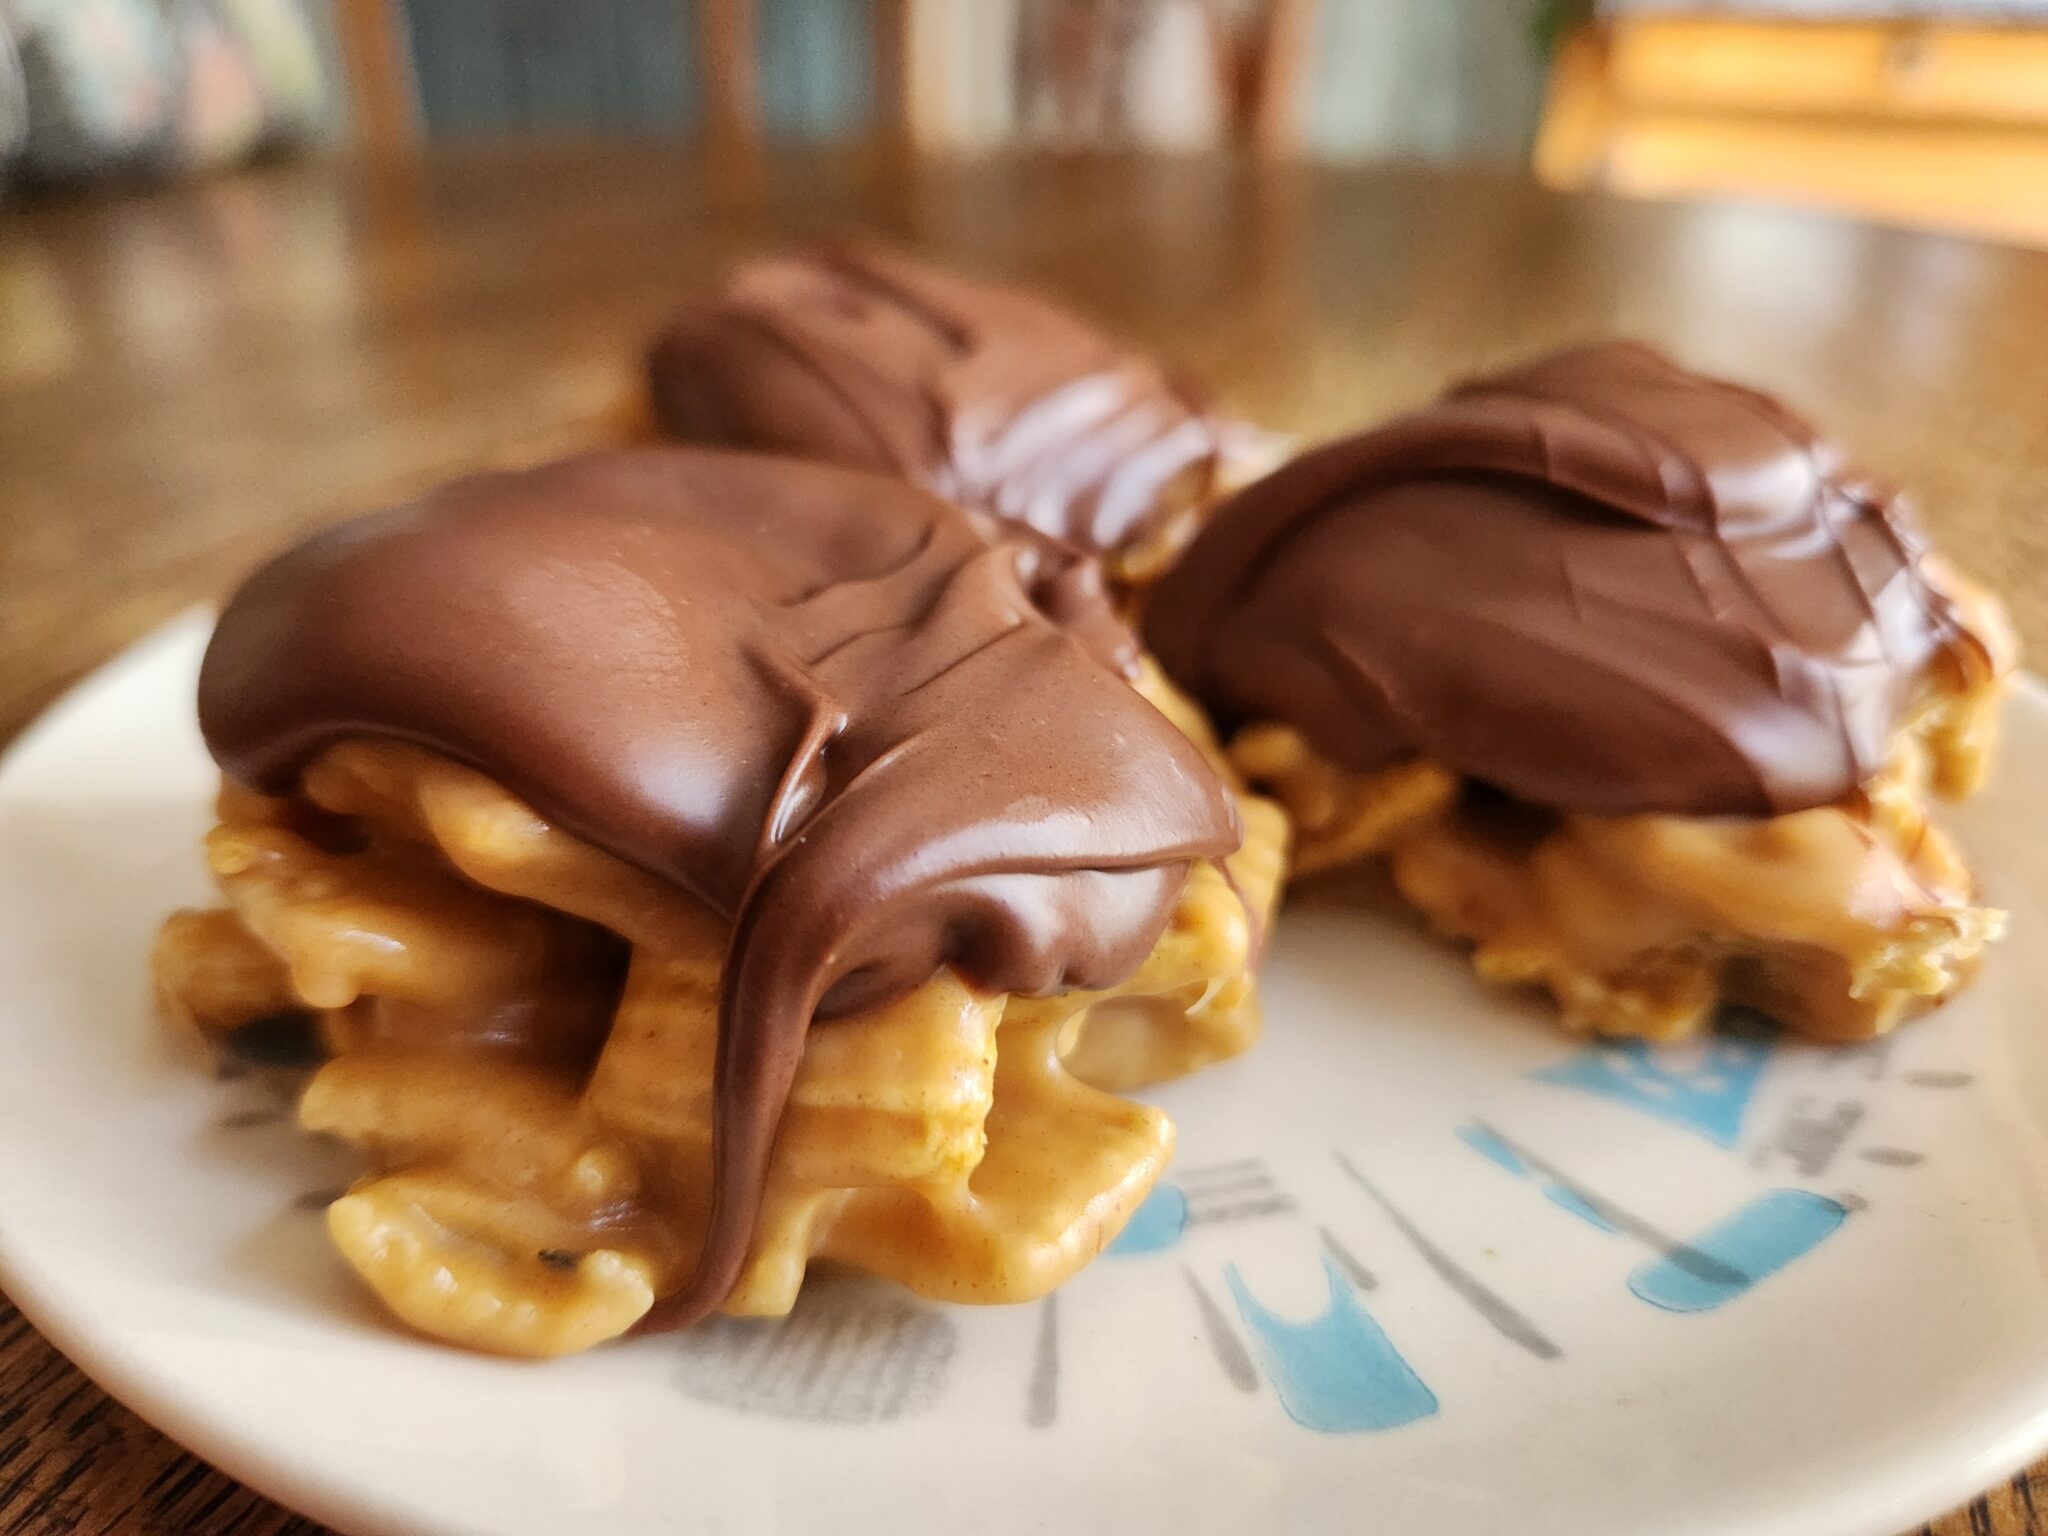
Chocolate Peanut Butter Chicken Butts

Chocolate Peanut Butter Chicken Butts

Hello my beautiful friends!  I am sorry to have been away for such a long time.  Life has been hectic to say the least.  Since the last time that I have written, we have gained a beautiful daughter-in-law, Sarah.  We had a perfect wedding ceremony and reception in our own backyard.  Everything went off without a hitch.  More on that to come. I want to share pictures with you and tell you all about the whole day.  

We have recovered from that busy time but a full time job and a 90 minute one way commute has kept me from writing as much as I would like.  I am still cooking and baking but not finding the time to record the recipes and take lots of pictures.  So, I decided to start using less pictures of preparation and ingredients.  I figure that most of you know what flour and sugar look like, right? 

This week, I want to bring you a recipe that has become a favorite at the Goode family gatherings in the last several years.  They are very much like my mom’s chocolate peanut butter bars but with a different cereal base and in a different form. 

My niece, Laura, especially loves these delicious and substantial treats.  For a long time, they didn’t really have a name.  I just called them those things that Laura likes with the chocolate on top.  When I finally decided to name them, Laura had to figure into it.  She used to love that old joke, “Guess what? Chicken butt.”  For some reason that came to mind and I decided to call them Chocolate Peanut Butter Chicken Butts.  They don’t look anything like a chicken butt at all but it is a silly and fun name and I like it.

These treats are super easy to make and come together pretty quickly but you will need to allow time for the topping to set up. I usually try to make them a day ahead if I plan to take them to a gathering or potluck.

You will need 12 cups of Chex cereal.  I use a combination of Rice Chex and Corn Chex but you do whatever you like. You will also need 3 ½ cups creamy peanut butter (divided), 2 cups light corn syrup, 2 cups granulated sugar, 3 cups semi-sweet chocolate chips, and 3 cups butterscotch baking chips.
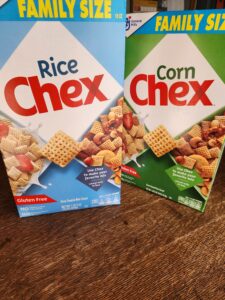
Chex Cereal
Chex Cereal

This makes a big batch of treats.  Feel free to halve the recipe. They do keep pretty well for a week or so in an airtight container on the counter and even longer in the refrigerator. 

Before you begin measuring or cooking, prepare a space to dip the cereal blobs out to cool and set up.  I have a very large wooden board that I cover with parchment paper.  Cookie sheets work well too or even your kitchen counter but do use parchment paper to cover the surface to make the treats easier to remove and for easier clean up.  You can use wax paper as well but I use parchment because I don’t like that oily residue that you can get with wax paper.

Measure 12 cups of Chex cereal in whatever combination you prefer into a large bowl that has been sprayed with non-stick spray or very lightly buttered.  Set aside.

In a medium sauce pan over medium heat, stir together the corn syrup and granulated sugar.  Stir this mixture occasionally until the sugar has melted and the mixture comes to a rolling boil.  As soon as it comes to a boil, remove it from the heat and carefully add 3 cups of peanut butter. Stir well until the peanut butter is all melted and the mixture is smooth.  Pour this over the cereal in your prepared bowl.  Use caution and don’t let the mixture get on you.  Gently fold the cereal and ooey gooey peanut butter mixture together until the cereal is covered.

Use an ice cream scoop or large spoon to drop mounds of the coated cereal onto your prepared surface.  Make sure that the tops of the mounds are not too pointy.  You will be covering these with a chocolate mixture and it works best if the mounds have a flatter top.  

Once all the mounds have been scooped out.  Let them sit while you prepare the chocolate topping.

To a microwave safe bowl, add 3 cups of butterscotch baking chips.  Microwave these on 50% power for several minutes until very nearly melted, stirring every 30 seconds to 1 minute.  When they are almost melted, add 3 cups of semi-sweet chips and ½ cup of creamy peanut butter.  Continue to microwave on 50% power, stirring every 30 seconds or so until everything is melted and smooth. 

Once melted, use a large spoon to cover just the tops of the cereal mounds with large dollops of the chocolate mixture.  Allow the chicken butts to set up completely before removing them to storage containers.  If layering, place parchment paper or wax paper in between to prevent sticking.
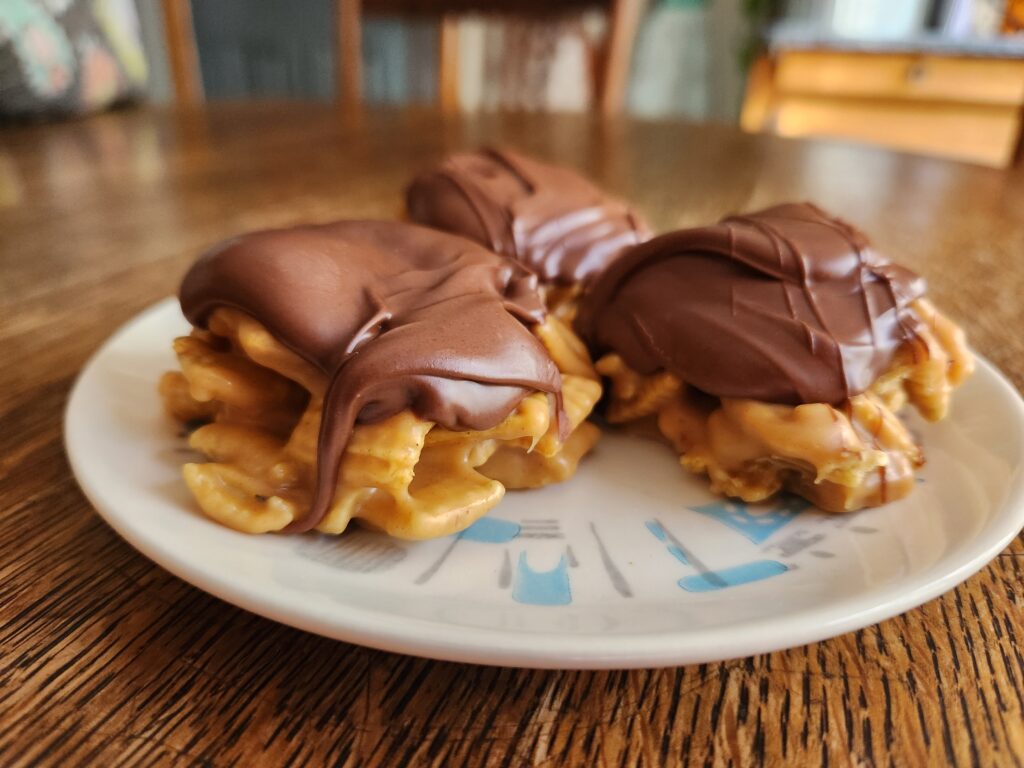
Chocolate Peanut Butter Chicken Butts

Well, there you have it. A pretty quick and easy treat that is super fun and oh so good.  These delicious morsels have a chewy and crispy bottom layer covered in a thick coating of chocolate and butterscotch with a hint of peanut butter. Give them a try!  You won’t be disappointed.  Oh, and guess what?  Chocolate Peanut Butter Chicken Butts!  Bwahahahaha!

Until next time my friends! Take care and eat Chocolate Peanut Butter Chicken Butts!
Chocolate Peanut Butter Chicken Butts

These delicious morsels have a chewy and crispy bottom layer covered in a thick coating of chocolate and butterscotch with a hint of peanut butter.
Prep Time15 minutes
Cook Time10 minutes
Course: Dessert
Keyword: Butterscotch, Chex, Chocolate, Peanut Butter
Author: Wench Sherry

Ingredients

Cereal Mixture

  • 12 cups Chex cereal
  • 3 cups creamy peanut butter
  • 2 cups light corn syrup
  • 2 cups granulated sugar

Topping

  • 3 cups semi-sweet chocolate chips
  • 3 cups butterscotch baking chips
  • 1/2 cup creamy peanut butter

Instructions

  • Prepare a space that you can use to dip out mounds of your cereal mixture. You can use parchment covered cookie sheets, bread boards or your counter.
  • Measure 12 cups of Chex cereal into a large bowl that has been sprayed with non-stick spray or very lightly buttered.
  • In a medium sauce pan over medium heat, stir together the corn syrup and granulated sugar.  Stir this mixture occasionally until the sugar has melted and the mixture comes to a rolling boil.  As soon as it comes to a boil, remove it from the heat and carefully add 3 cups of peanut butter. Stir well until the peanut butter is all melted and the mixture is smooth.
  • Pour the peanut butter mixture over the cereal in your prepared bowl.  Gently fold the cereal and ooey gooey peanut butter mixture together until the cereal is covered. 
  • Use an ice cream scoop or large spoon to drop mounds of the coated cereal onto your prepared surface, flattening the tops slightly. Let the mounds set up a little while you prepare the topping.
  • To a microwave safe bowl, add 3 cups of butterscotch baking chips.  Microwave these on 50% power for several minutes until very nearly melted, stirring every 30 seconds to 1 minute.  When they are almost melted, add 3 cups of semi-sweet chips and ½ cup of creamy peanut butter.  Continue to microwave on 50% power, stirring every 30 seconds or so until everything is melted and smooth. 
  • Once melted, use a large spoon to cover just the tops of the cereal mounds with large dollops of the chocolate mixture.  Allow the chicken butts to set up completely before removing them to storage containers.
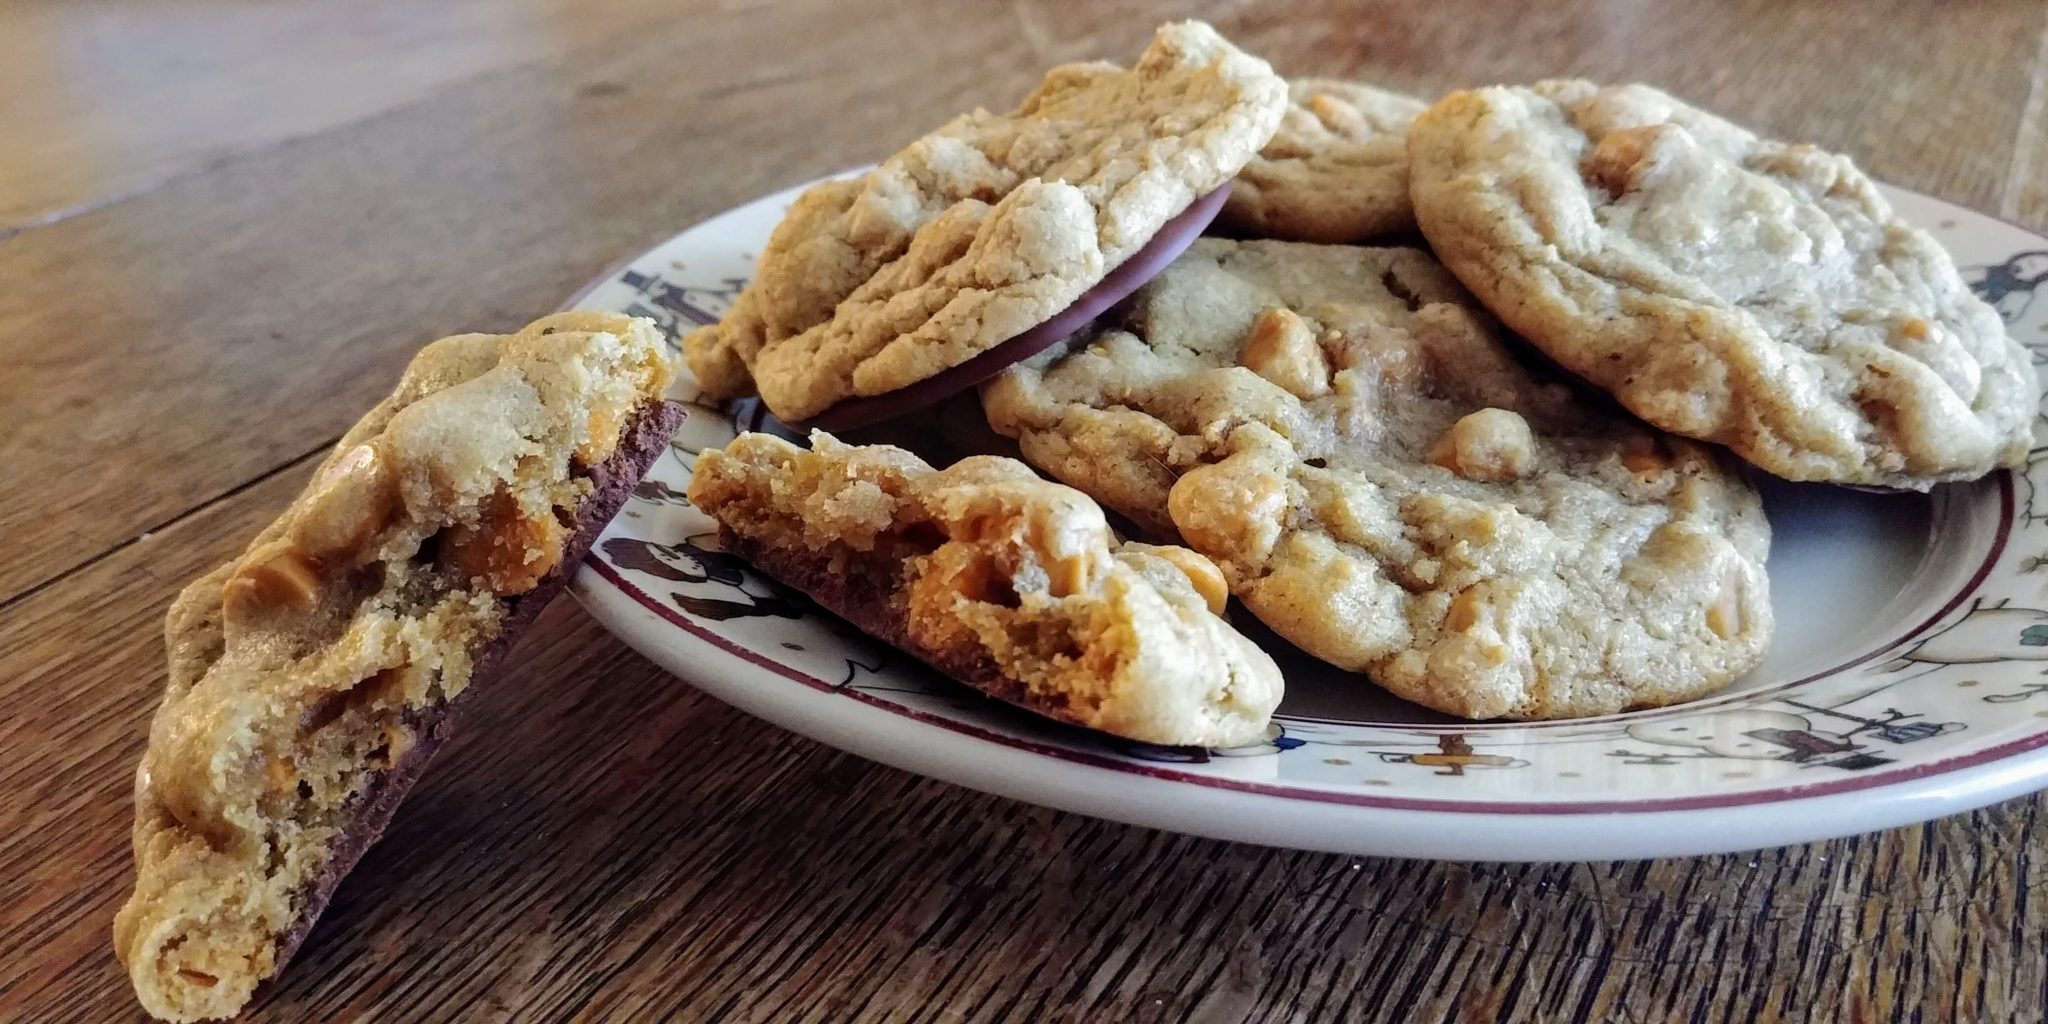
Butterscotch Surprise Cookies

Butterscotch Surprise Cookies

Hey Everyone!  I hope that you are all surviving this craptastic winter weather.  In my neck of the woods, it has been sooooo sucky. You would know that as soon as I started a new job where I have to travel even farther every day, the weather would be ridiculous.  Well, that is what I get for living in central Illinois. I have to say that my nephew, Joe, has been my hero. We are carpooling into Springfield and he is doing the driving in his SUV.  There have already been a few days that I could not have made it in my small car, but Joe got me there and home safe and sound.

I have decided that I really don’t like winter very much anymore.  After Christmas and New Year’s are over I am pretty much done with the cold and snow.  But, Mother Nature gives not one dilly darn what I think. So, to console myself, I have been making cookies whenever I get the chance.  Baking cookies, to me, is the ultimate cozy activity. The kitchen gets all warmed up from the oven and you get to munch on cookie dough and then nice warm cookies.  Aaaahhh. I wish that I were doing that right now.

A couple of weeks ago I tried out a new combination of recipes.  I wanted to try a new butterscotch chip cookie recipe, but I also wanted chocolate.  And, awhile back I saw a recipe where someone had dipped chocolate chip cookies in melted chocolate.  I thought that the chocolate and butterscotch combination would be heavenly. I was right! Oh boy, these are good cookies.  These butterscotch chip cookies are buttery and flavorful. They are moist but still hold up when adding the chocolate and butterscotch base.  The combination is a chewy yet soft cookie on the top with a crisp and rich surprise burst of chocolate flavor underneath. These cookies have become a new favorite of mine and I hope that you will love them too.

So, this cookie starts out with a pretty basic recipe that can be used with any flavor of chips.  I have been on a quest for a while to find the perfect chocolate chip cookie recipe and I have come to the conclusion that it does not exist.  I can find the pros and cons of all of the different recipe variations and methods. And, all of us seem to have different ideas about how a chocolate chip cookie should taste and what the consistency should be.  It is the same with any cookie that has flavored chips. I have a couple of different recipes for butterscotch chip cookies. This one works very well with the chocolate base. A cookie that is very soft would not hold up to that process.  And, I think that you really need a thicker cookie so that you have the proper cookie-to-base ratio. This one turned out perfectly. It is a nice standard recipe with one notable exception. It has a special ingredient. Drumroll please…instant coffee!  I know, amazing! Now, I am not a coffee lover, but I do occasionally use it in baking. Usually, it is paired with chocolate, but I think it works well with the butterscotch too. This recipe does require a slight amount of chilling but if you plan ahead you will have a great cookie that your friends and family will adore. 

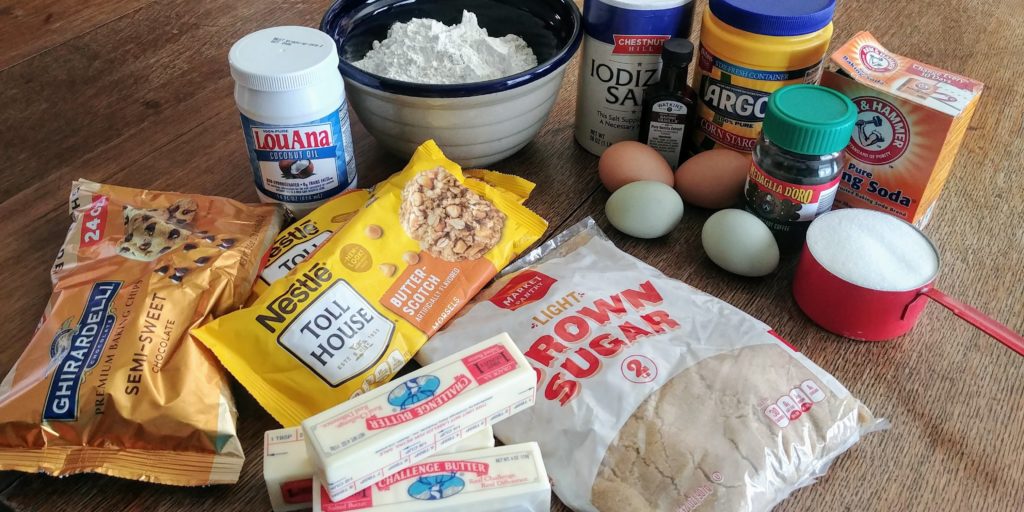
For the cookies you will need 1 ½ cups softened butter, 2 cups packed brown sugar, 1 cup granulated sugar, 2 large eggs plus 2 egg yolks, 2 tablespoons vanilla extract, 2 teaspoons powdered instant espresso, 2 teaspoons baking soda, 4 teaspoons cornstarch, 4 cups flour, 1 teaspoon salt, and 3 – 4 cups butterscotch chips (depending on how chunky you like your cookies).  If you are not a coffee lover, don’t worry. You won’t really taste the espresso. It just adds a little oomph to the butterscotch flavor. For the base, you will need 2 cups of semi-sweet chocolate chips, 1 cup butterscotch baking chips and 2 teaspoons of coconut oil.  

Butterscotch Surprise Cookies ingredients

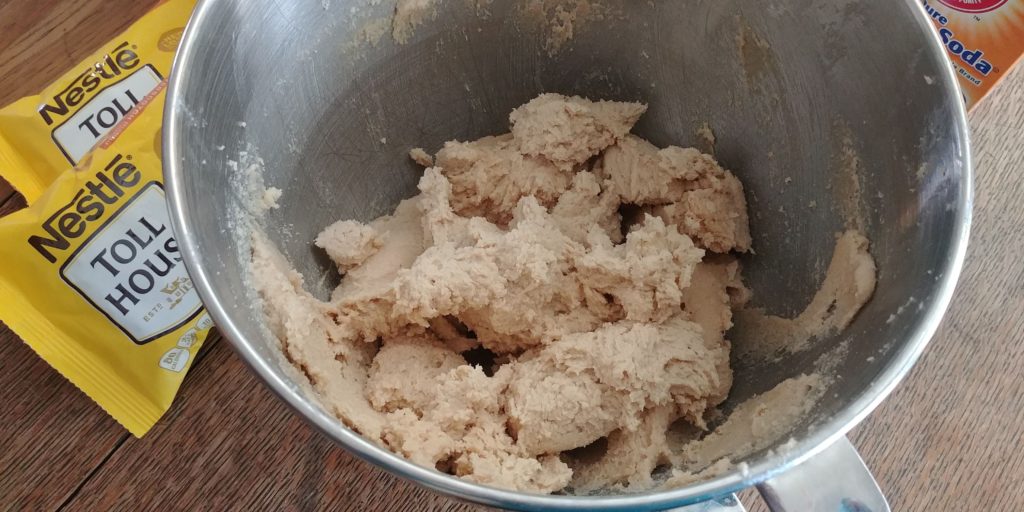
Add the butter and both sugars to a large mixing bowl or the bowl of your stand mixer.  Cream together until well combined and slightly fluffy.

Butterscotch Surprise Cookies creamed butter and sugars

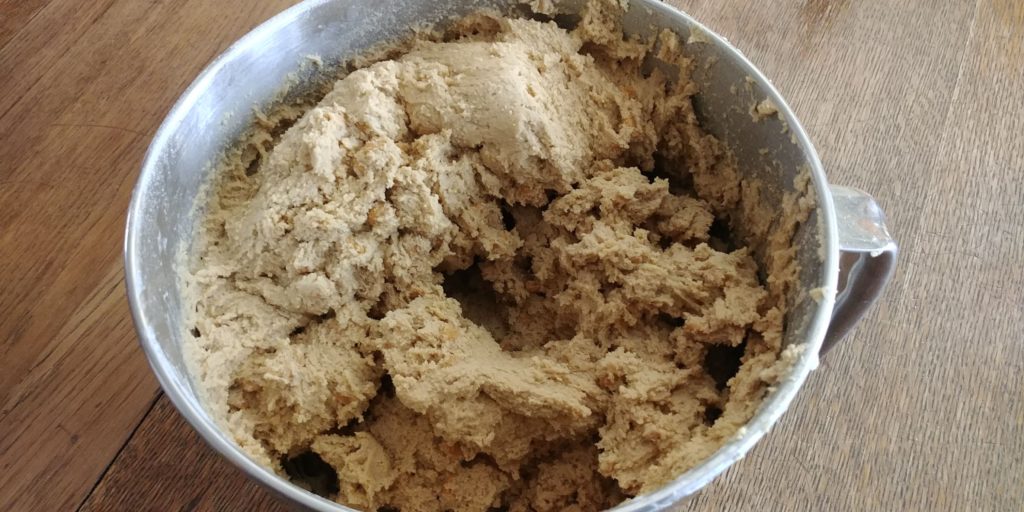
Add the eggs and egg yolks and vanilla.  Beat until well mixed. Gradually add the flour, baking soda, cornstarch, salt, and espresso powder.  Mix until all the dry ingredients are incorporated with no streaks of flour but don’t overmix. Stir in the butterscotch chips.

Butterscotch Surprise Cookies dough complete in bowl

Cover the dough and chill for 2 – 3 hours.  You can also make the dough a day ahead if you are pressed for baking time.  Just be prepared for dough-tasting, sneaky fingers to abscond with a bit of it.  At least that is what happens at my house. Now, if you are in a huge hurry you can put the dough in the freezer for about an hour.  I have done this, and it works pretty well too.

When you are ready to bake, preheat the oven to 350 degrees and line your baking sheets with parchment paper.   

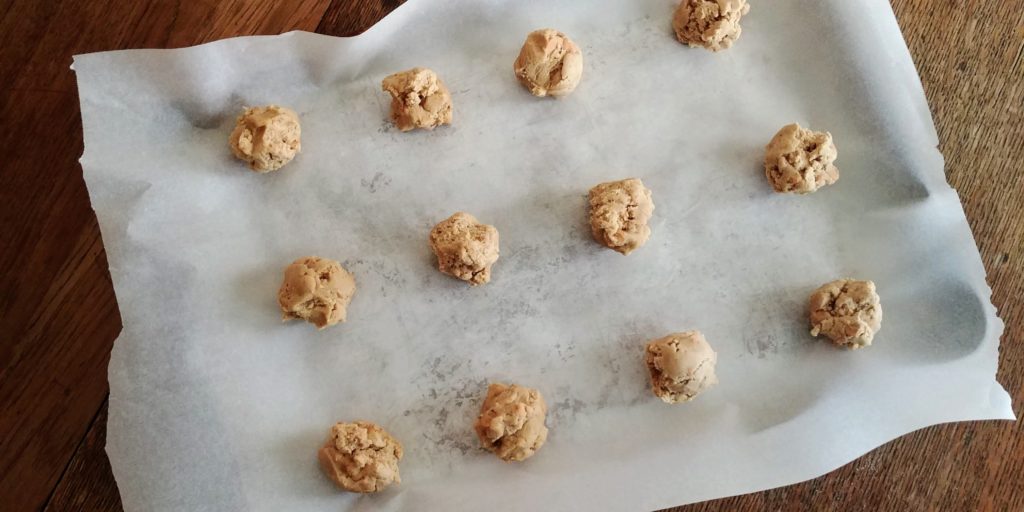
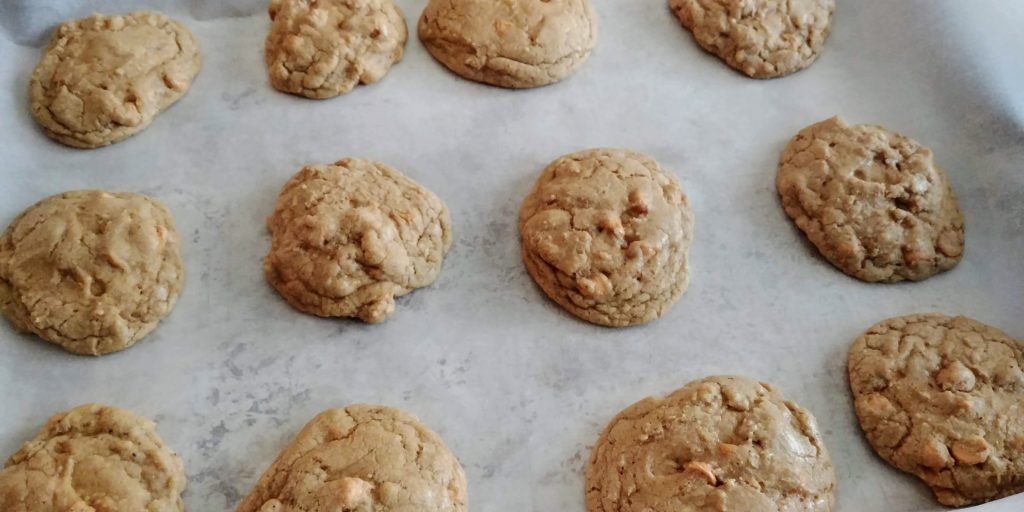
Drop the dough by tall mounds.  Use about 2 tablespoons per cookie.  The tall mounds enable the cookie to stay thick and not spread too much.  This will help them hold together when you add the chocolate base.  

Butterscotch Surprise Cookies unbaked on sheet

Bake for 9 – 11 minutes.  You want the bottom edges to be very slightly brown and the middles to be soft and puffy.   Don’t over bake or the cookies will be dry. Cool the cookies for a few minutes on the baking sheets and then transfer to cooling racks to cool completely.  Once they have cooled sufficiently you can place them on parchment to await the chocolate bottom process.

Butterscotch Surprise Cookies baked on cookie sheet

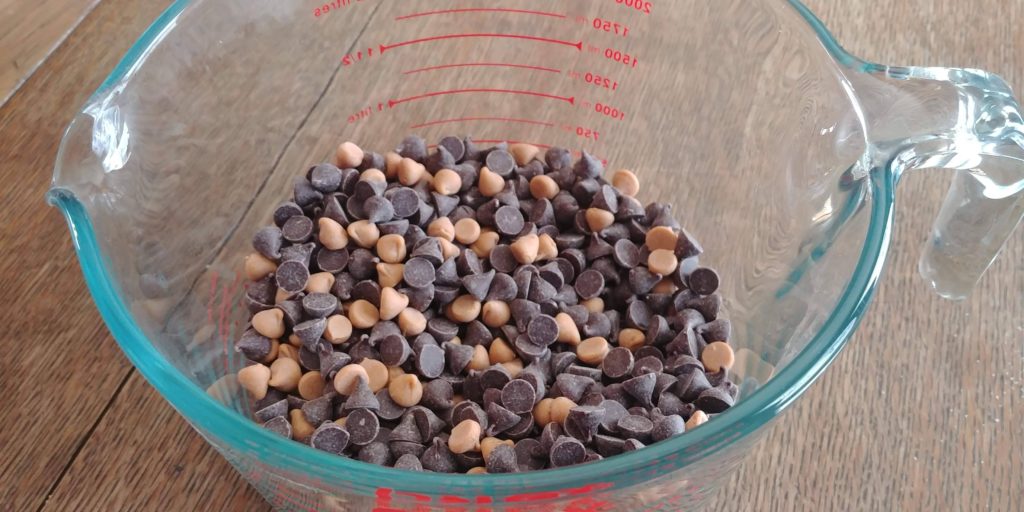
Once all are cooled, place 2 cups semisweet chocolate chips and 1 cup butterscotch chips and 2 teaspoons of coconut oil in a microwave-safe bowl.  Microwave on 50% power until melted. Stir at least every minute. Mine took about 5 minutes but watch closely so that you don’t burn it. Allow the chocolate to cool for a couple of minutes. 

Butterscotch Surprise Cookies chocolate and butterscotch chips

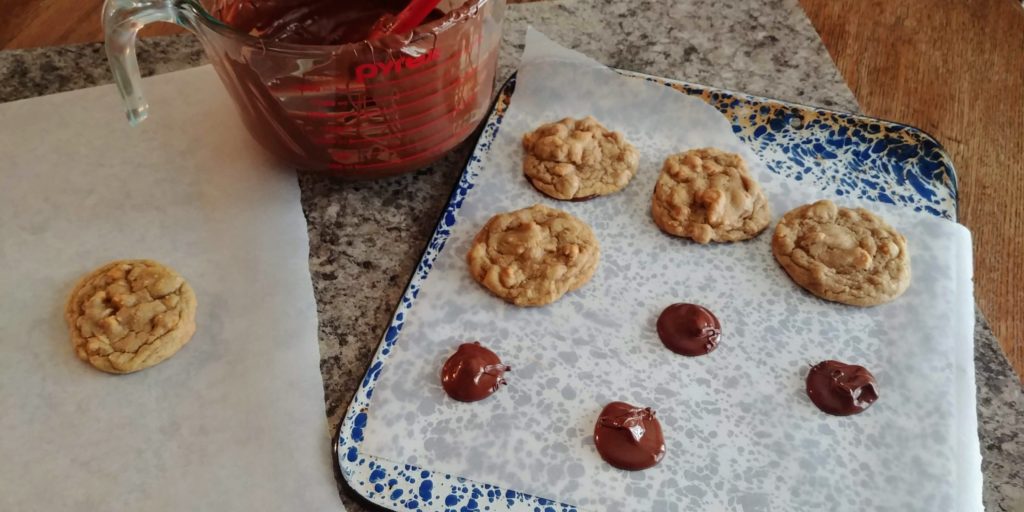
Place clean parchment paper on baking sheets or on the counter. Drop 1 – 2 teaspoons of the chocolate mixture on the parchment. If your cookies are rather large you will need more chocolate but if the cookies stayed in more upright little mounds you may only need 1 teaspoon.  Use your chocolate intuition here. I did a test with 2 cookies on a small baking sheet and placed them in the freezer for a couple of minutes to make sure that my measurement and method was right before proceeding with the whole batch. Place a cookie on a mound of melted chocolate and gently press down turning the cookie counterclockwise (or clockwise) until the chocolate has been squished and spread to the cookie’s edge.   Once the cookies are all chocolate-bottomed, you will need to let them set up for an hour or so depending on how warm your kitchen is. Just plan ahead. If your chocolate-bottomed cookies are on a baking sheet you can place them in the freezer for just a few minutes to speed up the setting process.

Butterscotch Surprise Cookies dipping process 1

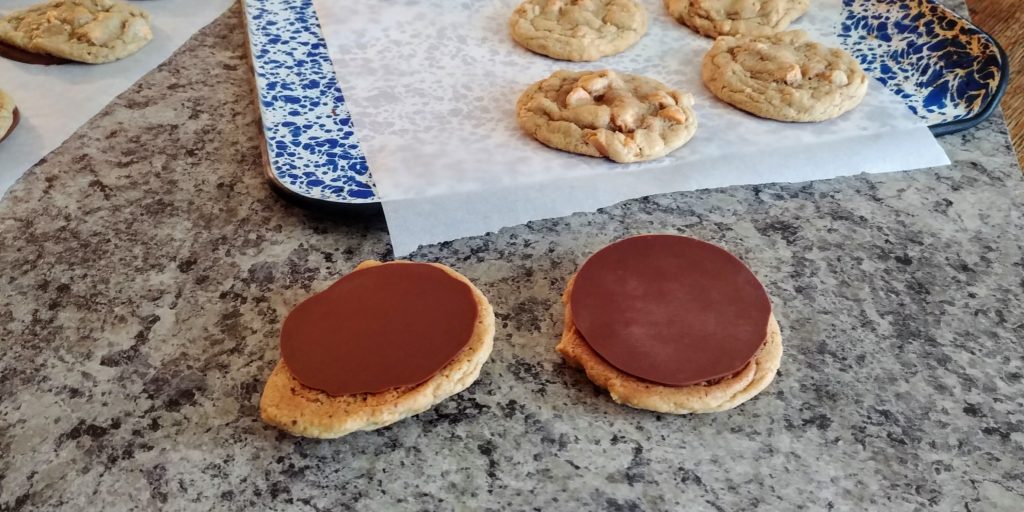
Once the chocolate has set, carefully peel the cookies from the parchment paper. 

Butterscotch Surprise Cookies complete on tray

Get yourself a big old glass of cold milk and enjoy.  These cookies are so buttery and delicious with a satisfying chocolatey snap. I had rave reviews when I took them to work.  Love to you all!

Butterscotch Surprise Cookies

These butterscotch chip cookies are buttery and flavorful.  They are moist but still hold up when adding the chocolate and butterscotch mixture base.  The combination is a chewy yet soft cookie on the top with a crisp and rich surprise burst of chocolate flavor underneath.
Author: Wench Sherry

Ingredients

For the Cookies

  • 1 1/2 cups butter softened
  • 2 cups brown sugar packed
  • 1 cup granulated sugar
  • 2 eggs large
  • 2 egg yolks
  • 2 Tbsp vanilla extract
  • 2 tsp powdered instant espresso
  • 2 tsp baking soda
  • 4 tsp cornstarch
  • 4 cups flour
  • 1 tsp salt
  • 3 – 4 cups butterscotch baking chips

For the Base

  • 2 cups semi-sweet chocolate chips
  • 1 cup butterscotch baking chips
  • 2 tsp coconut oil

Instructions

  • Add the butter and both sugars to a large mixing bowl or the bowl of your stand mixer.  Cream together until well combined and slightly fluffy.
  • Add the eggs and egg yolks and vanilla.  Beat until well mixed.
  • Gradually add the flour, baking soda, cornstarch, salt and espresso powder.  Mix until all the dry ingredients are incorporated with no streaks of flour but don’t over mix.
  • Stir in the butterscotch chips.
  • Cover the dough and chill for 2 – 3 hours.
  • When you are ready to bake, preheat the oven to 350 degrees and line your baking sheets with parchment paper.
  • Drop the dough by tall mounds.  Use about 2 tablespoons per cookie.
  • Bake for 9 – 11 minutes.  You want the bottom edges to be very slightly brown and the middles to be soft and puffy.   Don’t over bake or the cookies will be dry. Cool the cookies for a few minutes on the baking sheets and then transfer to cooling racks to cool completely.  Once they have cooled sufficiently you can place them on parchment to await the chocolate bottom process.
  • Once all are cooled, place 2 cups semisweet chocolate chips and 1 cup butterscotch chips and 2 teaspoons of coconut oil in a microwave-safe bowl.  Microwave on 50% power until melted. Stir at least every minute. Allow the chocolate to cool for a couple of minutes.
  • Place clean parchment paper on baking sheets or on the counter.  Drop 1 – 2 teaspoons of the chocolate mixture on the parchment.
  • Place a cookie on a mound of melted chocolate and gently press down turning the cookie counterclockwise (or clockwise) until the chocolate has been squished and spread to the cookie’s edge.
  • Allow the chocolate to set up on the counter or place the cookies in the freezer for a few minutes to speed things up.
  • Once the chocolate has set, carefully peel the cookies from the parchment paper.