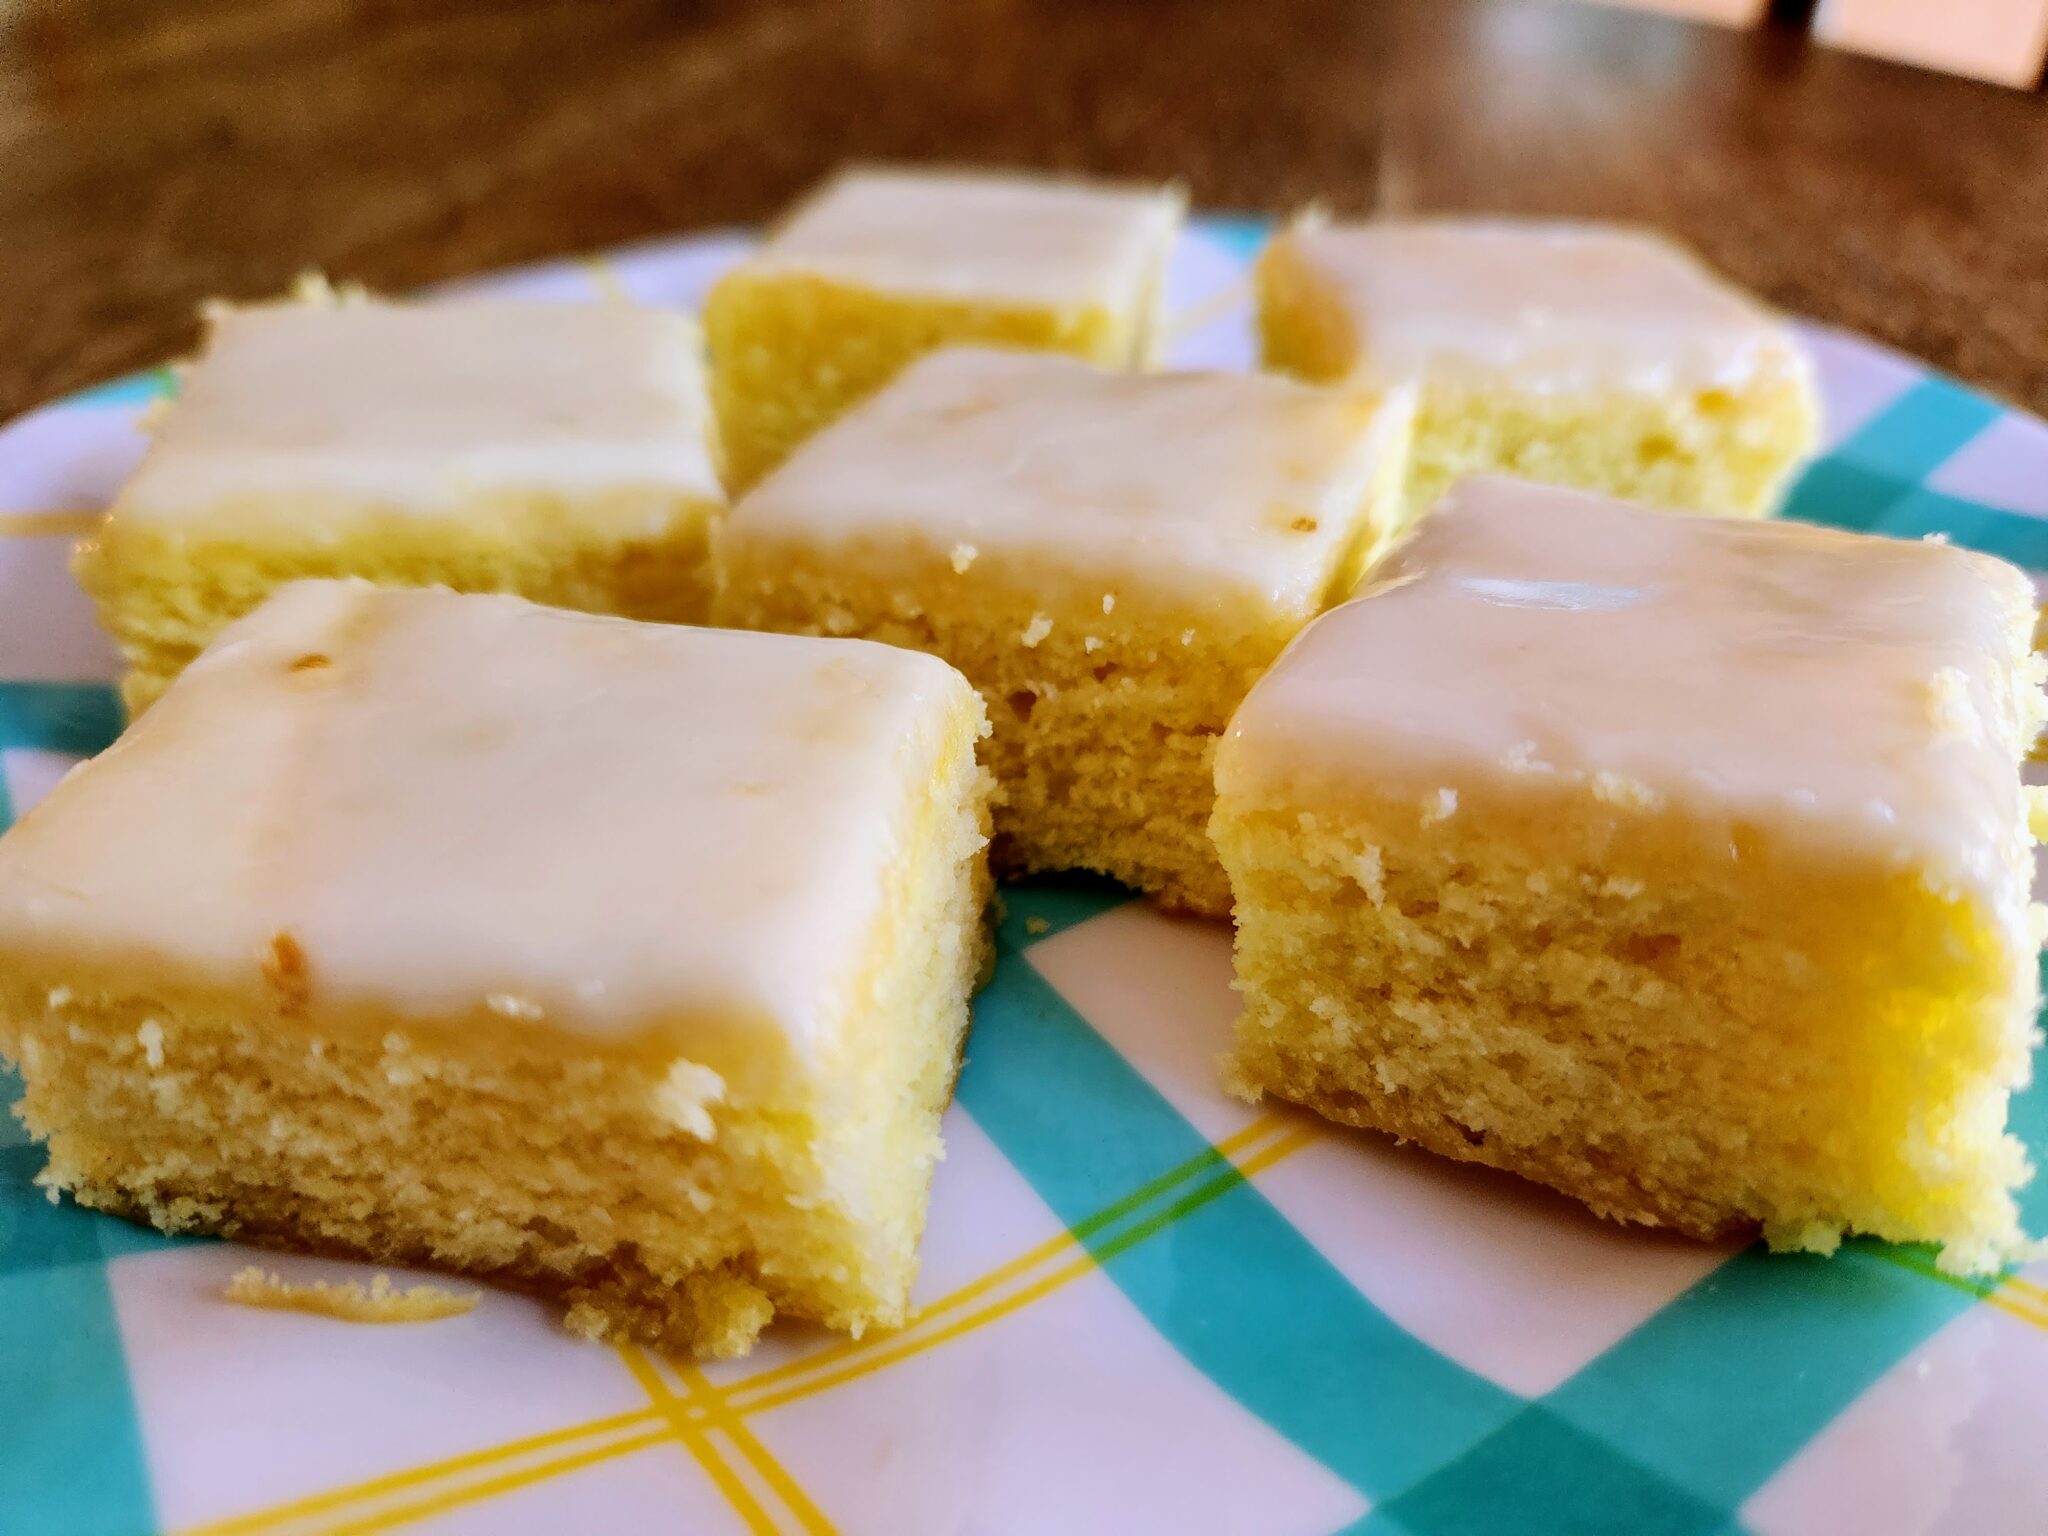
Lemon Brownies
Are you all tired of winter yet? I am. I tire of the cold pretty quickly these days. I love living in Illinois but I wish that the winters were not so freaking endless. I start to long for green leaves and warm nights right about mid-January and by Valentine’s Day I am downright done with winter. Well, I am right in the midst of that period and am looking forward to sunshine and 80 degrees. So, I thought that I would share a recipe today for a sweet treat that brings to mind summer days. You can certainly make it all year long like I do and maybe it will help to ease the depression of dull gray winter skies.
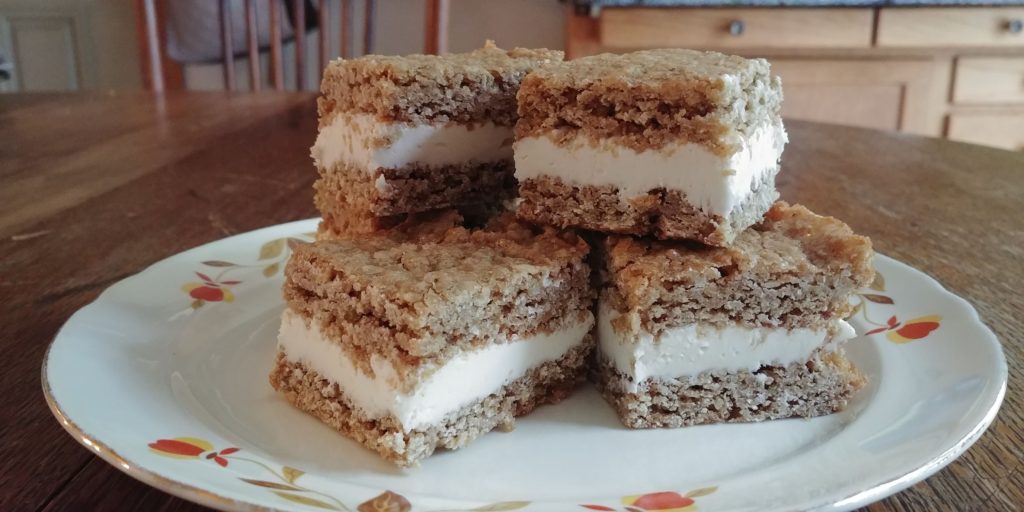
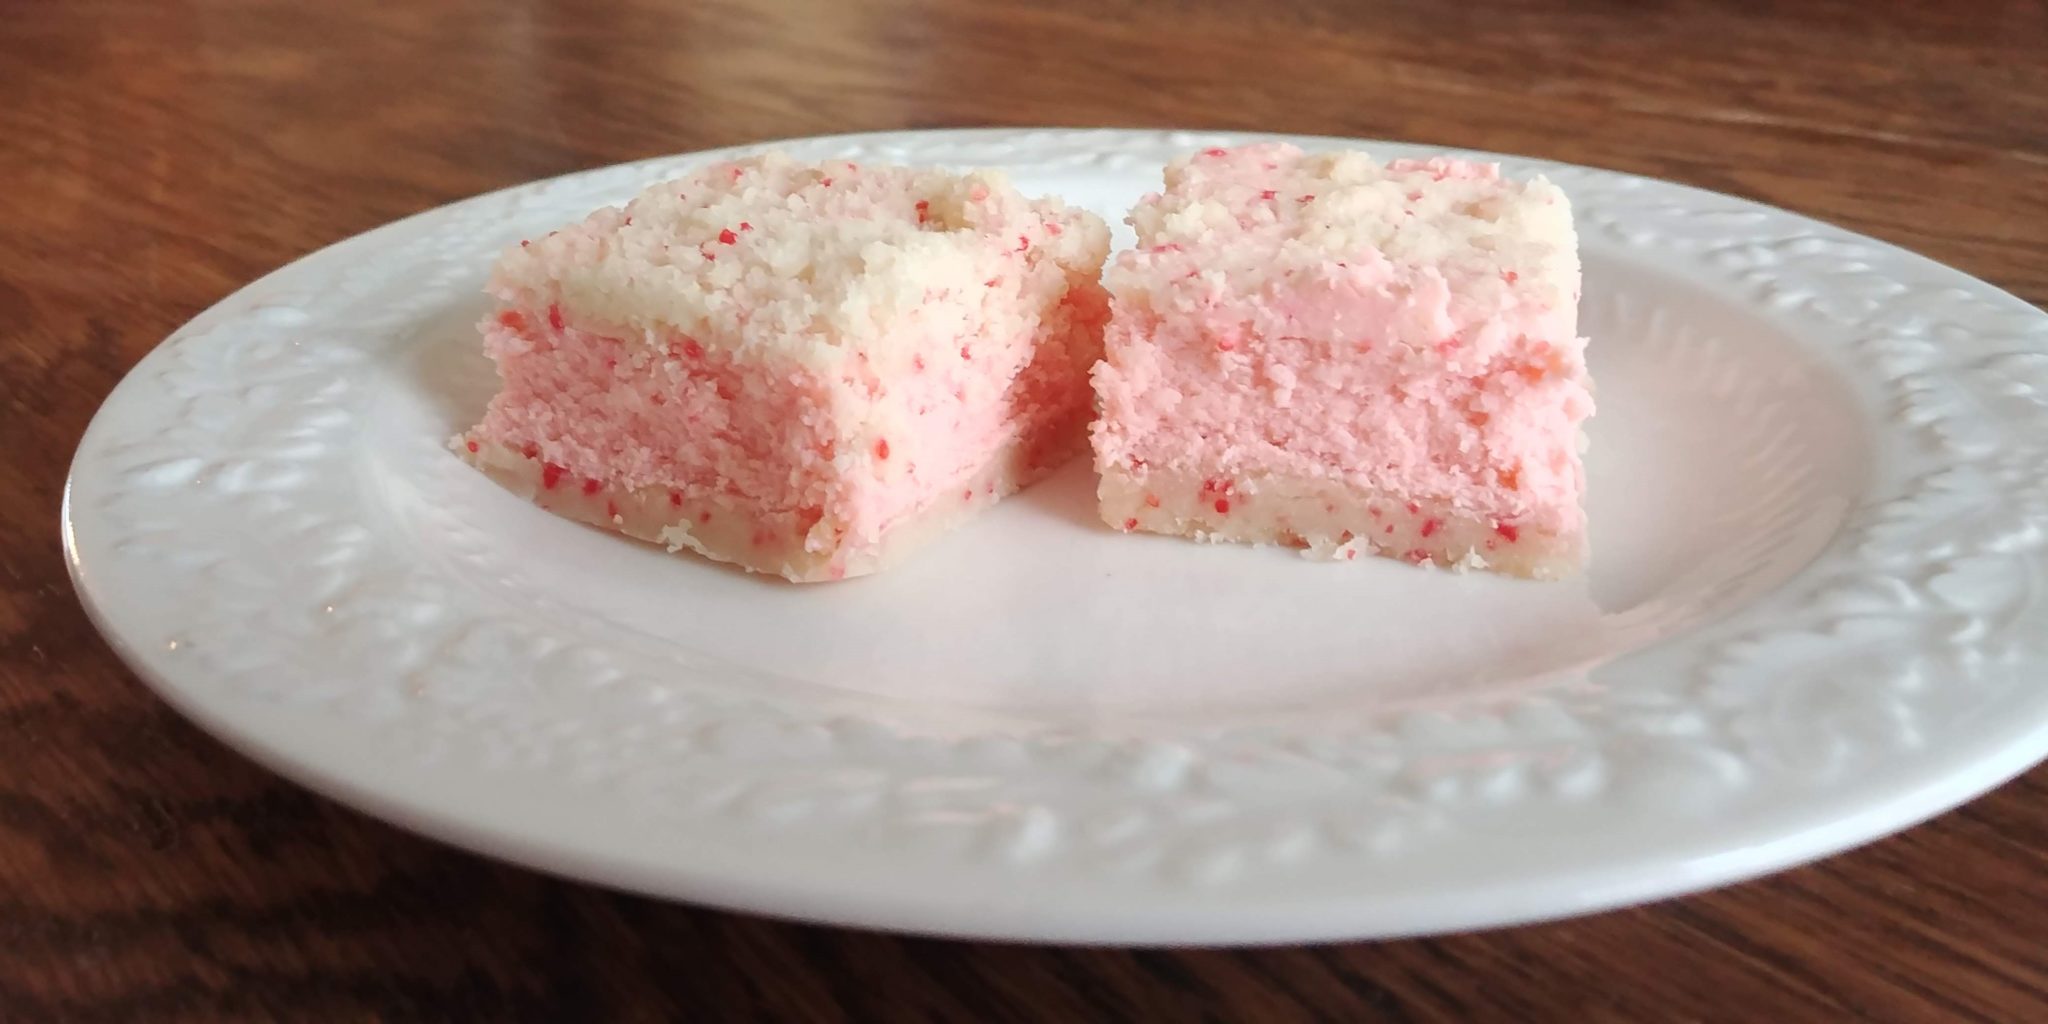
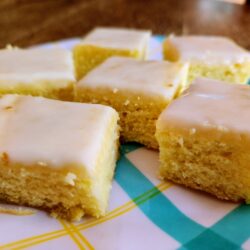
This recipe is for lemon brownies. I know. I know. That does not sound right and you can just call these lemon bars if you wish. Brownies are supposed to be chocolate. I mean, they are typically literally brown. I don’t know but I suspect that the name is derived from their color. But, these lemon treats are called brownies and I respect that. It is kind of cool when you think about it. I have always liked things that are a bit different; that don’t conform to conventions. Lemon Brownies are moist, delicious, sweet and tart like a lemon bar but are also dense and chewy like a brownie. If you love lemon you will love this recipe. If you cannot tolerate calling them brownies, then don’t. Call them squares or bars or hedgehogs if that makes you happy, but make them and enjoy them.
This is a recipe that I found on Pinterest and tweaked a little to my liking. The brownies are made from scratch but don’t let that frighten you. They are super easy. They are great for potlucks or taking to the office.
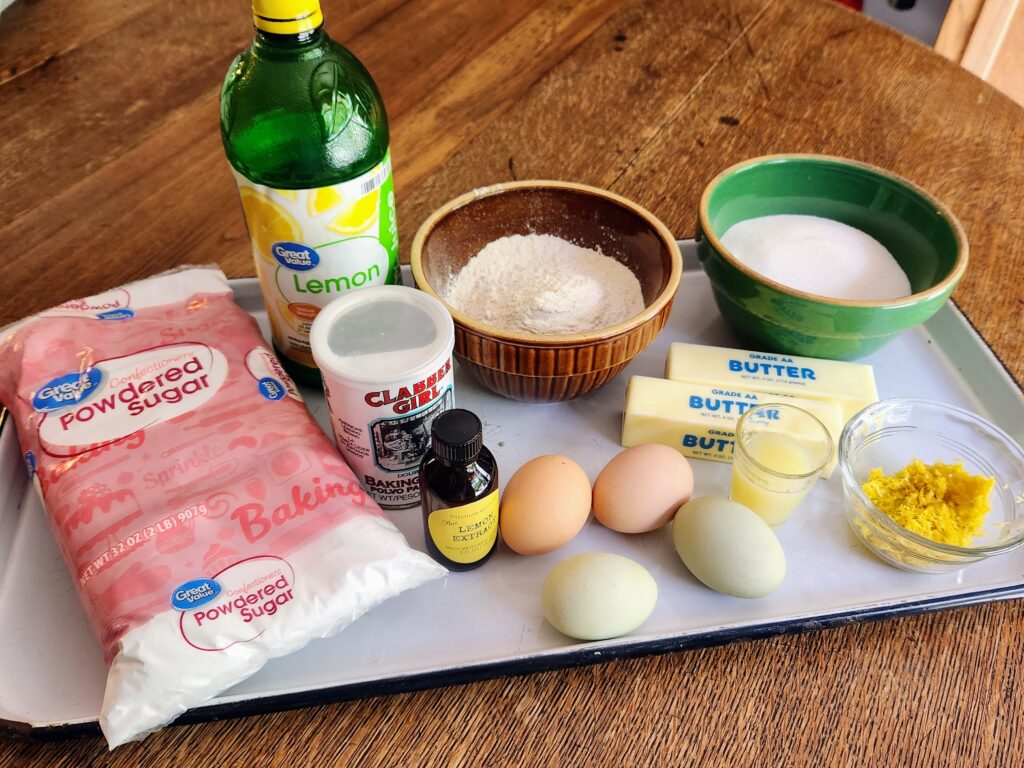
For the brownies, you will need 1 cup of softened unsalted butter, 1 ½ cups granulated sugar, 2 tablespoons lemon zest, 2 tablespoons lemon juice, 4 large eggs at room temperature, 1 ½ cups all purpose flour, and 1 teaspoon baking powder for the brownies. For the glaze, you will need 2 cups powdered sugar, 1 teaspoon lemon extract or vanilla, and enough lemon juice to make your glaze the correct consistency (around 4 tablespoons). If you are using vanilla, you can use clear vanilla to make the glaze really white.
Let’s get this party started.
Preheat your oven to 350 degrees and line a 9 X 13 baking pan with parchment paper.
Zest your lemons and squeeze out the juice, making sure to remove any seeds. I needed 2 lemons to get the right amount of zest and fresh juice because mine were smaller in size. Feel free to use bottled lemon juice to supplement if you don’t have enough for both the brownies and the glaze. Set aside both the zest and the juice in separate bowls or measuring cups.
Whisk together the flour and baking powder and set aside.
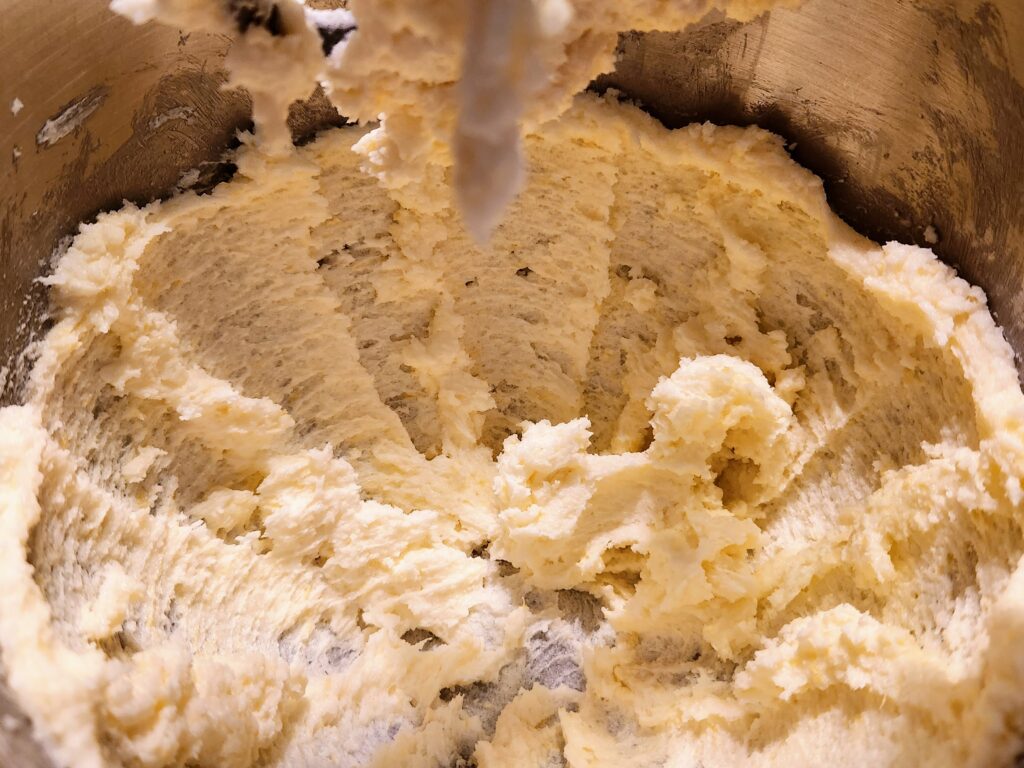
Using a stand or hand mixer, beat the butter, 2 tablespoons lemon juice, lemon zest and sugar until light and fluffy. Scrape down the sides of the bowl periodically. This will take several minutes.
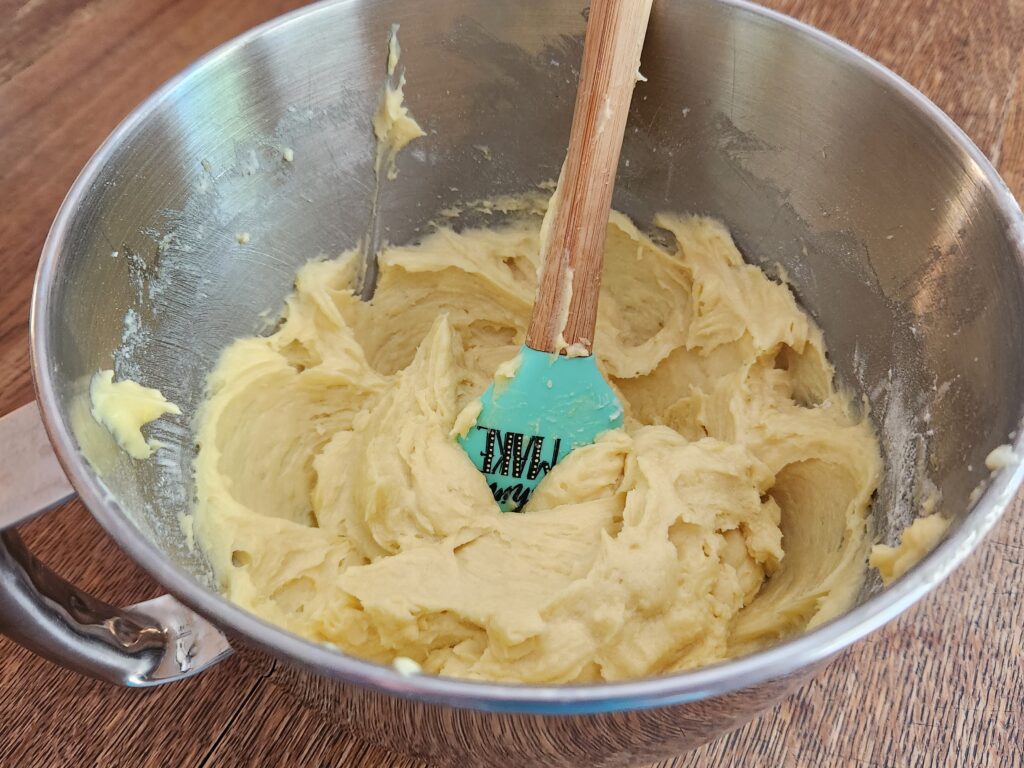
Add the eggs one at a time and beat until combined.
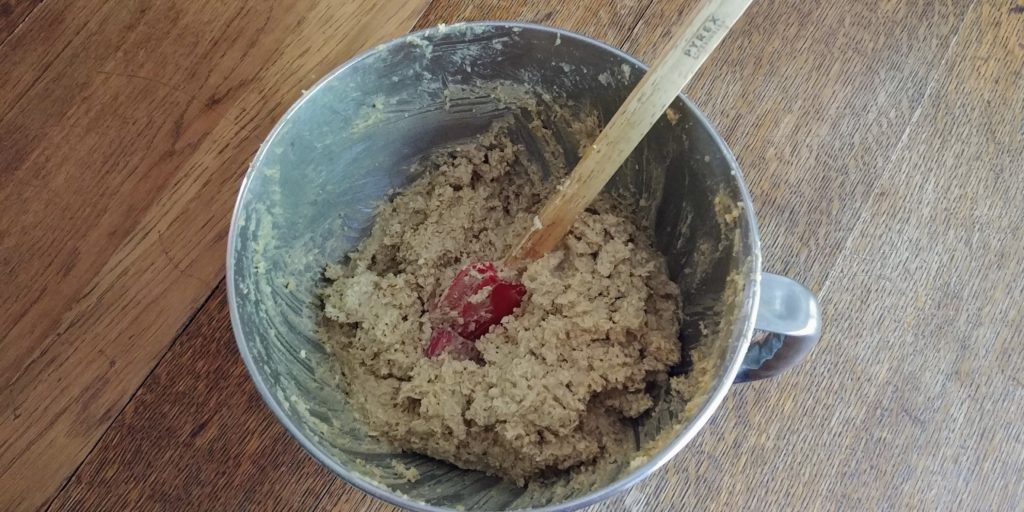
Add the flour mixture gradually, scraping down the sides of the bowl as needed. Mix until just combined.
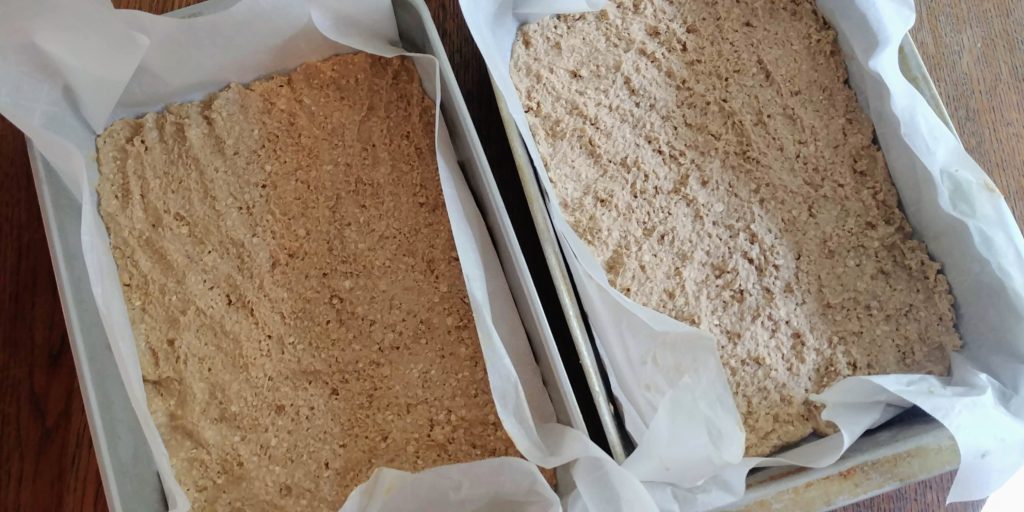
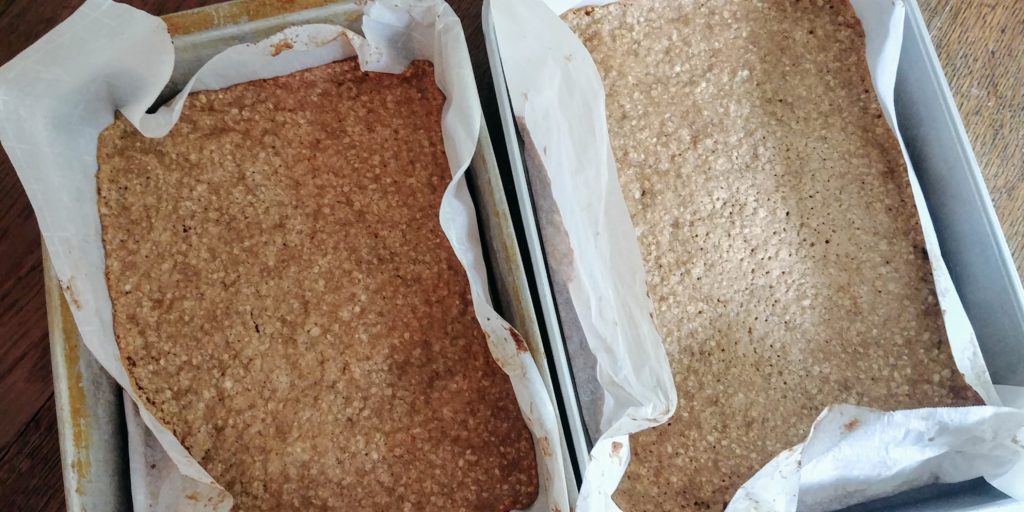
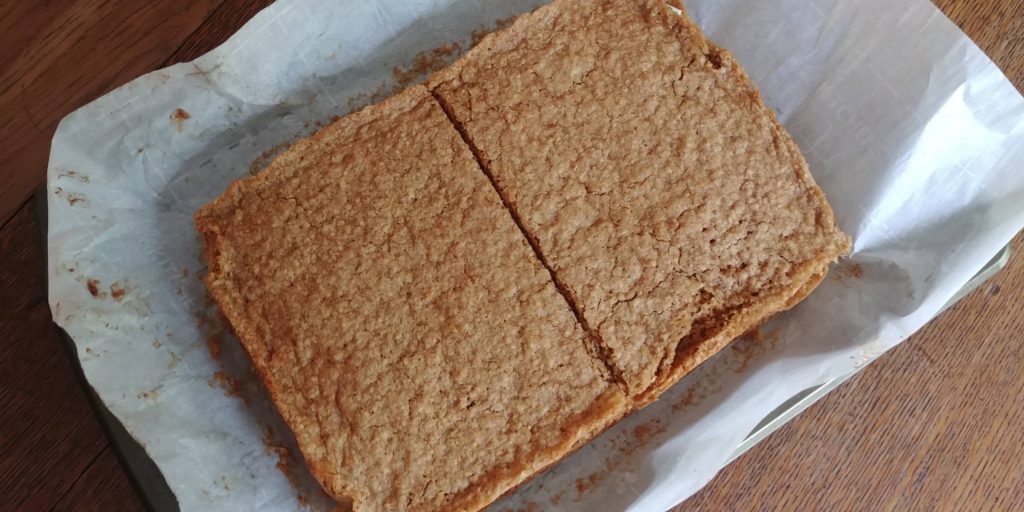
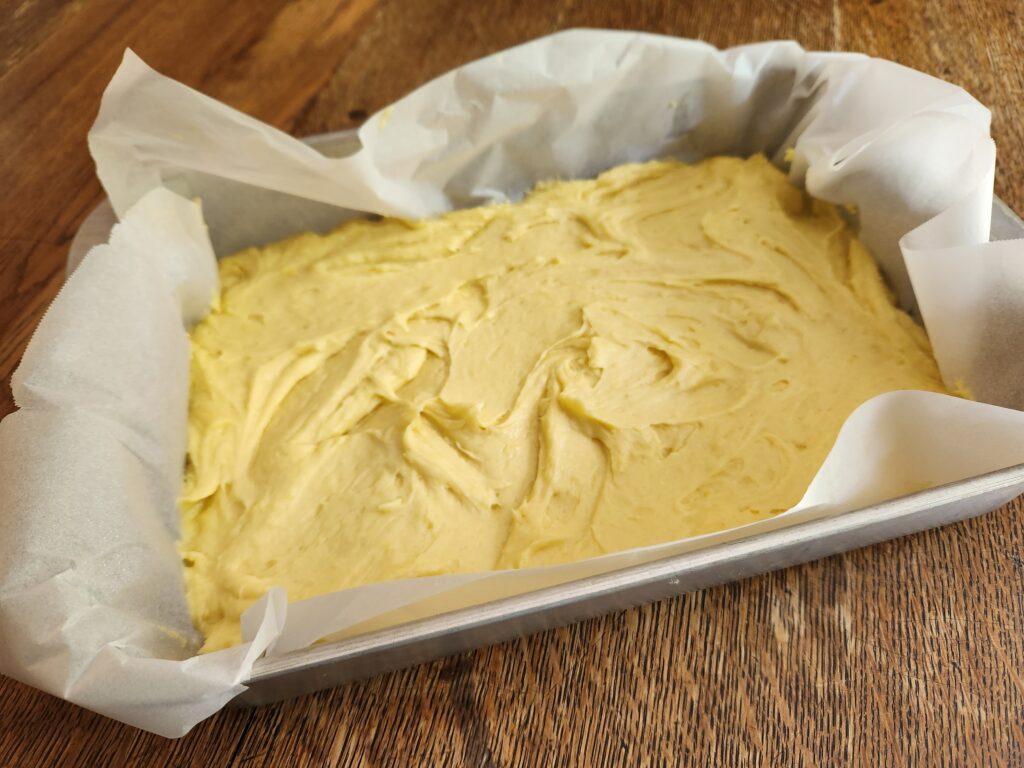
Spread the batter into the prepared pan evenly. Bake in a preheated oven for 25 to 28 minutes. Do not overbake. A toothpick inserted in the center should have some moist crumbs but no liquid batter.
Cool the brownies on the counter. While the brownies are cooling you can mix up the glaze.
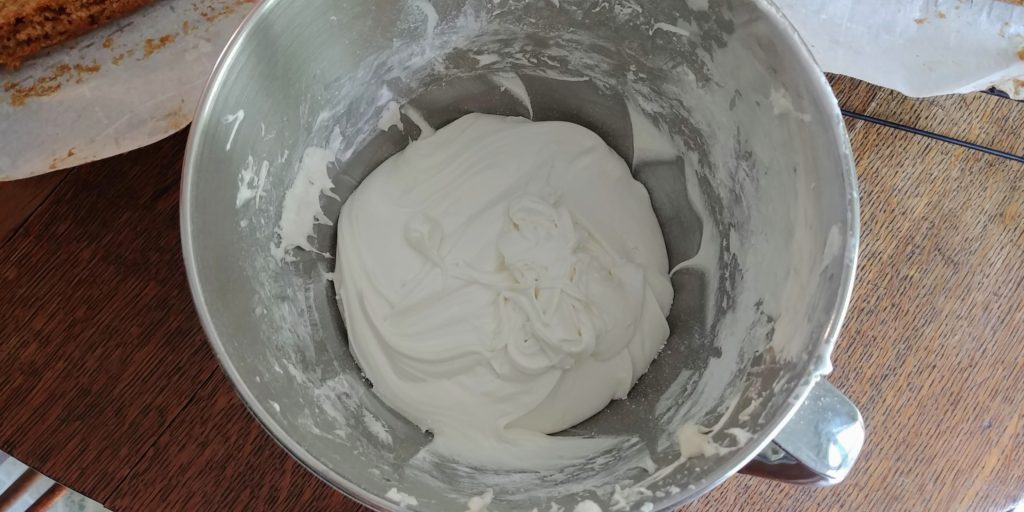
For the glaze, mix the powdered sugar, lemon extract or vanilla, and lemon juice in a large measuring cup or medium bowl with a whisk until smooth. Start off with about half of the lemon juice and add more until you get the right consistency. You want a pourable glaze.
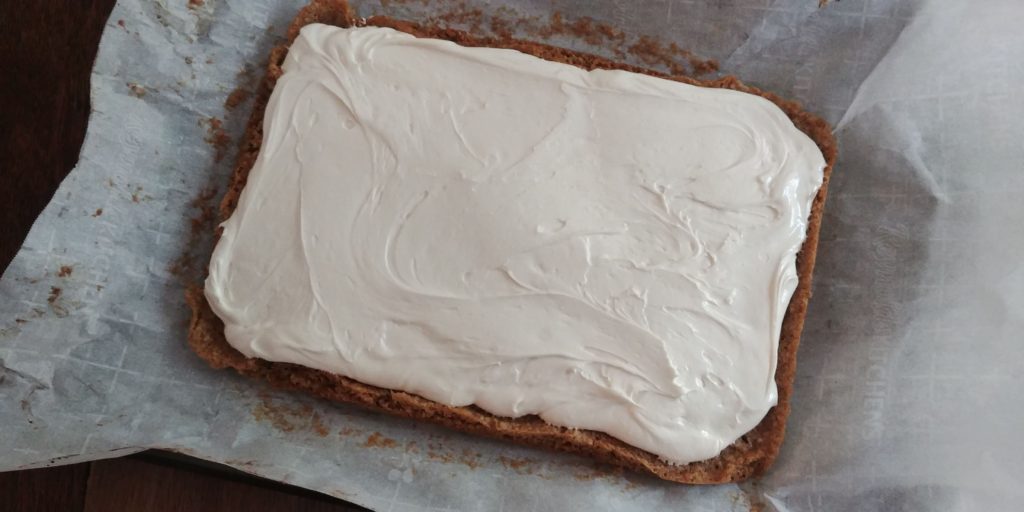
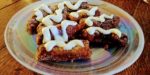
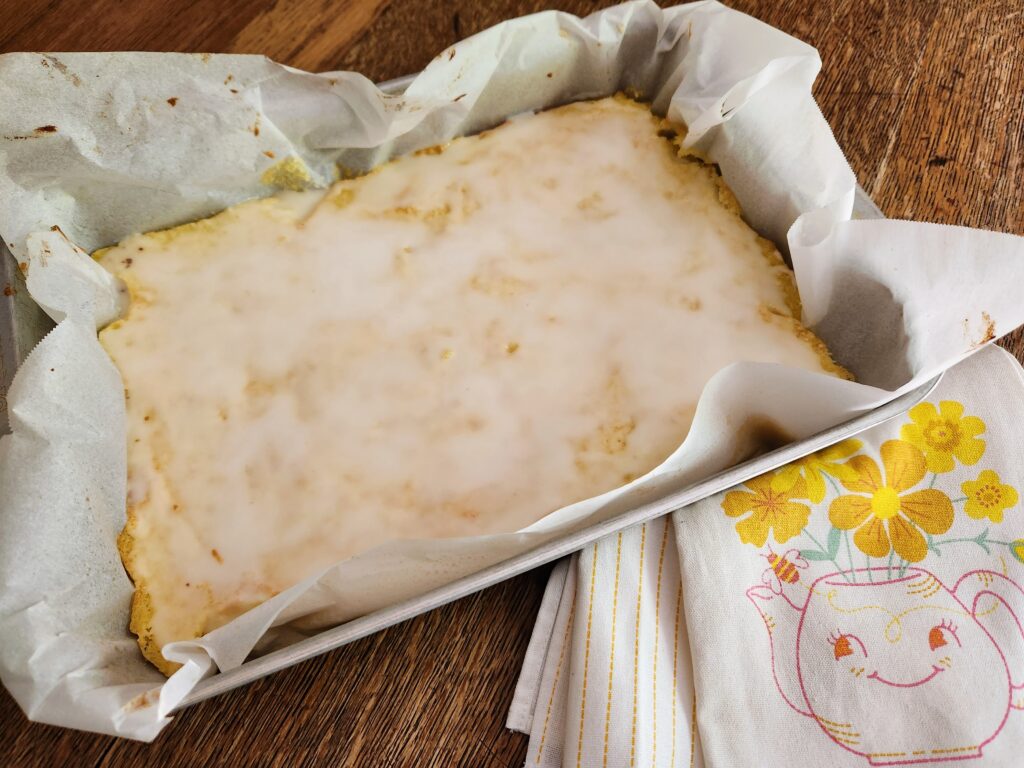
Once the brownies are cooled, pour the glaze over the top and spread to cover completely. Allow the glaze to harden and then cut the brownies.
These keep well in an air-tight container on the counter for a few days or you can keep them in the fridge for a little longer.
I hope that this recipe brings a little sunshine into your day. Here’s to the prospect of sunny days, sandals, and warm breezes coming through open windows. Until next time, Lovies!
Lemon Brownies
Ingredients
Brownies
- 1 cup unsalted butter
- 1 1/2 cups granulated sugar
- 2 Tbsp lemon zest
- 2 Tbsp lemon juice
- 4 large eggs at room temperature
- 1 1/2 cups all purpose flour
- 1 tsp baking powder
Glaze
- 2 cups powdered sugar
- 1 tsp lemon extract or vanilla
- 4 Tbsp lemon juice approximately
Instructions
- Preheat the oven to 350 degrees. Line a 9 X 13 pan with parchment paper and set aside.
- Zest your lemons and squeeze out the juice, making sure to remove any seeds. I needed 2 lemons to get the right amount of zest and fresh juice because mine were smaller in size. Feel free to use bottled lemon juice to supplement if you don’t have enough for both the brownies and the glaze. Set aside both the zest and the juice in separate bowls or measuring cups.
- Whisk together the flour and baking powder and set aside.
- Using a stand or hand mixer, beat the butter, 2 tablespoons lemon juice, lemon zest and sugar until light and fluffy. Scrape down the sides of the bowl periodically.
- Add the eggs one at a time and beat until combined.
- Add the flour mixture gradually, scraping down the sides of the bowl as needed. Mix until just combined.
- Spread the batter into the prepared pan evenly. Bake in a preheated oven for 25 to 28 minutes. Do not overbake. A toothpick inserted in the center should have some moist crumbs but no liquid batter.
- Cool the brownies on the counter. While the brownies are cooling you can mix up the glaze.
- For the glaze, mix the powdered sugar, lemon extract or vanilla, and lemon juice in a large measuring cup or medium bowl with a whisk until smooth. Start off with about half of the lemon juice and add more until you get the right consistency. You want a pourable glaze.
- Once the brownies are cooled, pour the glaze over the top and spread to cover completely. Allow the glaze to harden and then cut the brownies.