Enchanted to serve…dinner, cookies, cakes….

Recent Posts

Vintage Angel Food Cake

Vintage Angel Food Cake

Hi Everyone!  Happy Mother’s Day!  A big shout out to all the Moms, Grandmas, Sisters, Aunts, Nieces, Daughters, and well heck, everyone out there.  I hope that you all have a great day! Mother’s Day can be a bit tricky. It is ideally a day for all moms to relax and have fun.  However, for most moms that entails cooking and entertaining their kids and/or grandkids and that means at least some work. But, I can tell you from my own perspective that it is a labor of love and we wouldn’t trade it for anything.

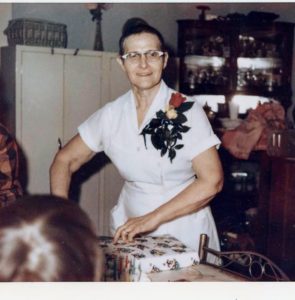
Recently, I decided to foray into dangerous territory.  I decided to make a version of angel food cake using a couple of vintage recipes as guides.  I say that this is dangerous because old recipes carry so much history and so many powerful memories that families are fiercely protective of their own versions.  To even hint that you can make something that is just as good (or better) than grandma so-and-so or Aunt Whozit is asking for trouble. In my own family angel food cake is one of those recipes.  My paternal grandma, Starcy, made legendary angel food cakes. I was never fortunate enough to try one of those cakes, but I have heard the stories of how wonderful they were. I do remember that my family hosted an auction when I was a teenager to assist an uncle’s wife and kids after he passed away.  Some of the items auctioned were baked goods; including Grandma Goode’s angel food cake. I can’t remember exactly but I believe that it went for close to $100. Many of my cousins were involved in a bidding war for it. I wish that I had Grandma’s recipe to use but I was not lucky enough to end up with any of those.  I’m not sure how much good it would do anyway because, like many cooks in years past, she did not use standard measuring cups or spoons. Likewise, she would use pinches and dashes and instructions would include mixing something until “it looks right”. I’m sure that many of you have experienced the same problem. I do have one of her smock aprons hanging in my kitchen for inspiration.  Grandma Goode raised 10 kids in a 2-bedroom house on a small farm income. She knew how to stretch her groceries. The picture below shows my Grandma Starcy (on the right side with the glasses) along with her kids, kids-in-law and some of her grandkids.  I love that little smirk that she has.  You can tell that she is mighty proud of her family.  My mom is in the middle of the picture with the sleeveless blouse.  My grandpa is in the middle of that picture somewhere too.  Poor guy was covered in a sea of children. 
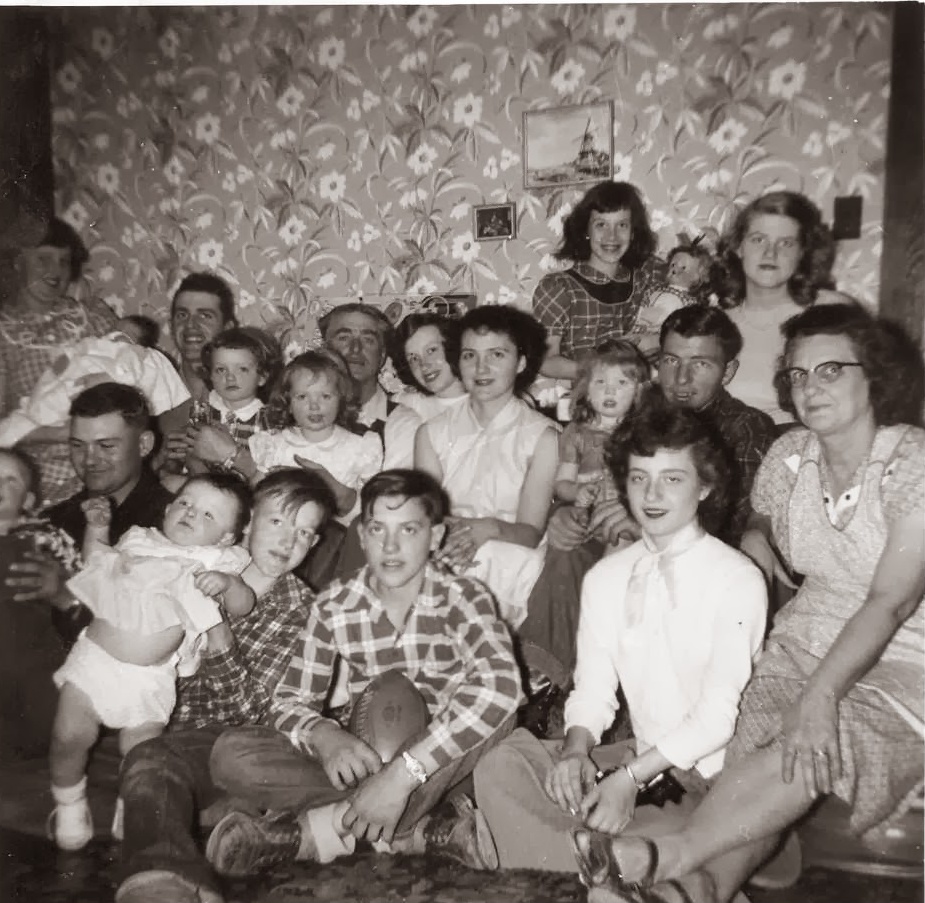
Goode clan
Goode clan

I have asked my dad about Grandma’s baking prowess. He says that she did not just bake one cake for the sake of baking a cake. She would spend a day baking enough to last the family for a few days. She had her own chickens, so angel food cake was a natural treat to make since it takes so many egg whites.  I wonder what she did with all the yolks. Hmmmm. I will have to ask around about that. Maybe there is an awesome pound cake or custard recipe out there. Someday I hope to get the recipe for her sugar pie to share with you all. But that is a story for another day.  

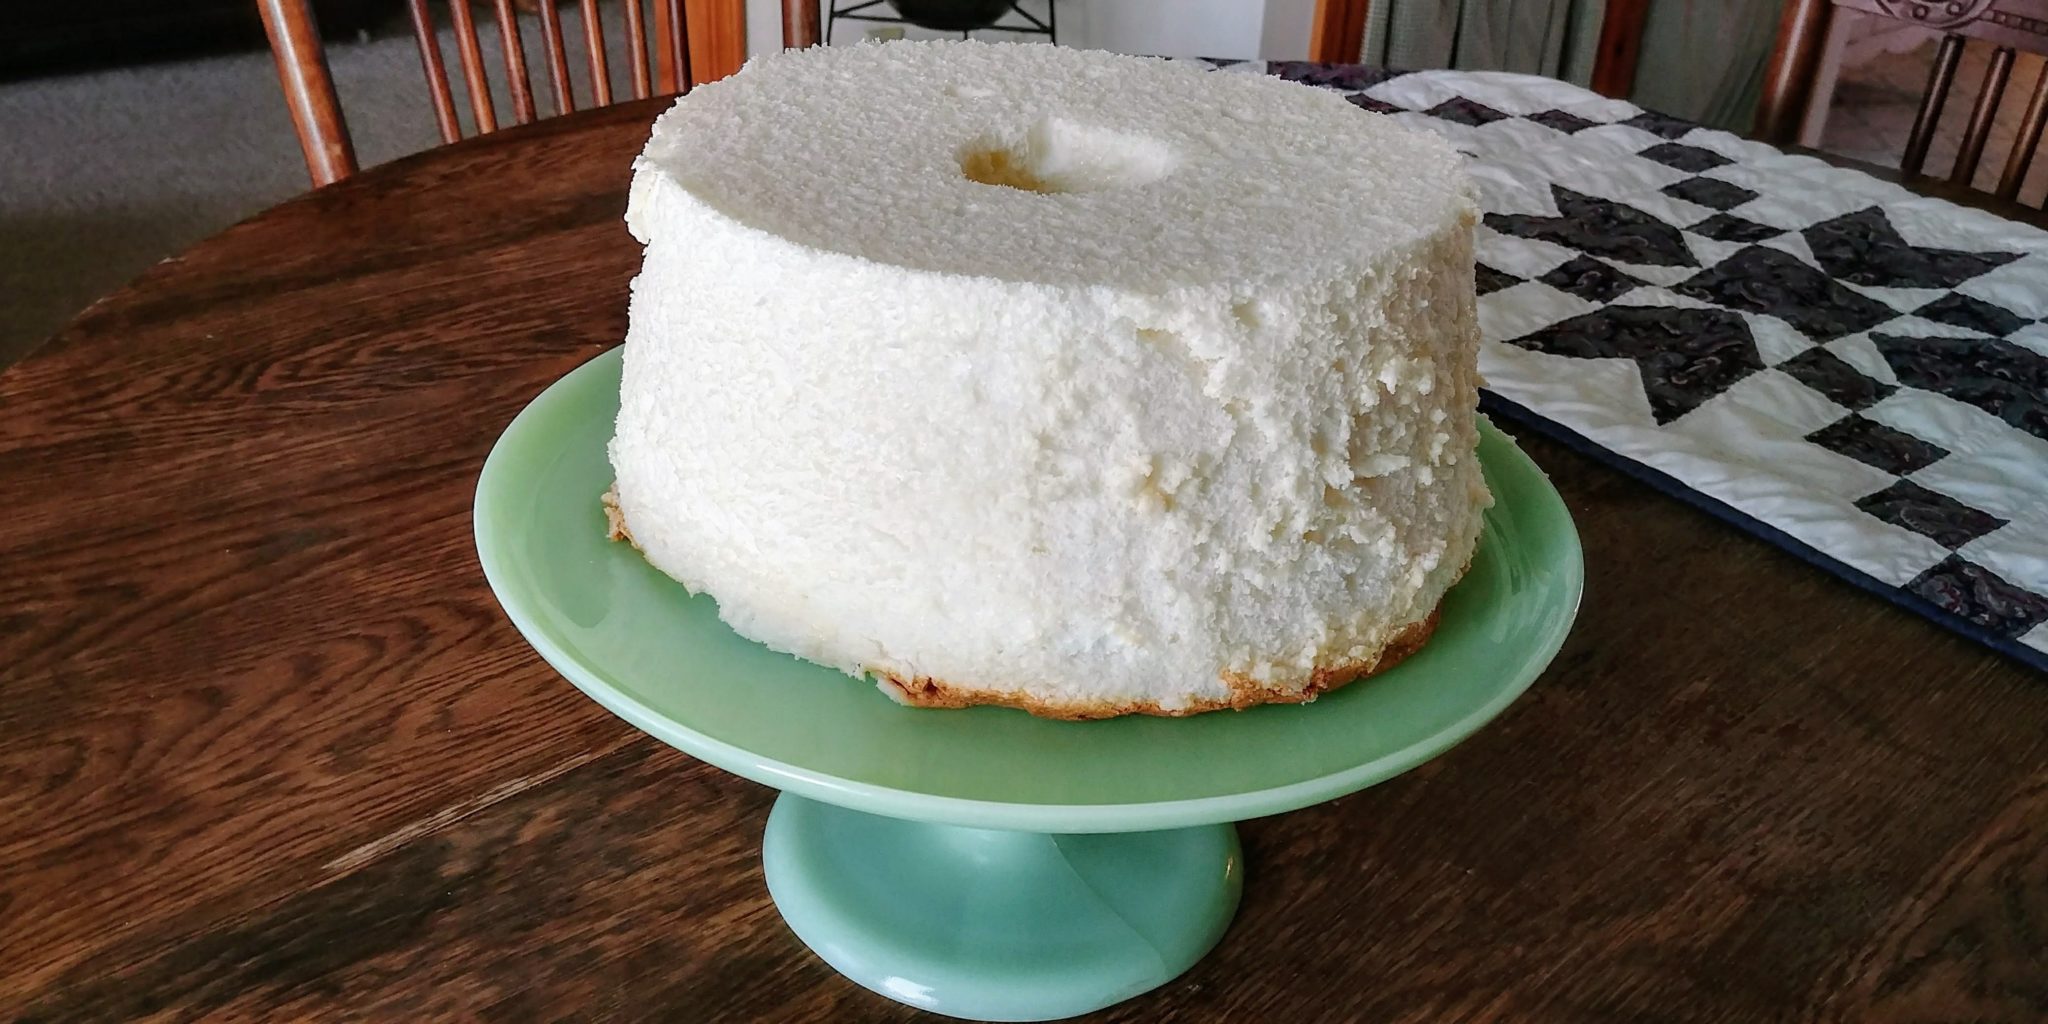
I tried out a few angel food recipes and this one was the best, I think.  The method comes from a vintage cookbook that I got at an auction years ago.  I must admit that I have made angel food cake from scratch before that turned out okay but not nearly as good as this one.  I did not then use any of these tried and true measuring and mixing methods. I was skeptical, but they really do make a huge difference.  This cake turns out really light and fluffy and TALL. The flavor is delightful with a hint of almond and a wonderful sweetness.
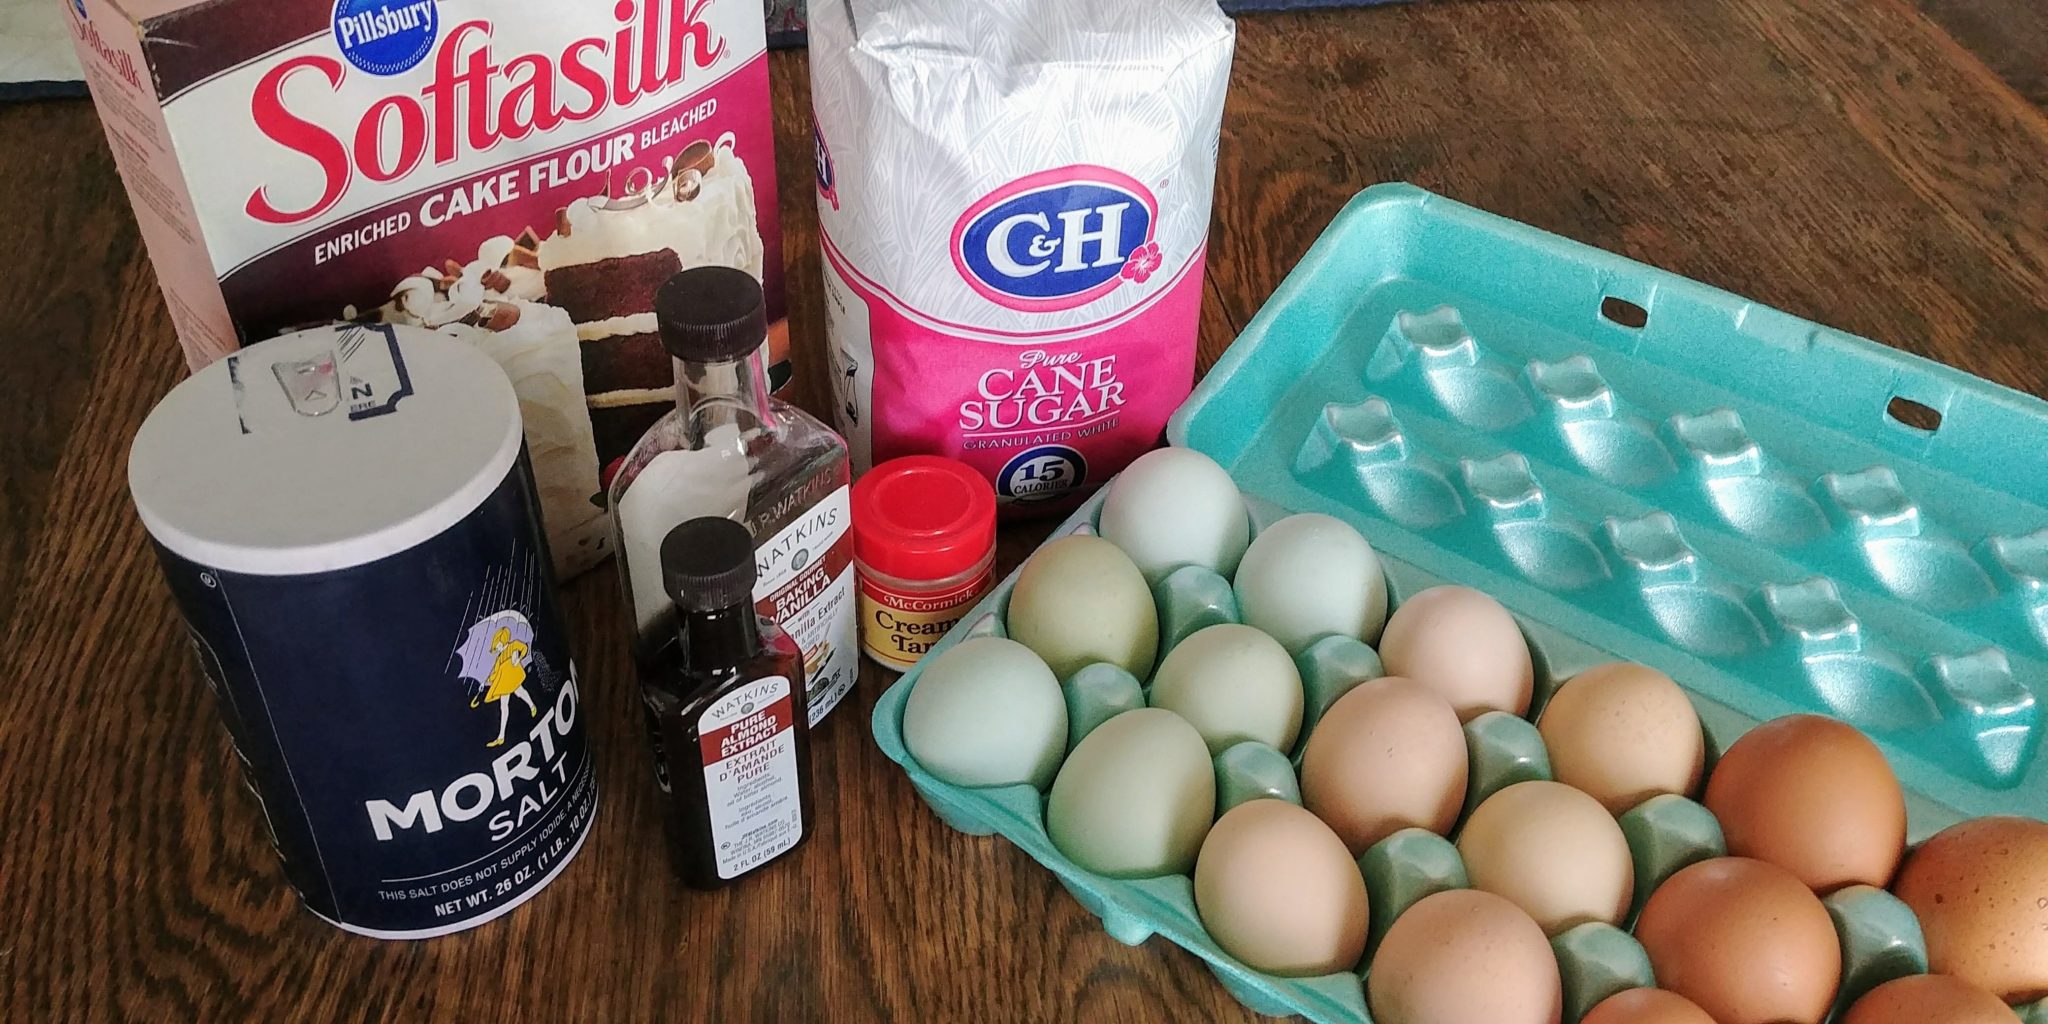
Angel Food Cake Ingredients

Put your eggs out on the counter a few hours ahead of time if possible to bring them to room temperature.  When you are ready to start mixing your cake, sift some of the cake flour in a large bowl. You don’t need to measure at this step just sift.  Now you should measure out 1 ¼ cups of the sifted flour being careful not to pack the flour into the measuring cup. Just scoop and level it off with your finger or a knife.  Sift this flour 3 more times along with ½ cup of sugar. You will need 2 bowls for this. Just go back and forth between the bowls. Set aside.

(more…)

Saucy Pork Chops

Saucy Pork Chops

I mentioned once before that when I decided to start this blog I made a list of recipes that I wanted to share with everyone.  These recipes are personal or family favorites. Some have been handed down from family and friends. Others will be new recipes that I stumble upon and want to pass along because they are soooo good.  I might also become confident enough to share the recipes that I develop myself. Who knows?!

The dish that I want to share today is a favorite of my sons. I found the basic recipe in a cookbook years ago and have made a few revisions to suit our tastes and the appetites of growing boys.  I have also developed a few tricks for the cooking method that I will share.

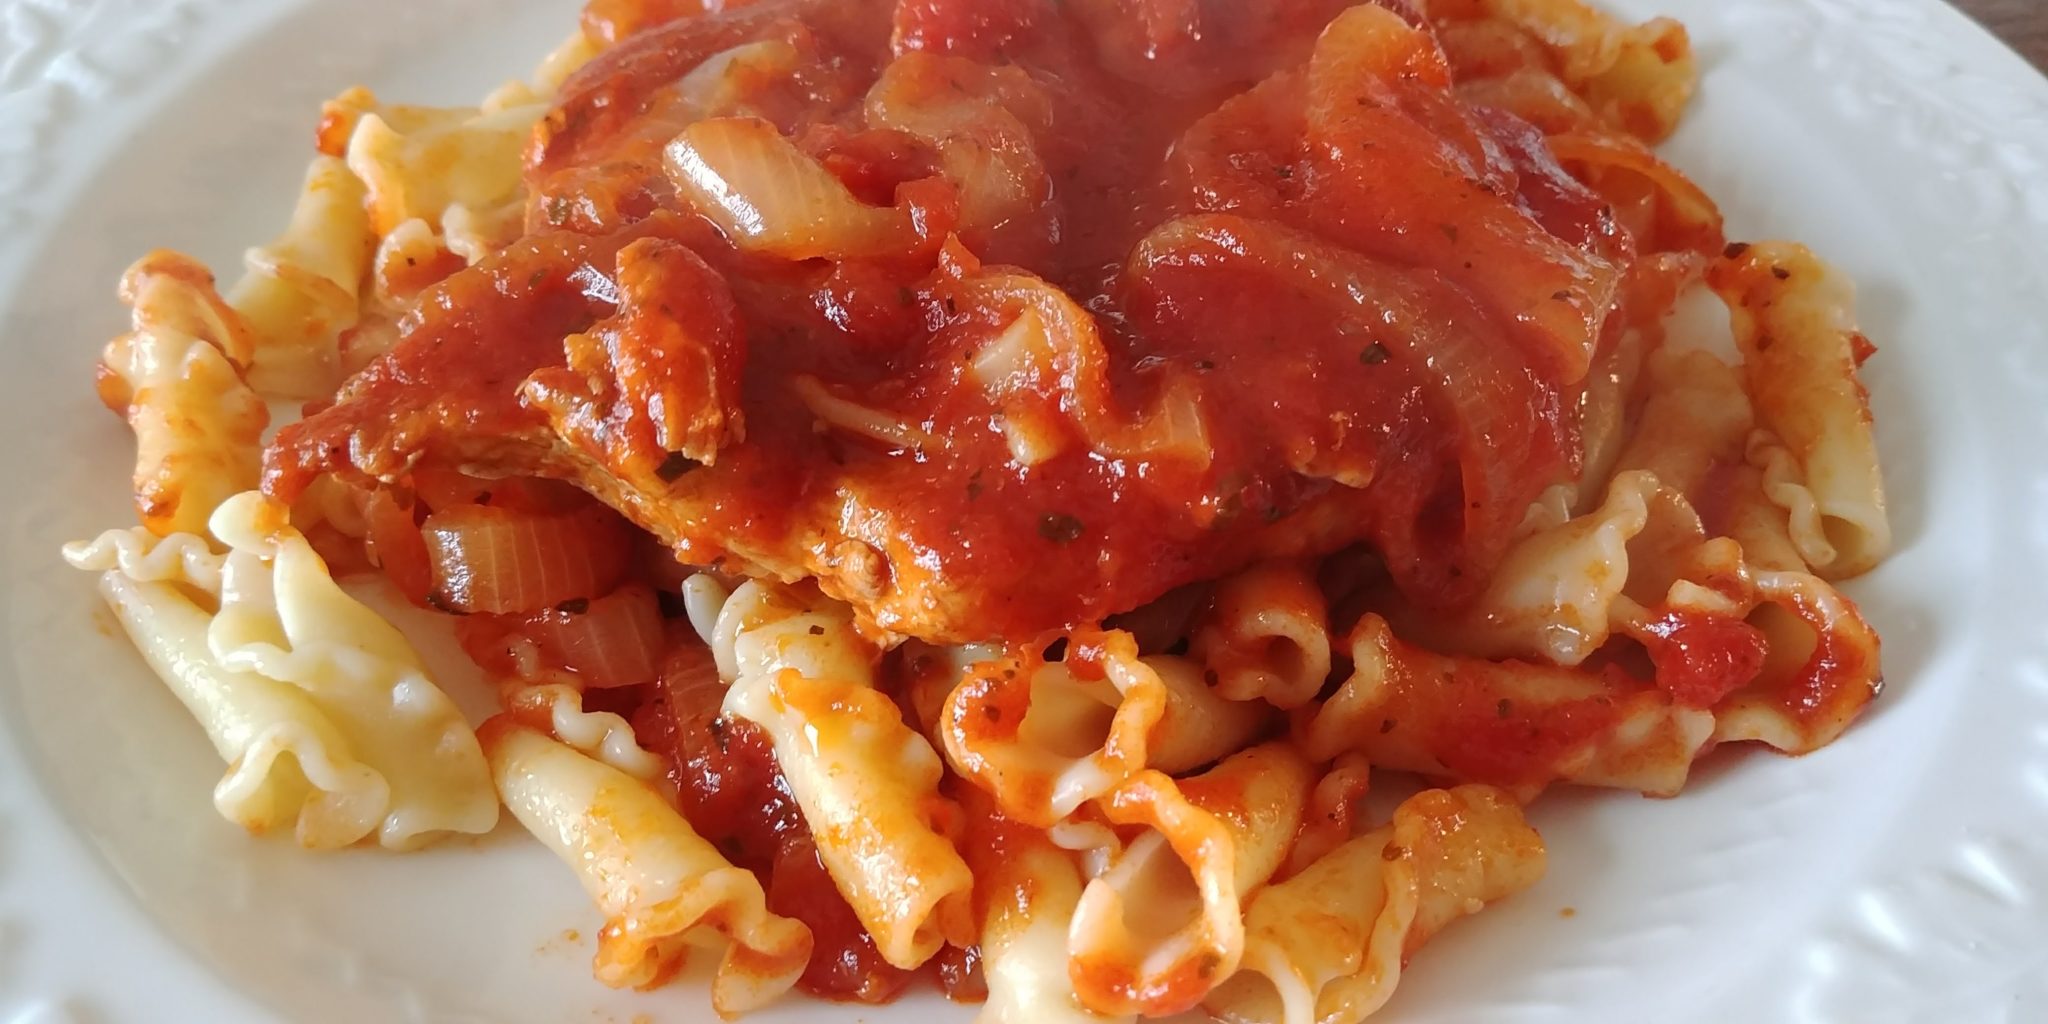
I am going to call these Saucy Pork Chops.  Whenever I ask my boys if they want this particular dish I say something like, “You know, those pork chops with the tomato sauce and onions?”.  They know exactly what I am talking about and immediately agree. This is an almost one pot meal. Technically it is 2 pots because you must cook the pasta separately.  Well, then you have the bowl to mix the sauce and a measuring cup and a cutting board and knife. That is my experience with one pot meals. They are never really one pot.  That would be impossible for me. I tend to make a lot of messes when I cook. Oh well, that is what dishrags are for. So, besides the very few dirty dishes I think that you will really enjoy this hearty and comforting meal.  The pork chops turn out tender and flavorful and the sweet onions pair very well with the tomato sauce. The dish is tangy and sweet with loads of flavor and texture.

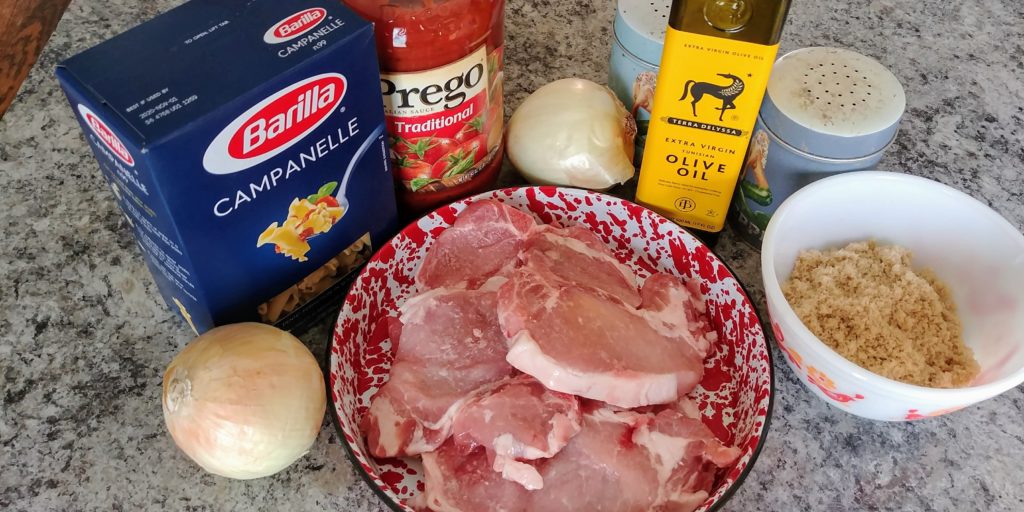
Saucy Pork Chop Dinner Ingredients

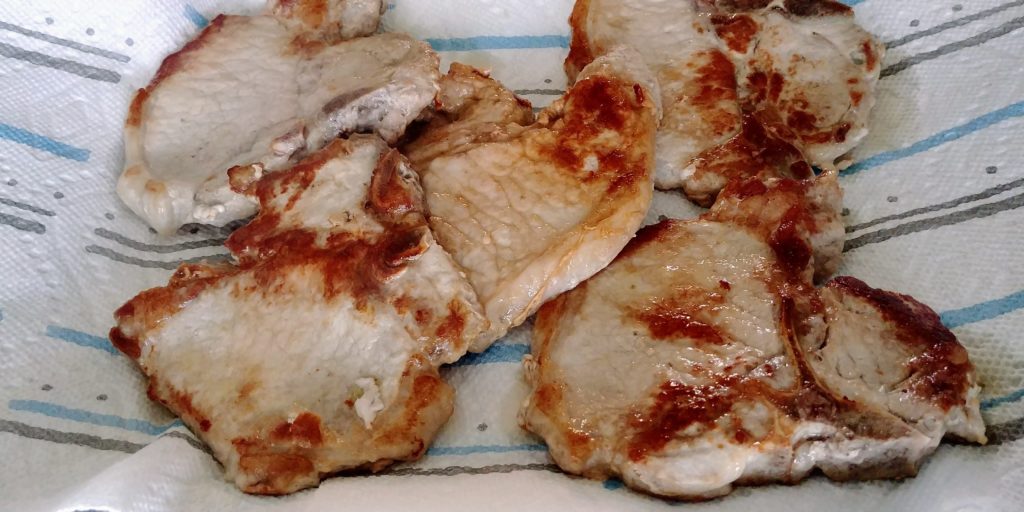
I usually use a thicker pork chop for this dish.  I have used bone-in and boneless. Either way they will be really good as long as you are careful not to overcook them.  Add 2 Tablespoons of the olive oil to a large skillet that has a lid. You are going to use this skillet for the entire dish except for the pasta, so it needs to be large enough and deep enough and have a lid for simmering.  Anyway, heat the olive oil over medium heat for a minute or two and then add your pork chops. Cook until just browned, flip and then do the same on the other side. The chops are going to simmer in the sauce for awhile and so will continue to cook.  It is ok if they are not completely done at this point. Remove them from the pan to drain. Pour off most of the leftover oil and discard.

Saucy Pork Chop Dinner Browned Chops

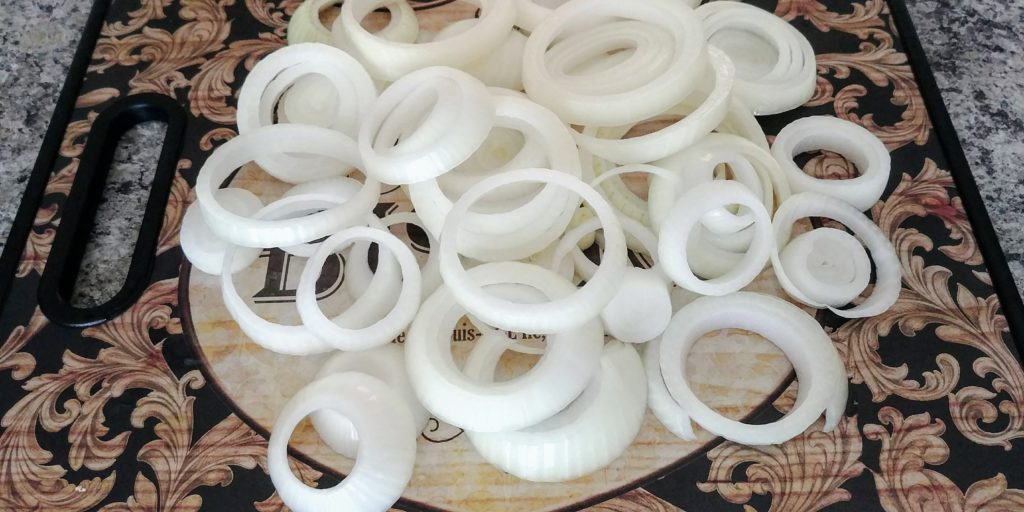
While the chops are cooking slice the onions into ¼ inch thick rings.  Separate all the rings and set aside.
Saucy Pork Chop Dinner Sliced Onions

Add a few of the onion rings to the bottom of your skillet.  This adds a protective layer under the pork chops which reduces the chance of scorching.  Put the pork chops on top of those rings. Layer the remaining onion rings over the top of the chops.  Sprinkle with salt and pepper to taste.

(more…)

Cinnamon-Sugar Tea Ring

Cinnamon-Sugar Tea Ring

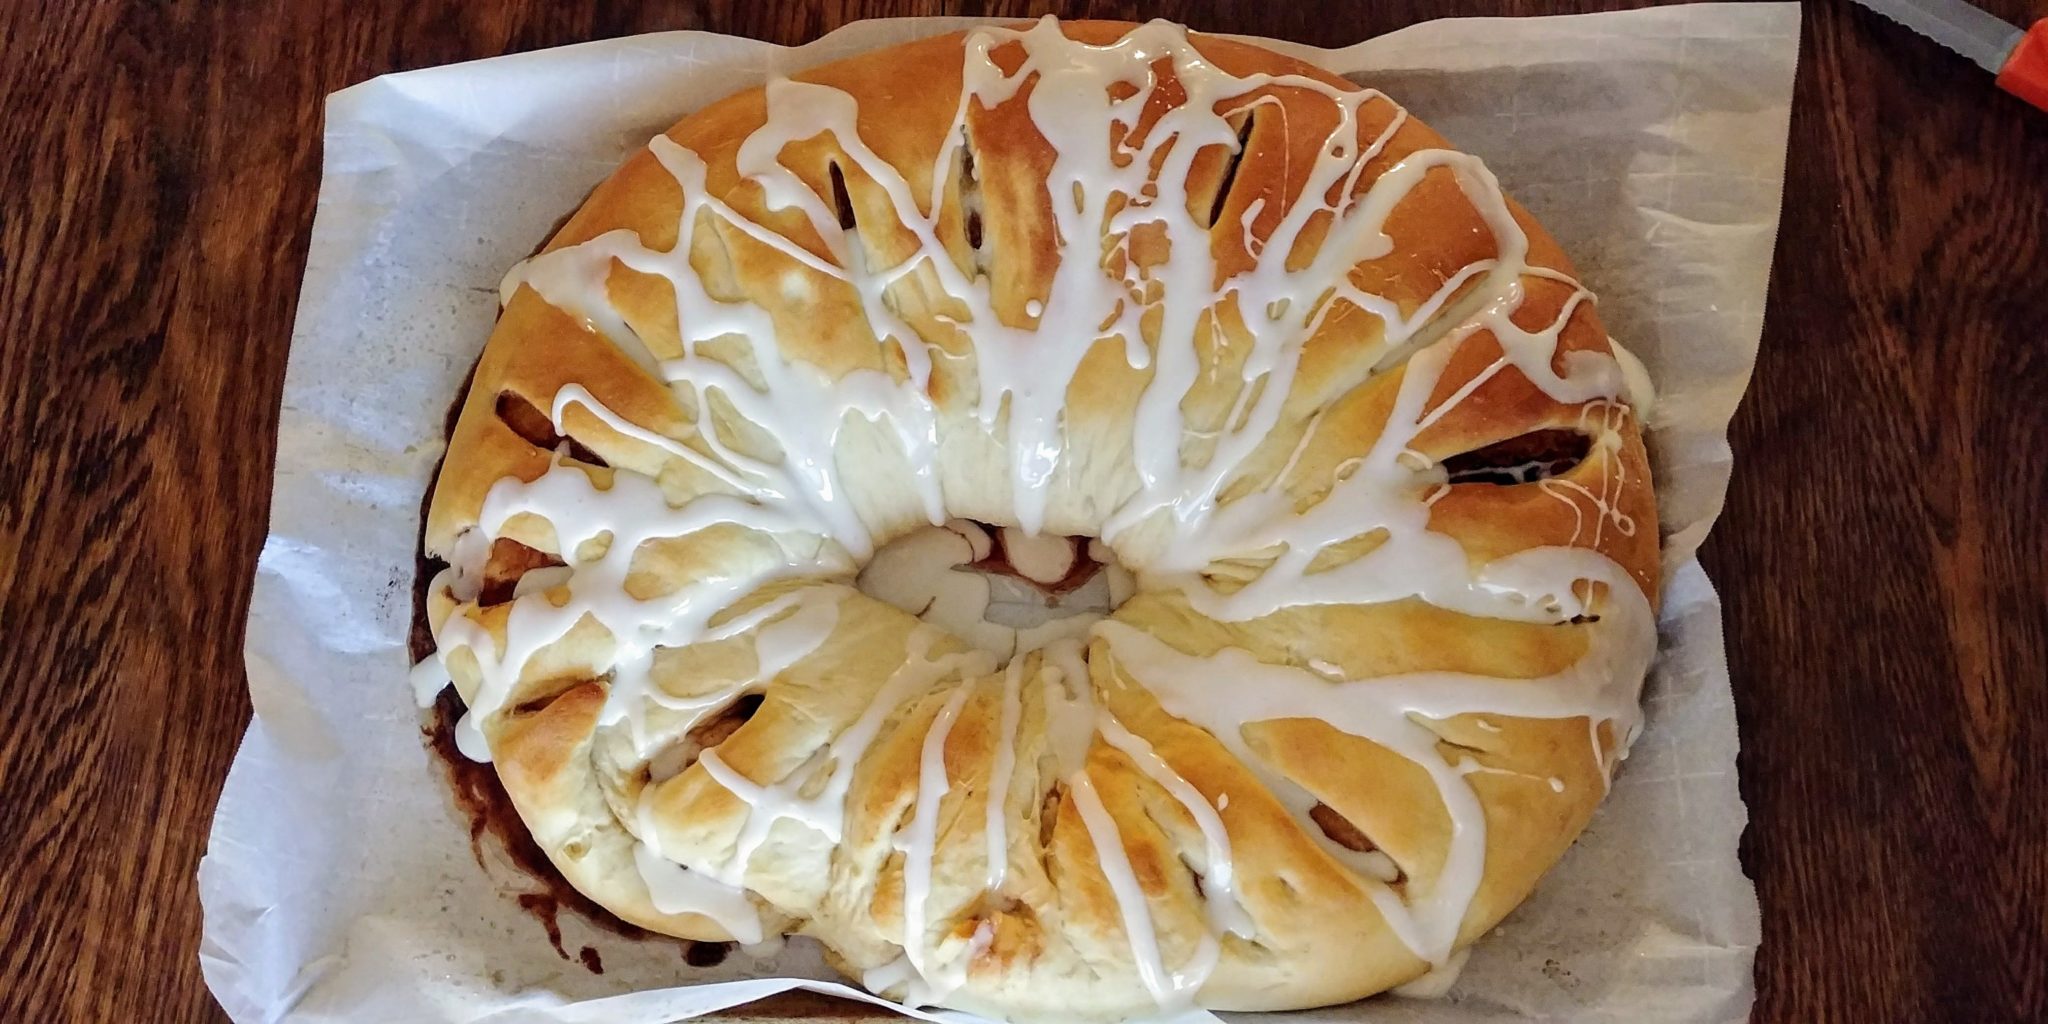
Hi Everyone!  In your family or group of friends are there food traditions?  I mean, do your loved ones have signature dishes? Does it seem wrong somehow if you make someone else’s dish?  Well, in my family (the Goode side) that feeling of protectiveness and competition is becoming more prevalent. As the nieces and nephews grow older and develop some mad cooking skills of their own the need to one-up each other is growing.  One of the signature recipes in my family is the famous Tea Ring. The recipe is Mom’s but my sister, Marilyn, started making them for our Christmas gathering many years ago. Now she has to make two and hide one so that there is some left for the rest of us to take home.  There have been good-natured arguments about these Tea Rings and many threats to abscond with the whole extra ring before anyone else can find it. This past year I finally worked up the nerve to ask for the recipe. Marilyn gladly gave it to me. The thing is, it was an exact copy of Mom’s recipe and while it gave the ingredients and amounts; it gave no instructions.  Yikes! Marilyn verbally gave me her process which I promptly forgot. I did a little research of other Tea Ring recipes to get an idea of what to do. I finally got brave enough to give it a try. You see, I have an irrational fear of yeast baking. I needed to make a Mardi Gras dessert for a work potluck and I decided that the Tea Ring was close enough to King Cake to work. I gave it a shot and it actually turned out great!  Winner, Winner, Tea Cake Dinner! My husband and sons asked who was going to break it to Marilyn that someone else could make the famous Tea Ring. Not me! I am perfectly happy to let her make them for Christmas. But I know that I can do it and that is all that counts. And, I can make them whenever I want. This is not a good thing for my thighs. I am even playing around with the basic recipe to make other goodies.  More to come on that.

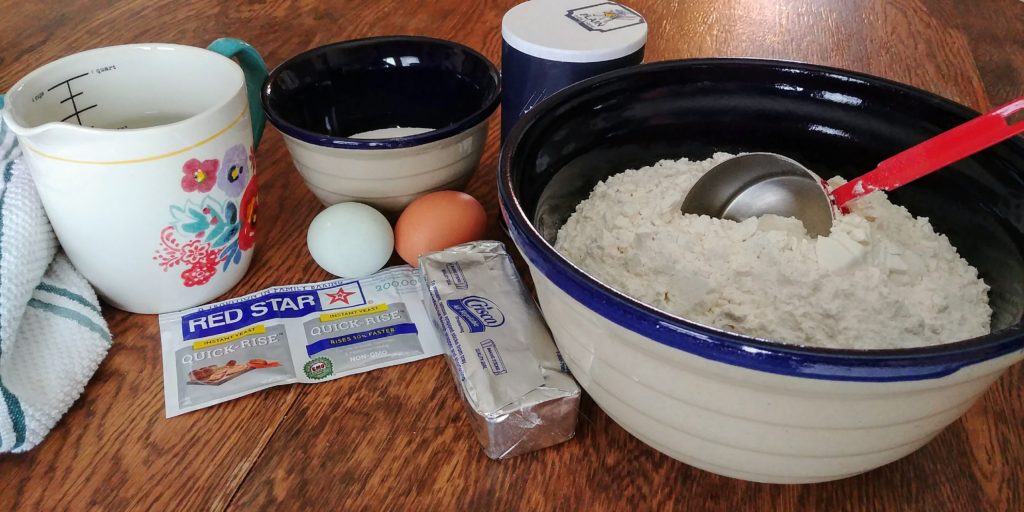
Tea Ring ingredients

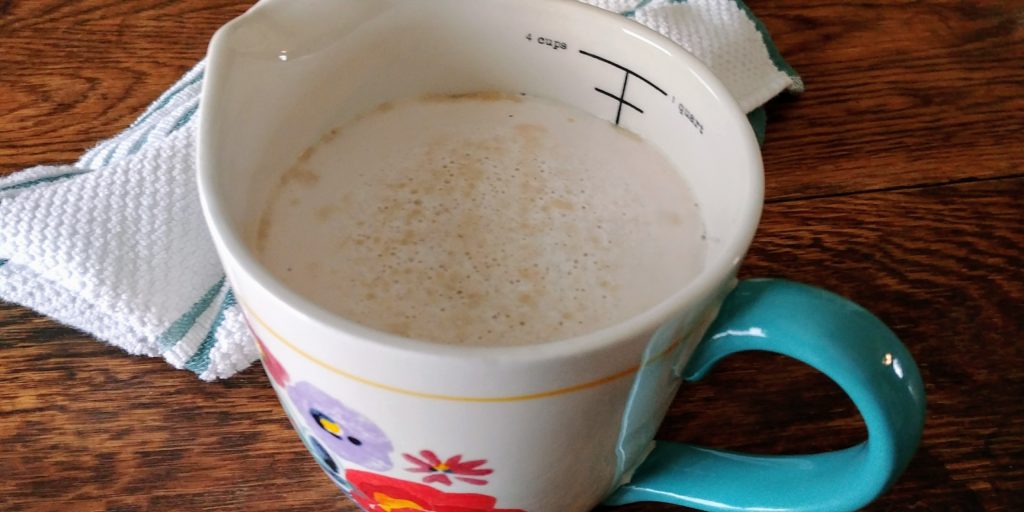
Start off by adding your yeast to the water along with 1 teaspoon of the sugar.  The water should be around 100 degrees. I try to get mine just slightly cooler than my bath water.  You can certainly test it with a thermometer to be absolutely sure. Let this mixture sit until the yeast activates and a foam develops on the top of the liquid.  

Tea Ring yeast in cup

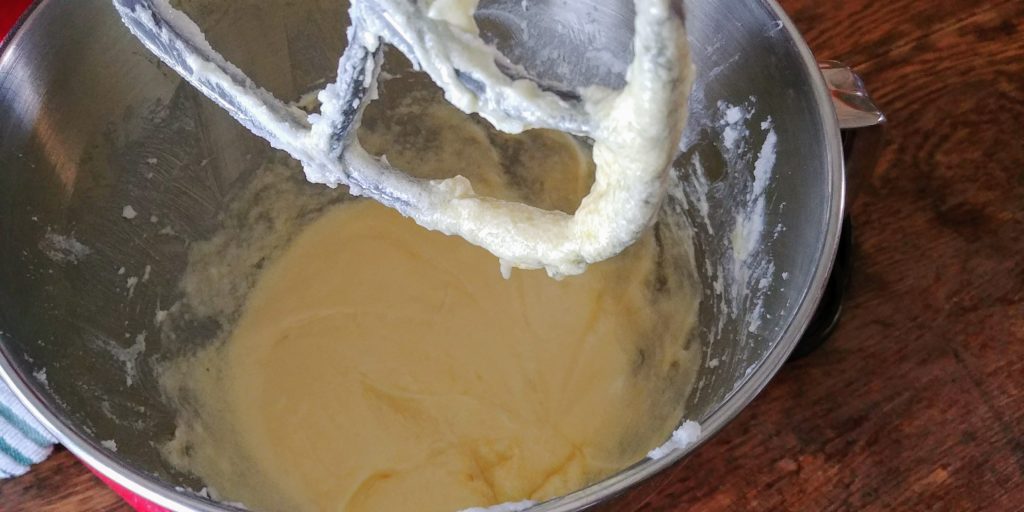
Meanwhile, mix the shortening and remaining sugar in a large bowl with a hand mixer or stand mixer.  A stand mixer works better for this recipe since a dough hook is recommended toward the end of mixing.  Add the eggs and salt and mix well.

Tea Ring crisco eggs sugar

If you have a dough hook for your mixer go ahead and switch your beaters for it.  It will be much easier to get your dough to the correct consistency. Add the flour a little at a time alternating with small amounts of the yeast mixture.  When all of the flour and liquid have been added continue to mix on high speed until a nice elastic dough has formed and pulled away from the edge of the bowl slightly.  When I made mine for this post the dough was too sticky as you can see in the photo. I added another ½ cup of flour and the dough came together. It does not need to be a completely formed dough ball.  You will be adding a bit more flour during the kneading process after rising.

(more…)

Chocolate Drop Cookies

Chocolate Drop Cookies

Hello Everybody! I’m pretty sure that I have mentioned that I am a chocoholic. I absolutely love it! The darker the better! My mom has always been a huge chocolate fan too and I believe that she must have ate so much of it before I was born that I have cocoa as part of my DNA. So, you see, this incessant desire for chocolatey goodness is not my fault. I must have some each day, or I might develop some sort of chemical imbalance. That’s my reasoning and I’m sticking with it.

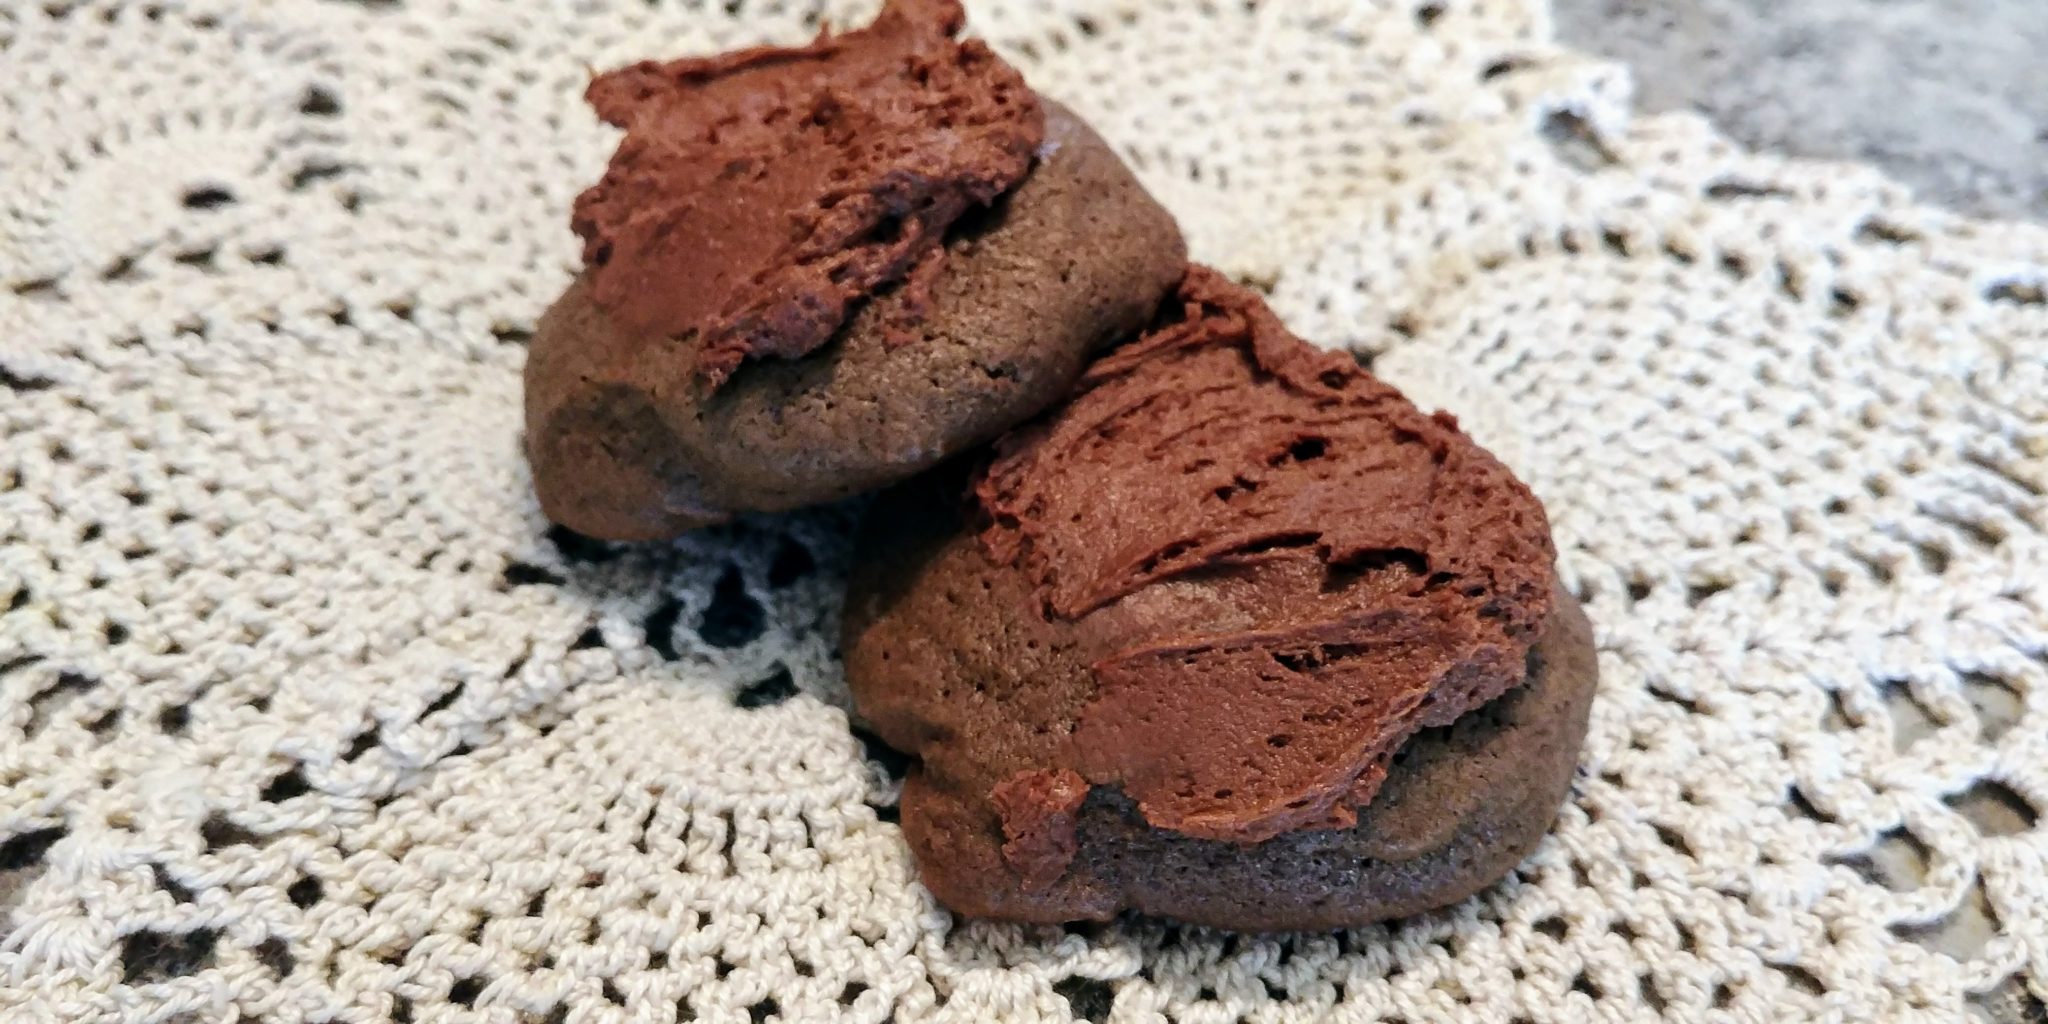
There are only a few recipes or dishes that I associate with my childhood.  Chocolate Drop Cookies are first and foremost on that list. I wonder why? Mom used to make these when I was very young and then she just kind of quit baking them.  She was always trying new recipes and I suspect that she found other cookies to make. This well-loved treat just fell by the wayside. For years I thought that these cookies would remain a memory alone but then one of my sisters happened to mention that she had the recipe.  WooHoo! She was nice enough to share with the rest of us and I could not wait to try it out. I have to say, though, that the memory was better than the result of my first few attempts at these cookies. Maybe it was the lack of Mom that made the difference. Anyway, lately, I tried again because I wanted to share this recipe with you.  Success at last! I tweaked the measurements just a bit to get them just right. When I used the original recipe, they turned out very flat. The cookies that I remembered were quite puffy, soft and light. I would suggest that if you try out this recipe (and I really hope you do) you bake 2 or 3 only during the first round of baking. If the cookies spread too much and turn out pancake flat you should add just a bit more flour.  Make sure to add it in small increments so that you don’t overdo it. These cookies are soft, fluffy, light and not extremely chocolatey. The addition of the frosting makes for a blissful cocoa moment with each bite that you take.

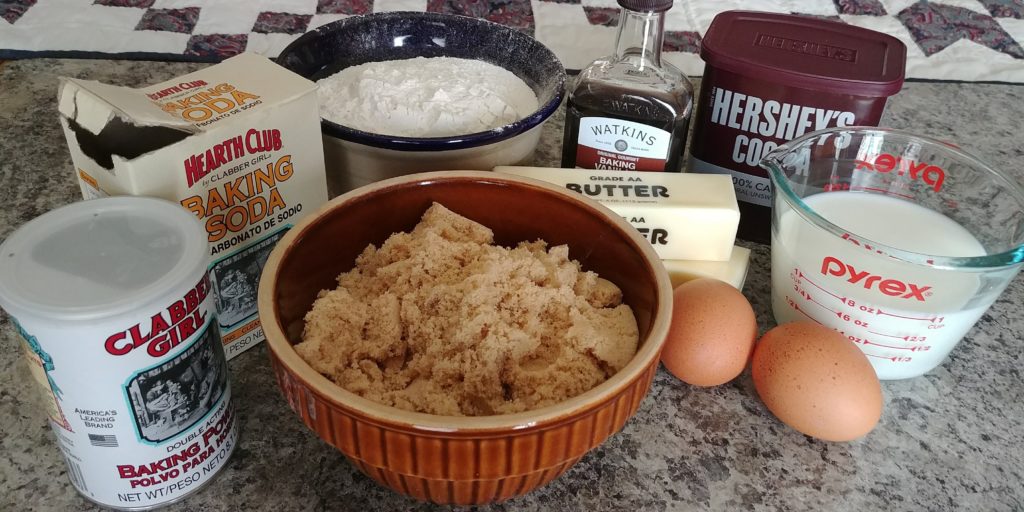
Chocolate Drop Cookies Ingredients


Start off by softening your butter.  You can use solid shortening in place of the butter.  I have not tried that yet because I am a butter kind of girl.  Maybe Mom used shortening instead of butter and so her cookies turned out differently?  Hmmmm. I will have to make these again with shortening just to see what happens. If you make these cookies with shortening let me know what happens, please.

Whisk together the flour, baking soda and baking powder and set aside.  
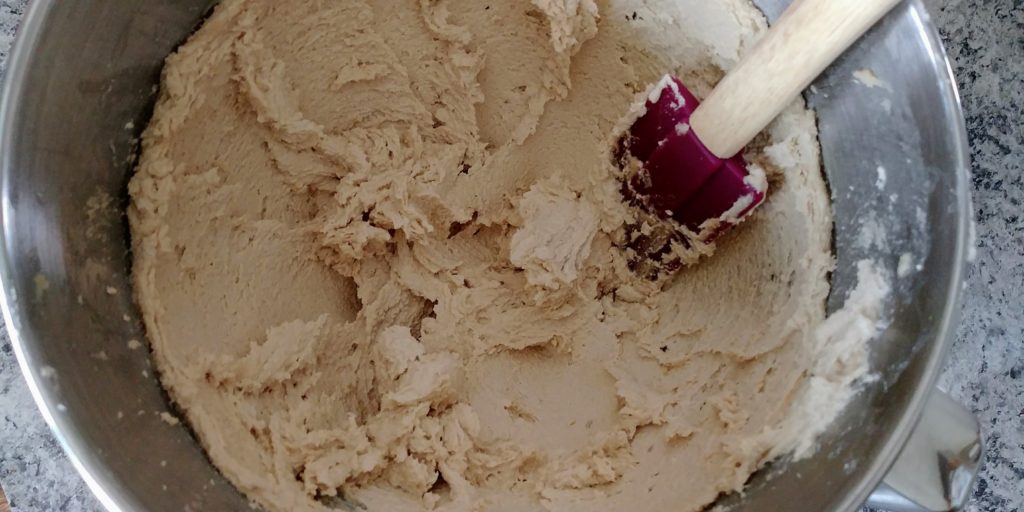
In a separate bowl, cream the packed brown sugar with the butter or shortening until fluffy using either a hand mixer or your stand mixer.  Now, note that this mixture will not get as fluffy as it would if there was white sugar instead of brown. Get it as fluffy as possible. For years, I did not understand the importance of getting my butter and sugars creamed until fluffy.  I can really tell the difference in cookies if I scrimp on this step. The sugars don’t seem to dissolve as well which leaves you with a grainier texture, in my opinion.

Chocolate Drop Cookies Creamed Butter and Brown Sugar

Add in the eggs and cocoa powder.  The original recipe says that you can substitute 4 squares of unsweetened chocolate at this point.  I have not tried that either, but I would imagine that you would melt it in the microwave until smooth and then let it cool to almost room temperature before adding it so that you don’t cook your eggs.  Mix all of this until well combined.

Add the vanilla to the milk in a liquid measuring cup.

Begin adding the flour mixture about ½ cup at a time, alternating with the milk/vanilla.  Continue until you have all your ingredients added. If you are adding nuts, then stir them in at this point.

(more…)

Popcorn Cake

Popcorn Cake

It has been my experience that some of the very best recipes come from co-workers and business colleagues.  I have worked in several different office settings and in every one of those situations I have gained recipes that became personal and family favorites.  I have been lucky enough to work with people who enjoyed office potlucks and sharing treats with others. Maybe this resonates with me because I am such a foodie or maybe I have had extraordinary good fortune.  

My very first job was at a local bank as a teller in the summer months.  I worked at that bank during my last 2 summers in high school and during my college summers.  There was one full time employee there who did a lot of baking during her off hours. She would bring decadent treats to work to share.  In fact, I loved her baking so much that I hired her to make my wedding cake. It was so good and really pretty. Today I want to tell you about another recipe that I gained from that friend and co-worker.  I have changed it very slightly over the years, but it is basically the same.

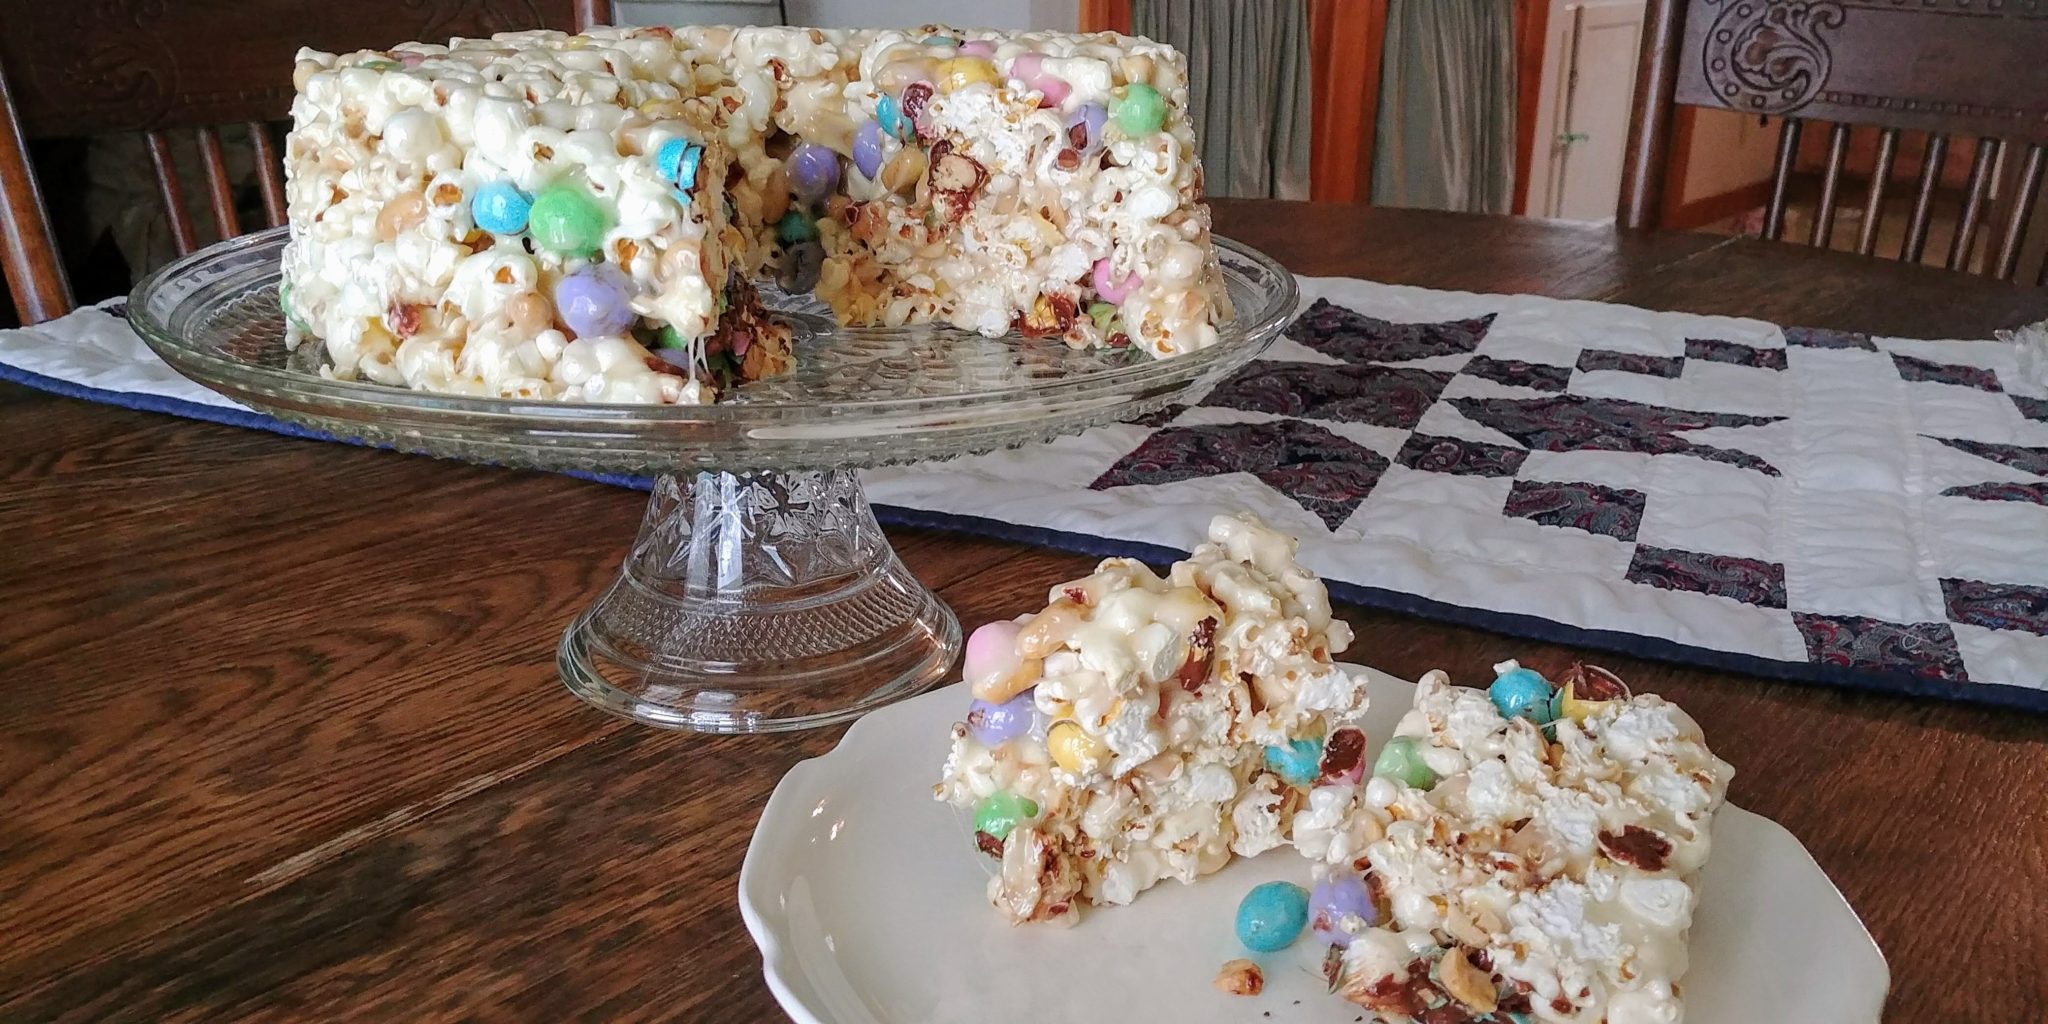
I know that this might sound weird, but we are going to make Popcorn Cake.  Yep, a cake made from popcorn and a few other delicious ingredients. I used to make this occasionally to take to potlucks or to the office.  My mom started to use the recipe to make popcorn balls at Halloween for her grandkids. Those were a big hit! I must have forgotten about this Popcorn Cake for a while or perhaps I didn’t keep it around the house if I did make it.  For whatever reason, when I made this a few months ago my elder son, Cody, asked me where this cake had been all his life. He didn’t really remember ever having it. He became a little addicted…oops. So, I knew that I needed to share this with you.  After all, the point of this blog is to share what I love and what my family loves with all of you.  Make this cake and share the happiness it brings!  Popcorn cake is a sweet and unexpected treat that combines popcorn, chocolate candies and nuts with gooey marshmallow.  The best way to describe this treat is colorful and happy. I dare you not to smile when you look at it!

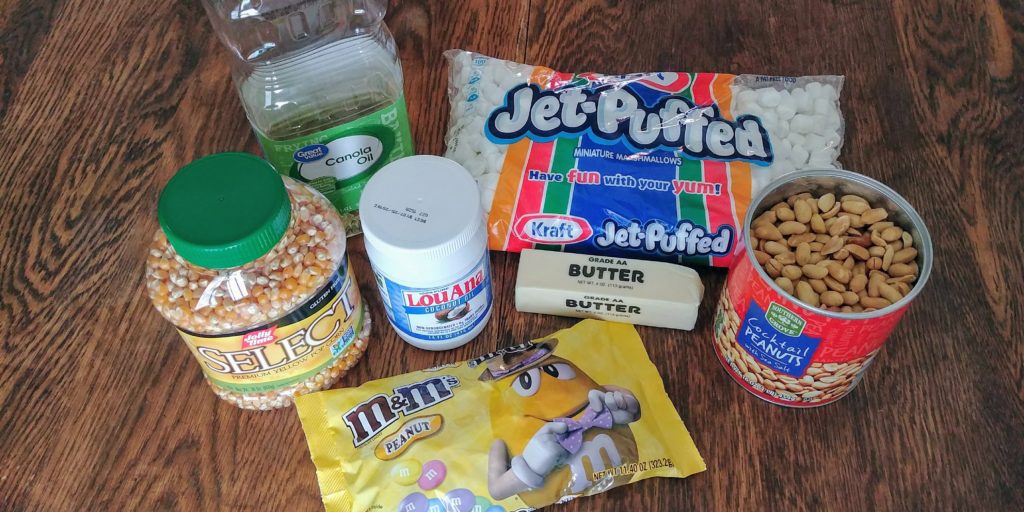
Popcorn Cake ingredients


Begin by making some good quality popcorn.  I like to use a large white or yellow kernel corn and pop it in coconut oil in a large pot on the stove.  I do have a popcorn popper that uses oil, but I find that the stovetop method with coconut oil produces no unpopped kernels and very few hulls.  I use my large stock pot and lid. I add 1 ½ tablespoons of coconut oil to the pot and turn the heat to high. Add 3 kernels of corn to the pot and wait until all of those have popped before adding ½ cup of popcorn.  You can leave the lid off during the time when you only have the 3 kernels in the pot but cover the pot after you have added the ½ cup. Shake the pot every 30 seconds while the corn is popping. When the sounds of popping corn decrease to 1 or 2 pops per 5 seconds remove the pot from the heat.  When the popping has subsided entirely you can pour the popped corn into a large bowl and set aside. You will need 10 cups of popped corn so you may need to pop 2 batches as I do. Then you can eat the leftovers with a bit of salt or your preferred seasoning…yum. Do not salt the popcorn for the cake.  Try to remove any unpopped corn or large hulls from your popcorn. It is so annoying to bite down on a kernel when you least expect it. Ouch!
(more…)

Steak-Seasoned Sliders

Steak-Seasoned Sliders

Hi Everyone!  Well, it is Sunday evening and still cold here.  Yep, in fact, it is snowing right now…again.  Great big, fat flakes are coming down. Old Man Winter just will not take a hike.  Everybody I know is aching to get outdoors and start gardening or longing to open the windows and let the fresh air inside.  I can’t wait for that. I love the smell of the spring flowers and grass and I love to hear the frogs chirping. But for now, we can only wait it out.  My dad always says, “We’ll take what they give us.”

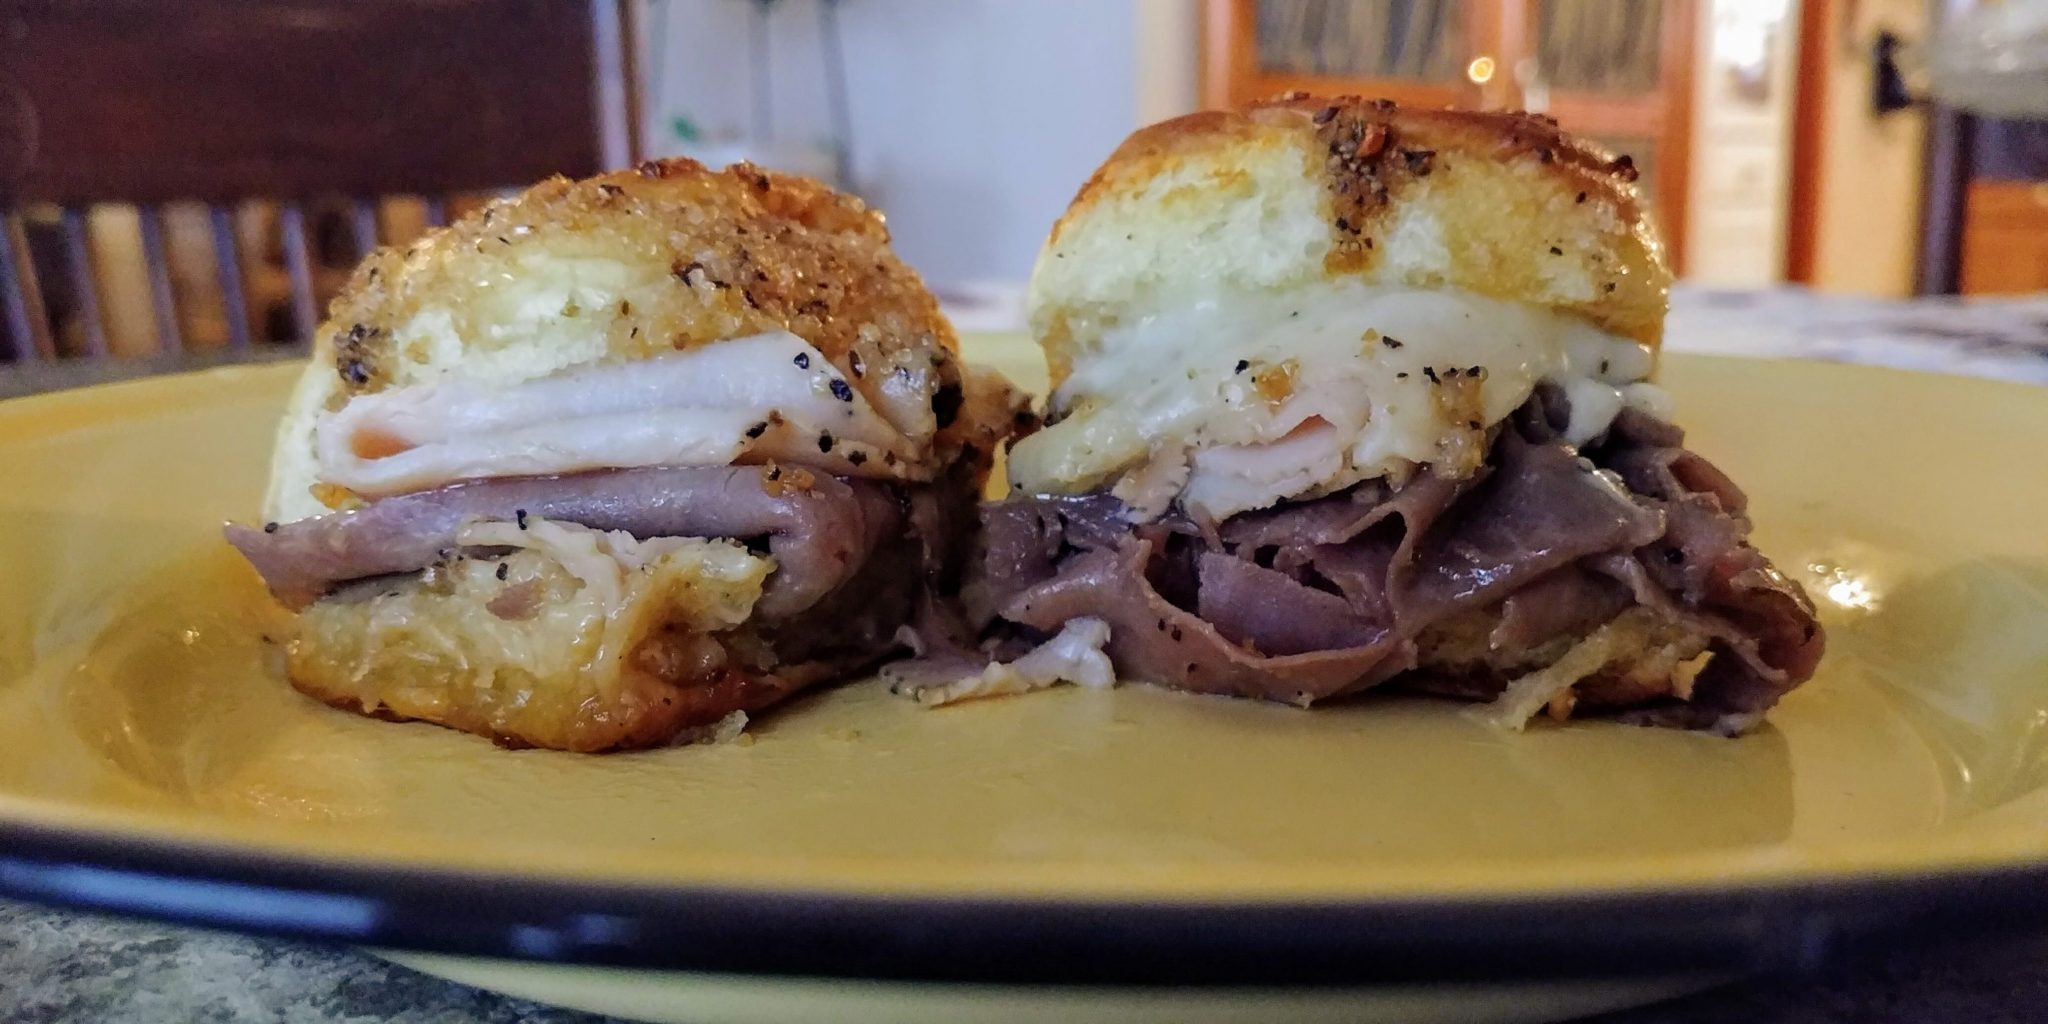
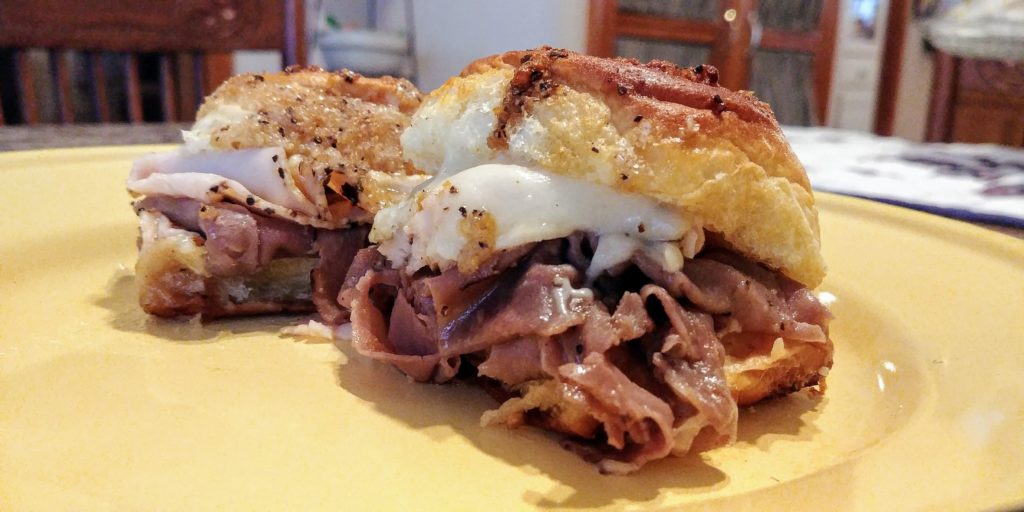
This Sunday we decided to have a big noon meal rather than evening meal so that our sons could get on the road back to their own homes before the snow began.  The older one, Cody, did just that but the younger one, Alex, decided to hang out with some friends for a while. But, they were both gone from my house by mid-afternoon and because we had already eaten a big fried chicken meal at noon I thought that the husband and I would just have sandwiches for supper.  Since it is still so stinking cold I decided to have some baked sandwiches. I really like sandwiches of all kinds. I really, really like sliders of all kinds. I am absolutely sure that there are more slider recipes coming your way from me in the near future. These particular sliders are my variation on the baked version that begin with dinner rolls and have a butter sauce poured over the top.  I have always enjoyed seeing these types of sliders show up at potlucks. I took my favorite parts of all the types that I had eaten and added my own spice preference to make these ooey-gooey morsels.

Steak-Seasoned Sliders are super easy.  They come together in about 15 minutes and then bake for 25 to 30 minutes.  You can also make them up the night or several hours ahead of time and store them covered in the refrigerator.  Then just add the sauce and pop them in the oven when you need them.  The leftovers (if there are any) keep very well in an airtight container or wrapped in foil in the frig. I plan on taking a container to Cody tomorrow since he missed out tonight.  He can have them for a lunch this week.

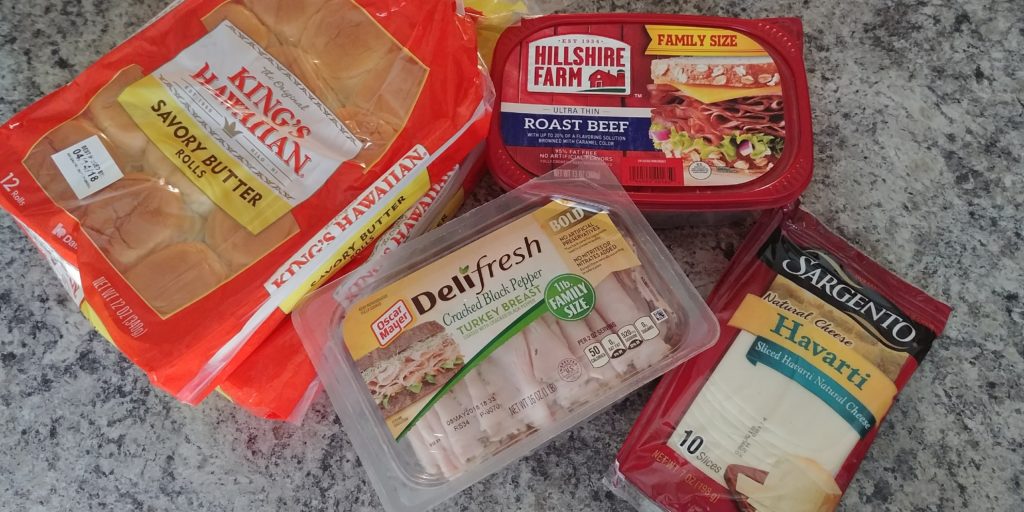
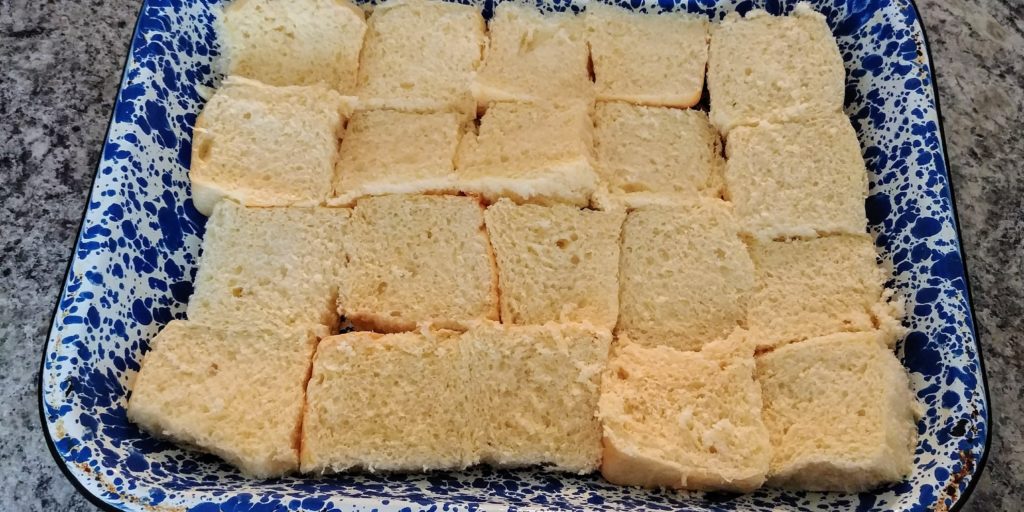
To begin, preheat your oven to 375 degrees and spray a 9 X 13 pan with cooking spray.  If you have a slightly larger pan use it. I do not and use my normal casserole pan and consequently can only fit 20 of the rolls in my dish.  If you have a pan that will hold all of them, go for it. Cut your dinner rolls in half crossways as you can see in my picture.

I almost always use the savory butter flavor of the Hawaiian rolls because the sweet ones can overwhelm the flavor of the meat and cheese sometimes.  You can certainly use whichever you prefer. Place the bottoms of the rolls in your pan so that they are right next to one another. They may be pretty well squished up together.  That’s ok, it won’t hurt a thing.

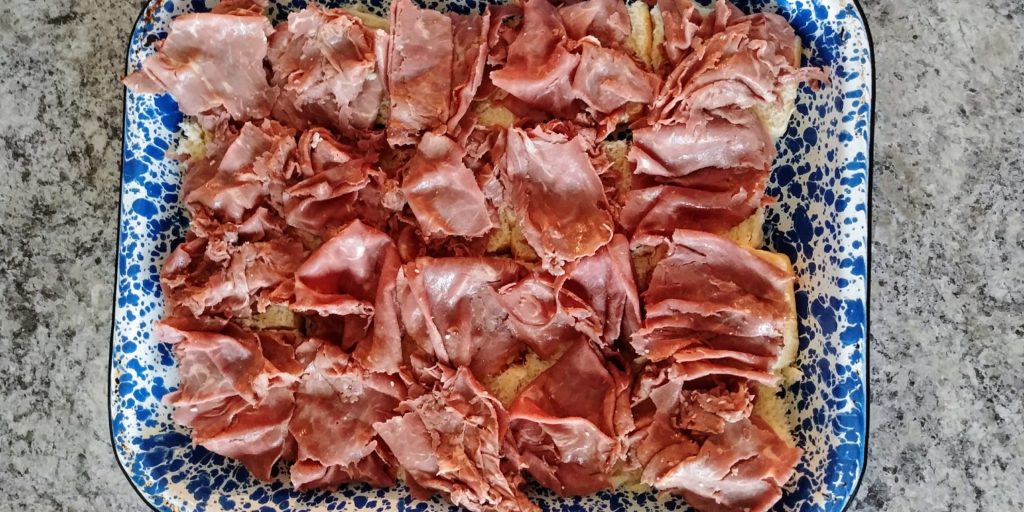
Take your roast beef and add little piles (usually 1 slice) of beef on each bun bottom.  Use all the beef, distributing it as evenly as possible over the rolls.

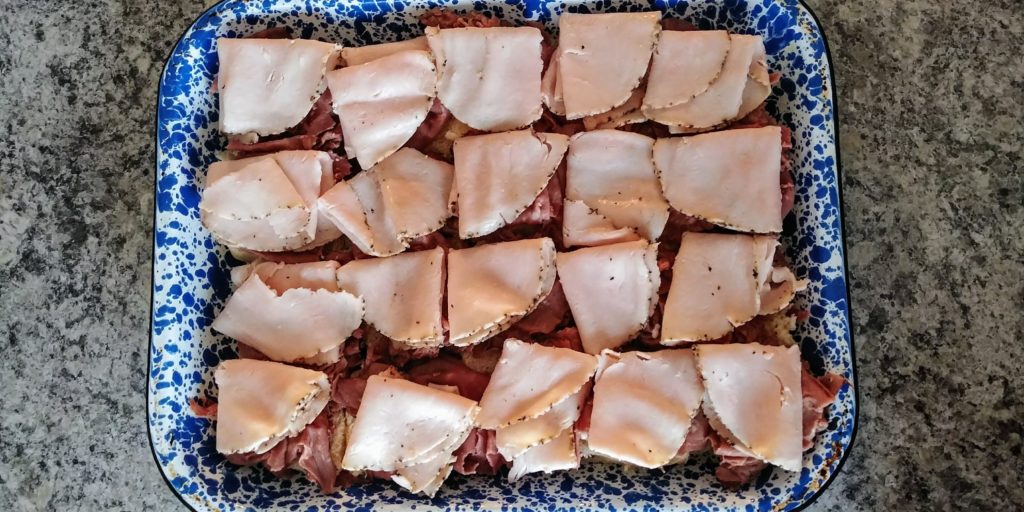
Next, add the layer of turkey in the same manner.  The package of turkey that I had was 1 pound and I didn’t need quite all of it.

(more…)

Wally Burgers

Wally Burgers

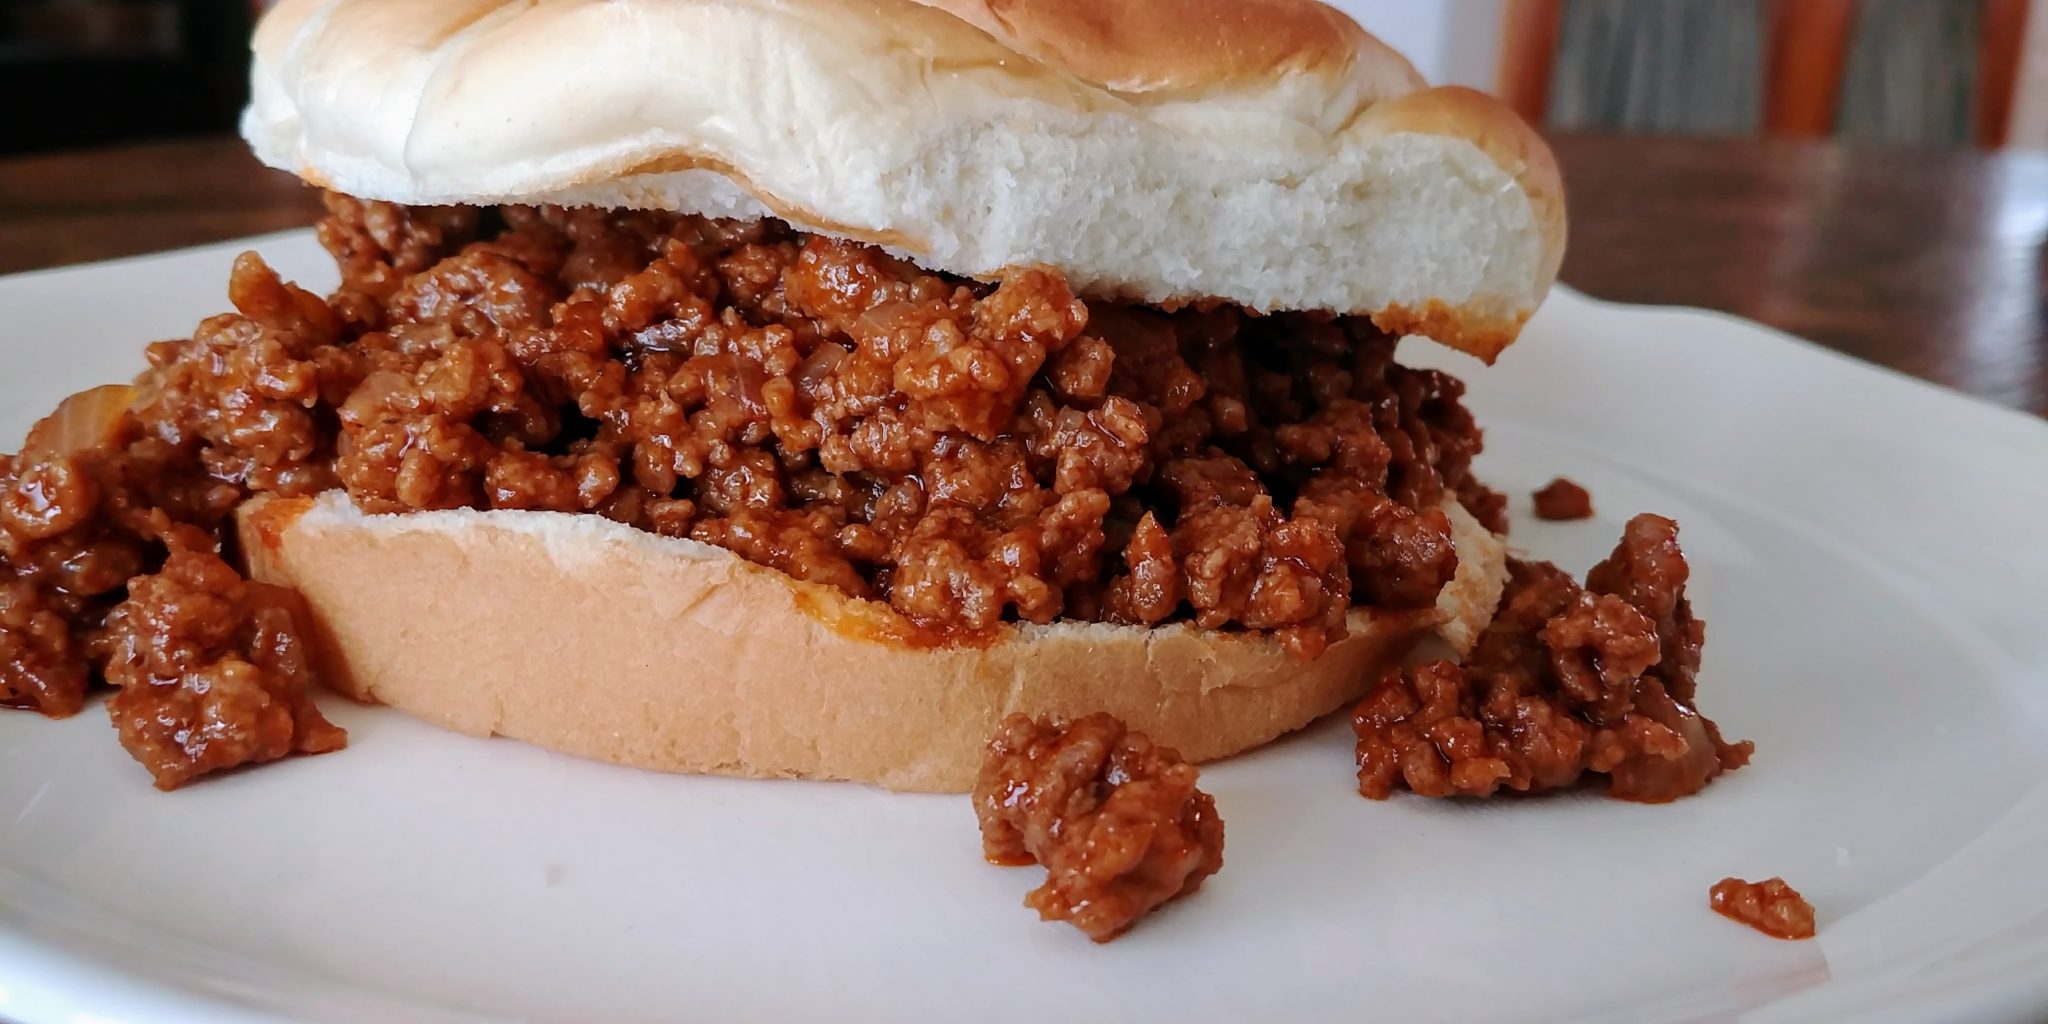
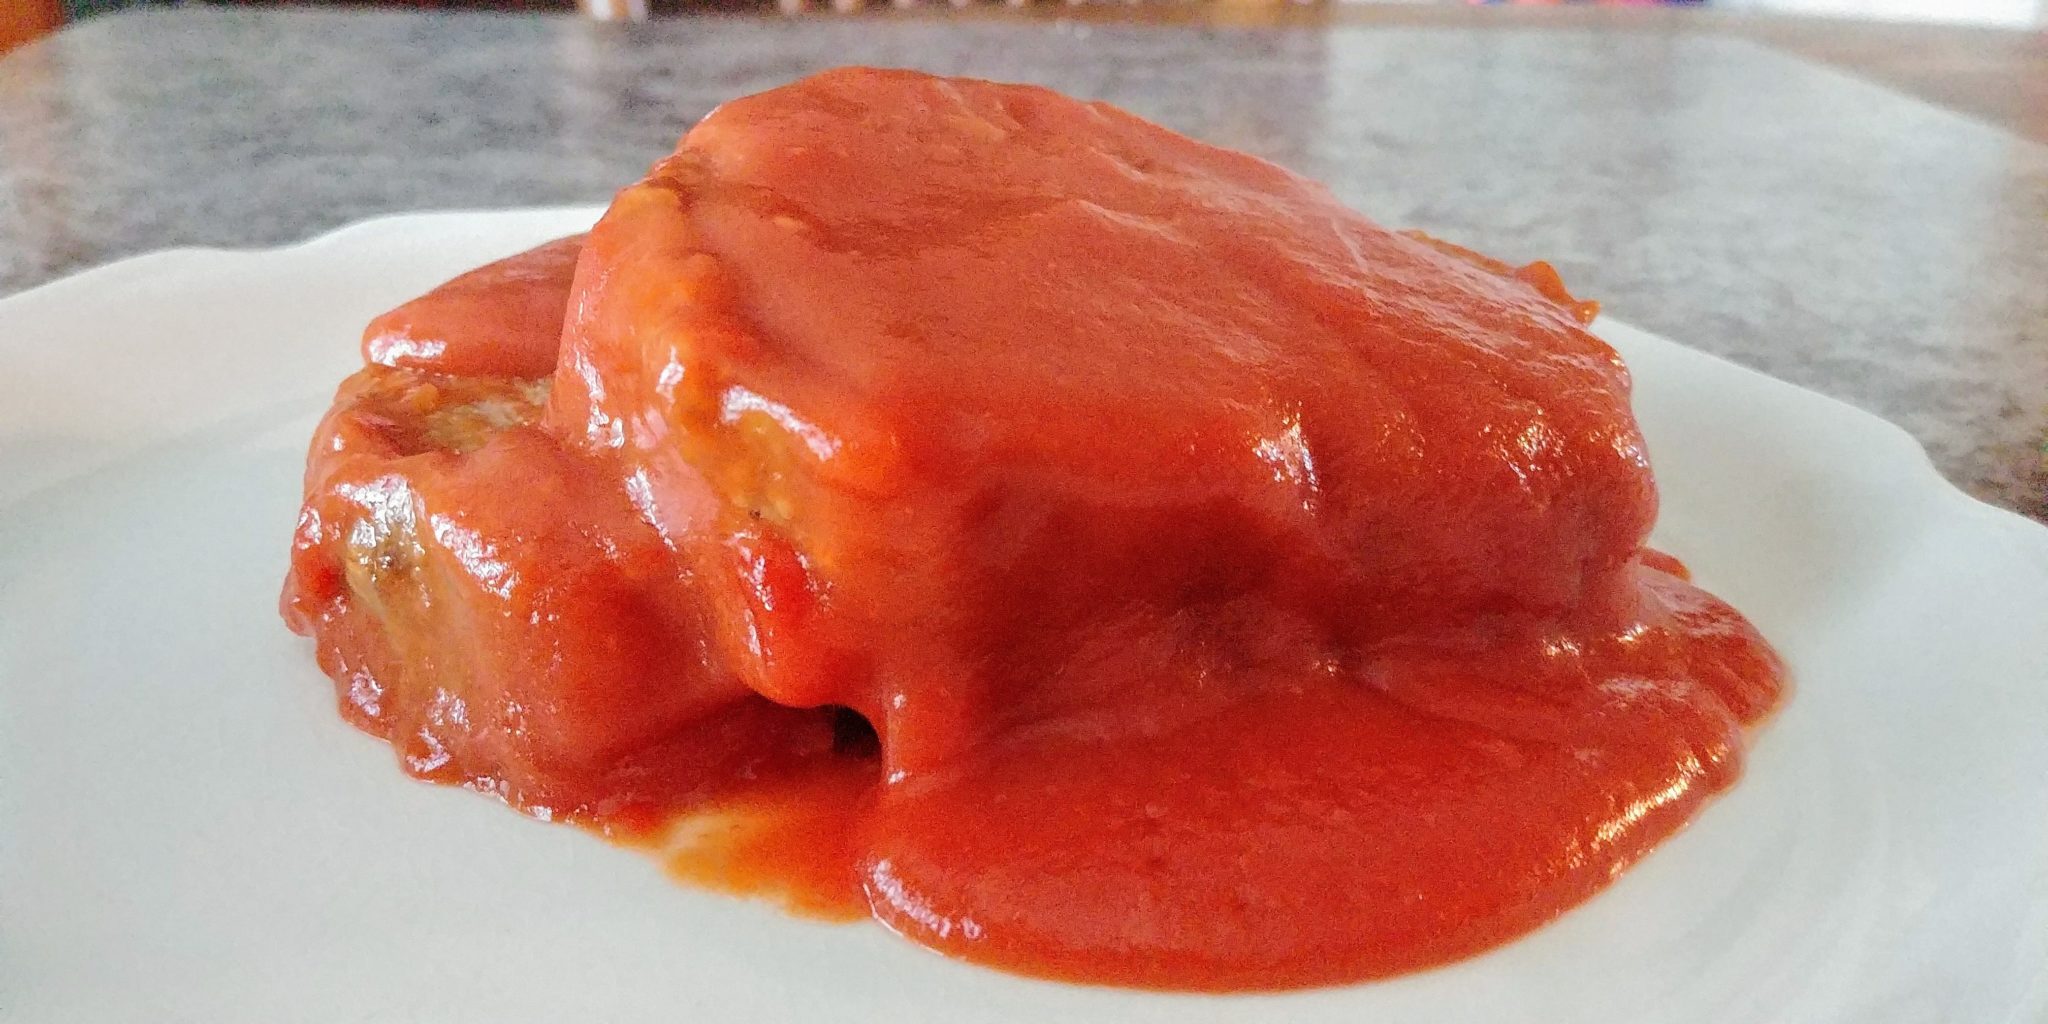
Hi Everyone!  How is the “Spring” weather in your neck of the woods?  In central Illinois, it stinks. For crying out loud, we had measurable snow on Easter.  What…the…heck? Mother Nature needs to turn up the thermostat because I am so over this cold weather. I want warmth and sunlight asap! And everybody is so depressed and crabby…including me. So, to combat these cold weather doldrums I have been trying to think about summer sensations and memories of warmer days.  One of those memories brought to mind the recipe that I am going to share with you today. It is for Wally Burgers. These are very similar to sloppy joes and I have seen them referred to as California burgers. This is a super easy recipe that you can have on the table in about 45 minutes.  It keeps in the frig for about a week and freezes well. The meat is sweet with a little bit of tang and delicious.

Why do these remind me of summer, you ask?  Well, I will tell you. The next small town over from the small town that I claim as my own is also the county seat.  The county courthouse is situated on the town square there and my dad worked as the County Treasurer in that courthouse for many, many, many years.  The town square is surrounded by lots of small businesses and one of these was a window-service-only dairy bar run by a man named Wallace (nicknamed Wally).  He served Wally Burgers and Dad loved them. Dad would frequently make the trip across the street during the warmer weather to get a sandwich for his lunch. Now, this eatery was only open during the warm months back in the day and I remember going there sometimes after swimming or music lessons to get an ice cream cone.  Since there was no seating indoors we would sit on the sun-warmed concrete of the curb to eat or get back in the car with the windows down for the ride home. When this memory came to mind so did the idea to share this recipe. My sister, Brenda, also works in the courthouse and many years ago she was somehow able to get the recipe from someone.  I thought that she said it was from the Wallace family but she can’t remember now.  Brenda shared it with me and I will occasionally whip up Wally Burgers and take some over to Dad to enjoy.  I’m not sure if it is authentic but it is close enough.  As long as it tastes great I don’t mind.  

I much prefer to make these instead of using the canned sloppy joe sauce because you can adjust the sweetness and tartness to your liking.  It is a forgiving recipe in that you can use lower quality ground beef and it will still turn out great.

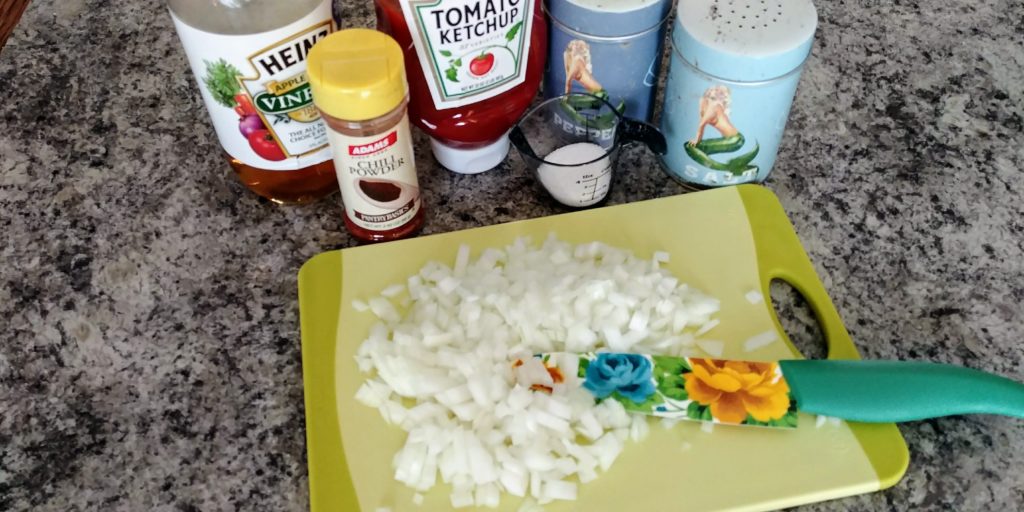
Wally Burgers Ingredients

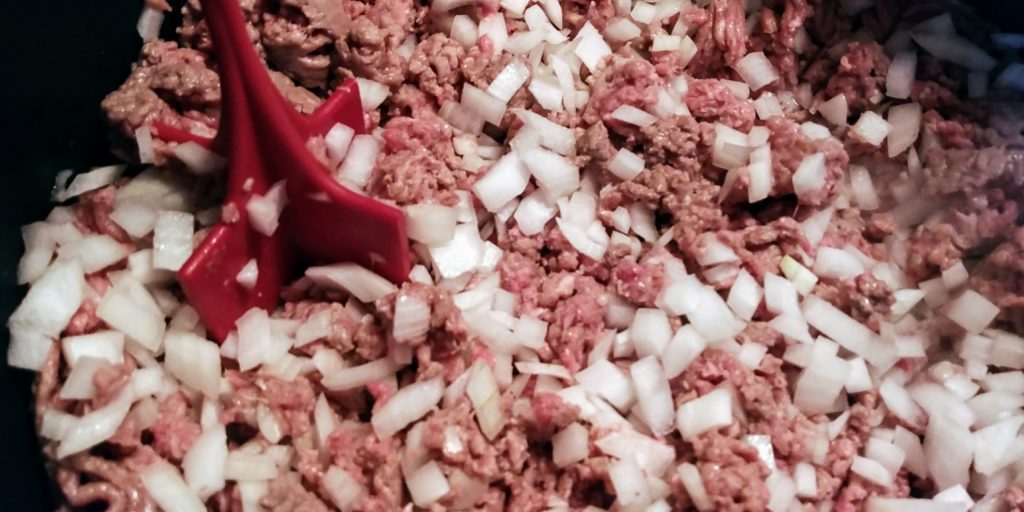
To start with, as always, I prefer to use budget burger, but you can use high-quality ground beef as well.  There will just be a bit of a change in the method. More on that shortly. Finely dice up your onion and add it and the burger to a large stockpot or large, deep skillet.  Yep, there is that mashy tool again. I promise that I will figure out where to get those and let you know.

Wall Burgers Beef and Onions Uncooked

(more…)

Mom’s Meatloaf

Mom’s Meatloaf

I have mentioned before that I come from a fairly large family.  I have 4 siblings. 3 sisters and 1 brother. All older than me. Ha!  I love rubbing that in. I have still have my mom and dad. However, my mom is in a nursing home now.  You will hear me refer to Mom and how she used to do this is that or what she used to cook. I don’t want anyone to get the impression that she is no longer with us.  She just doesn’t cook anymore. But, believe me, she is always in the kitchen with us in spirit. Food and cooking was a big part of her life. She had a lot of mouths to feed at home.

My Mom
My Mom

Besides that, she was a cook our local elementary school for years and years.  She took the job over from her own mom when Grandma fell ill.

Grandma Cannedy
Grandma Cannedy

She was there behind that lunch counter for me from my kindergarten year until I left the elementary for junior high and then she was there for her grandkids as they came through that very same school.  The other lunch ladies were her close friends and she enjoyed her job so much. Those ladies shared recipes with one another and from time to time I will refer to a recipe that has that origin. Now, I do have to admit that Mom didn’t teach me much in the kitchen.  At least not formal teaching. I did watch and I caught on to techniques and hints. I guess that after cooking all day she just wanted to get dinner on the table and didn’t have it in her to run a cooking school too. I don’t blame her. I learned anyway and I use many of her recipes today.  I don’t even attempt to improve upon them. They are just too good as they are. So, today I want to give you Mom’s recipe for meatloaf. Big deal, you say? Well, it is. Everyone should know how to make a good meatloaf. It will save your sanity to have this kind of go-to meal in your recipe box.  I think that meatloaf gets a bad rap too. It is sometimes considered a crappy diner meal. My son’s friends could not understand why the prospect of meatloaf for supper was cause for excitement. Ok, so maybe not excitement. Maybe, pleasant anticipation. I mean, I would have been seriously concerned if two young boys got excited about meatloaf.  This dish makes a nice, comforting meal. You can make the loaves up ahead of time and pop them in the oven when you get home and you probably have the ingredients in your kitchen.

(more…)

Chocolate Nests

Chocolate Nests

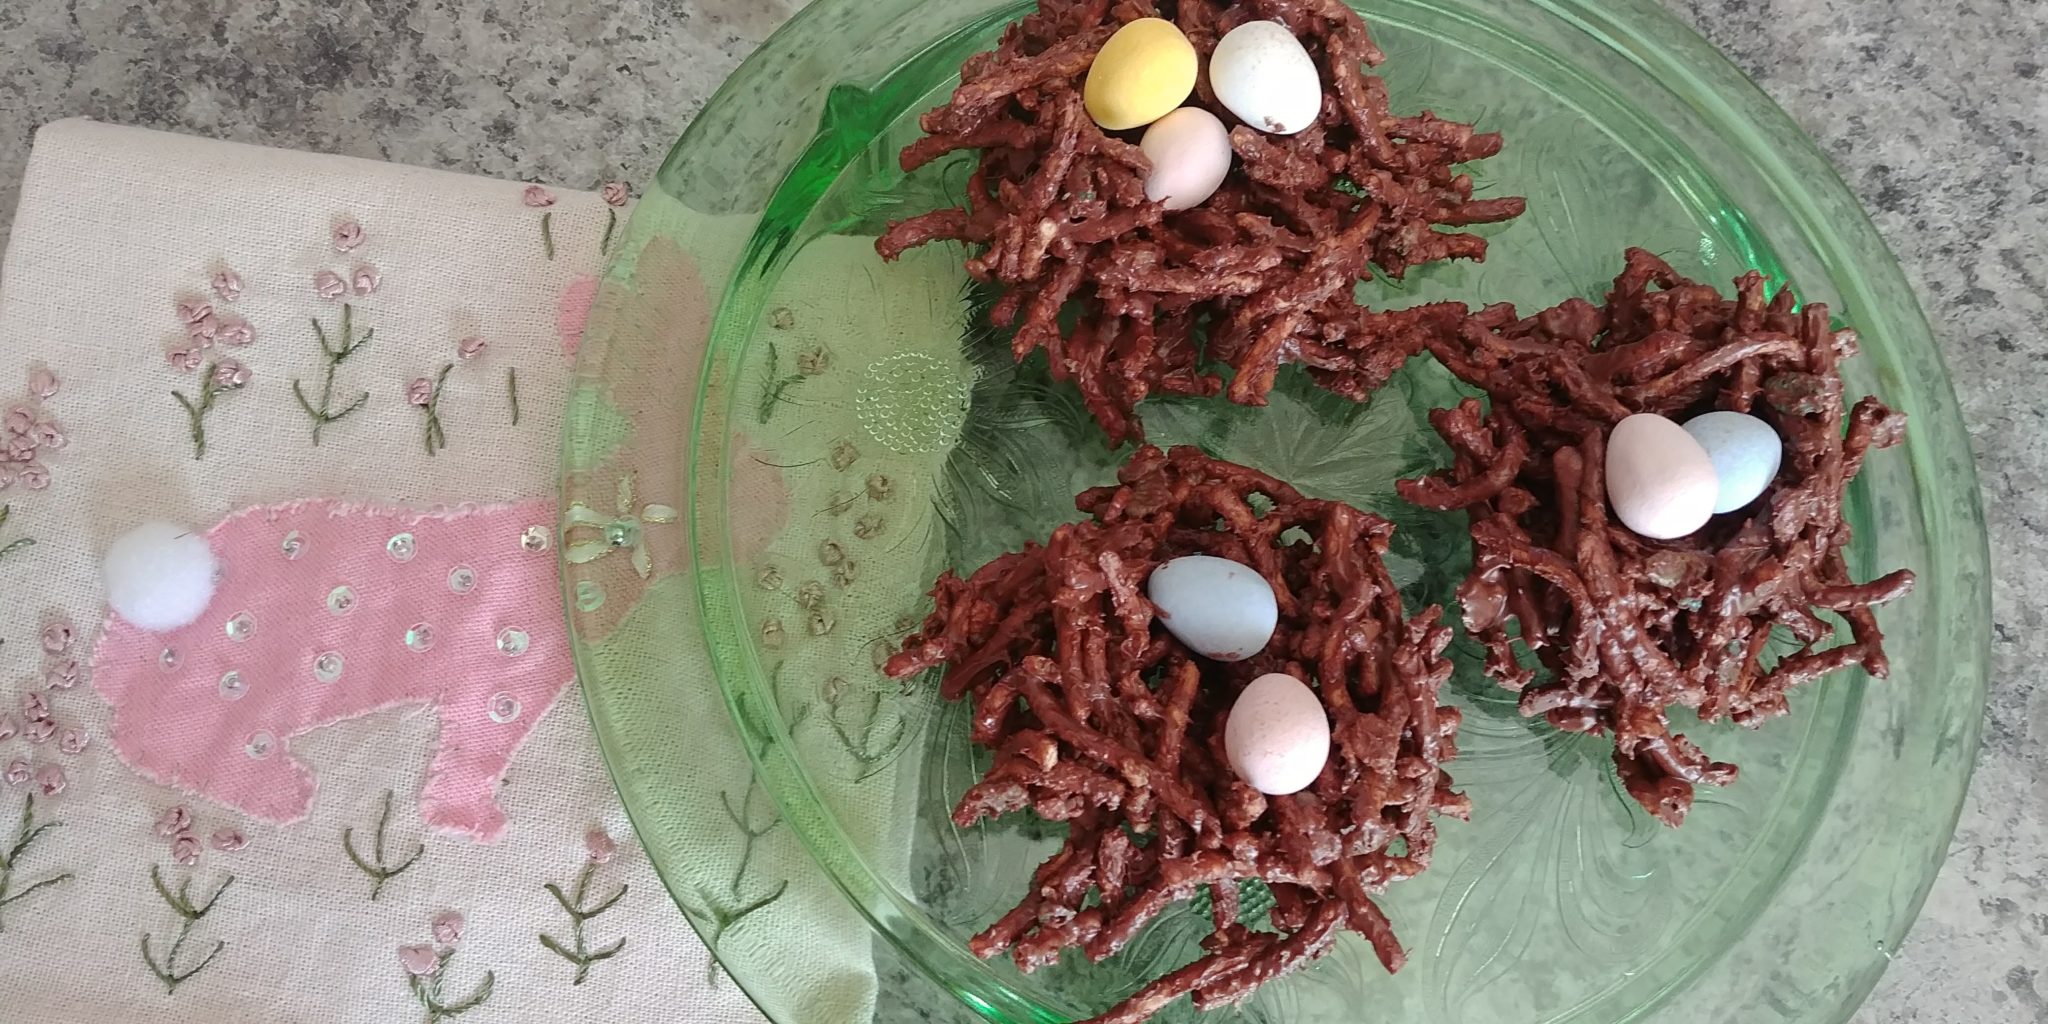
So, Easter is on its way.  Do you celebrate big for Easter?  We do…..big. One of my sisters, Marilyn, and I tend to go just a bit overboard on holidays.  We decorate inside and out. We fill plastic eggs for the traditional egg hunt. We get little gifts for each kid.  Consequently, we are the ones that have become responsible for the family Easter evening dinner.

Now, normally I have this rather large gathering at my house but this year I begged (I mean asked) Marilyn if she could host.  You see, my house is out in the boondocks on an old farm. It is still fairly close to most of my family members but when the spring rains come it is MUDDY. We don’t have a large amount of parking except in the grass at the edge of our yard and there have been times when our guests have gotten themselves stuck out there.  And, then there is the very likely event that the kids hunting eggs are going to get muddy. They are usually wearing their cute little easter outfits and I hate to see them ruin a sweet little frilly dress by falling on their tuckus in the mud. Anywhoo…Marilyn (or Mert as we affectionately call her) very kindly agreed to host.  I have offered to help with the bulk of the food and the planning of course.

We figured out the menu and Mert assigned dishes to the other sisters and sister-in-law. Like most families, we have pretty much the same menu each Easter so this was not a huge deal. We always have ham and everyone thinks that Marilyn makes the best ham ever so she bakes that.  We will have mac and cheese, cucumbers soaked in vinegar (a family favorite), deviled eggs, cherry jello with banana slices (another family fav) and potato salad among other things. For the dessert table anything goes but there is one sweet that I always, always, always make. I’m not even sure if very many people eat them but I do and my sister-in-law, Bev, does and my mom used to as well.  In fact, my mom used to make a candy that was very nearly the same recipe and these remind me of her so I make them. They are chocolate nests with Cadbury eggs and they tell me that Spring is coming.

(more…)

Sausage Potato Soup

Sausage Potato Soup

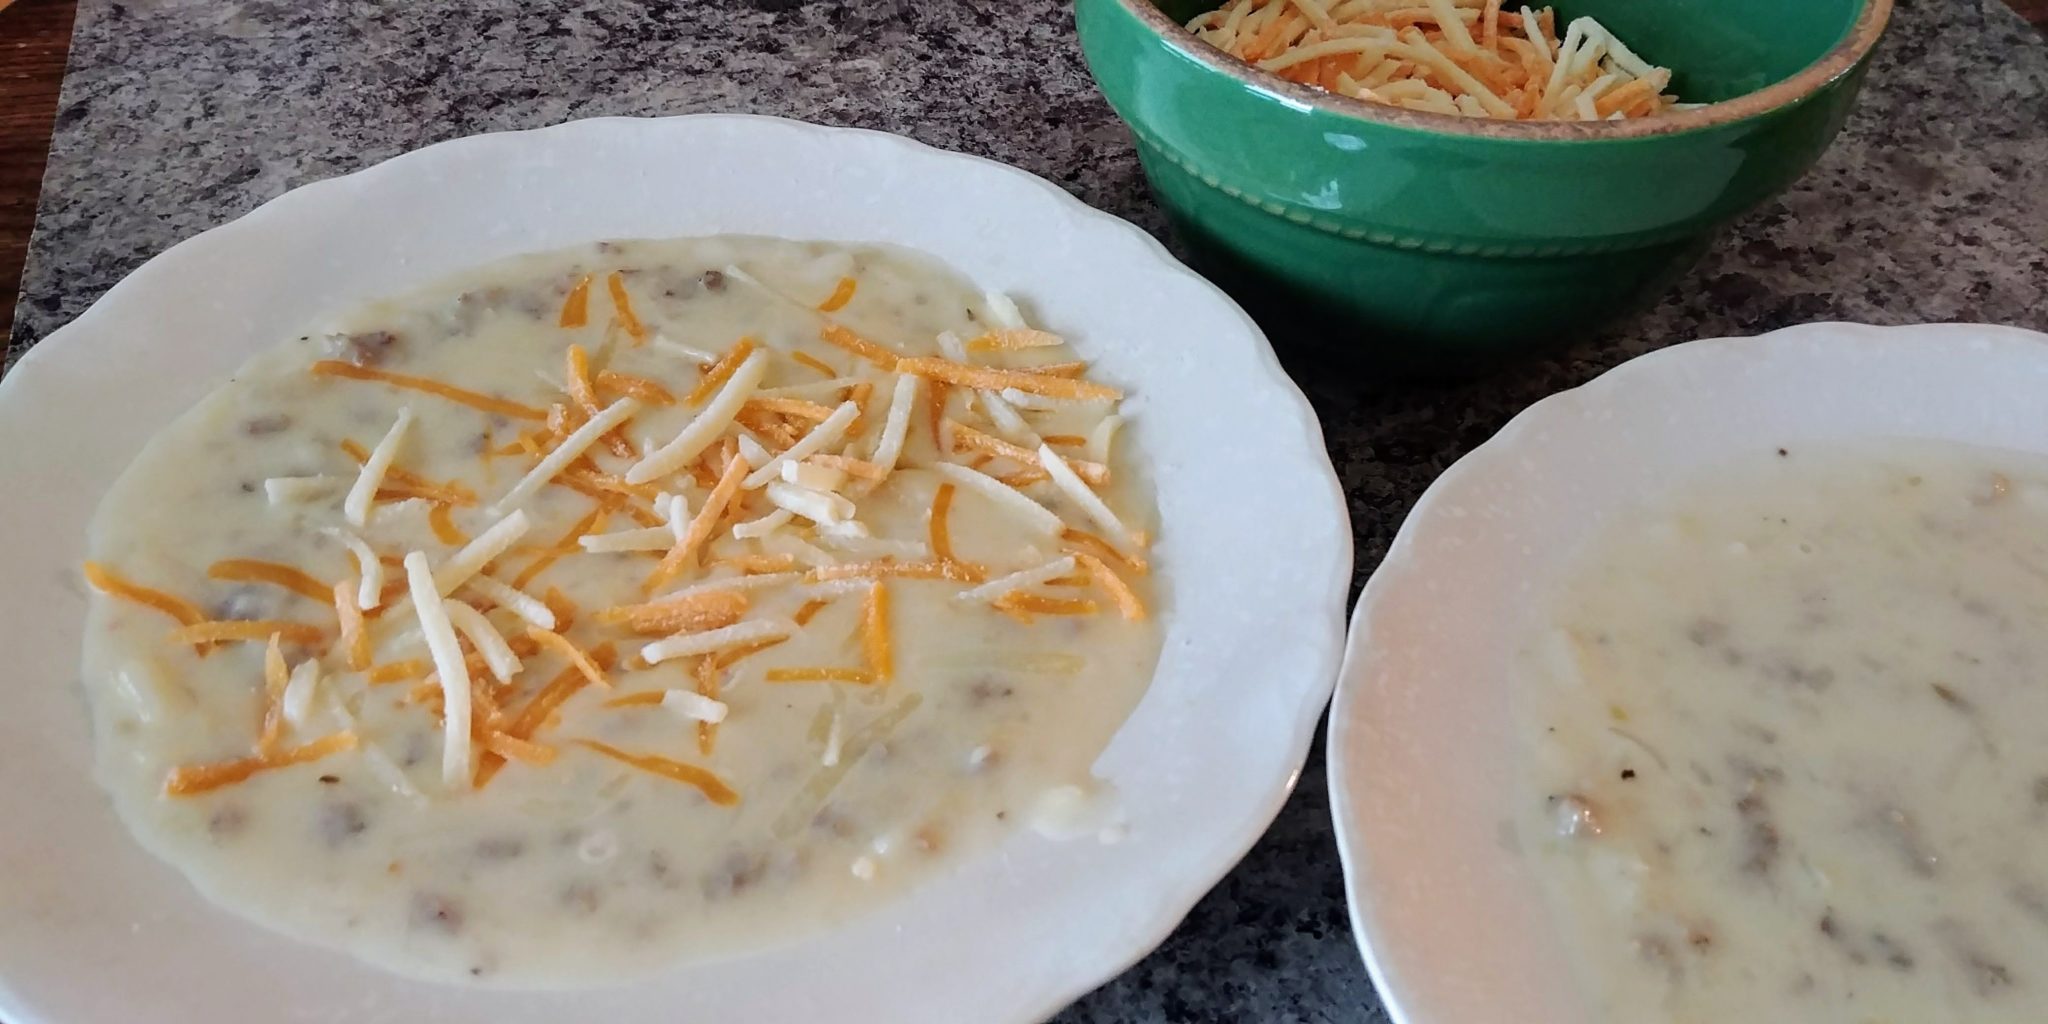
Hello!  Happy Spring!  The temperature is supposed to fall to 28 degrees tonight here in central Illinois but spring it is.  Regardless of the official season, in my opinion, it is still soup weather. I love homemade soup. My family loves homemade soup.  So, darn it, I’m making soup. One of my family’s favorites also happens to be a very easy soup to make. In fact, when I was developing a list of family favorite recipes for The Kitchen Wench I was promptly reminded by my husband that this particular soup should be included.  The current cold weather just happened to initiate thoughts of a tummy warming Sunday supper and this soup was my first choice. Presenting….(drum roll) Sausage Potato Soup. This is a nice creamy, cozy, filling soup that pairs so very well with a crusty bread or some toast. This might be termed a pantry meal except for the sausage and onion because most of these items are probably already on your shelves.  I know that I may get some comments about the canned soup and all the sodium but I do try to use the Healthy Recipe or Low Sodium version of the canned soups. That is up to you but it can be a bit salty otherwise. This does make a big batch but the recipe can easily be halved. I just like to have leftovers and my boys always want to take some back to their own homes.


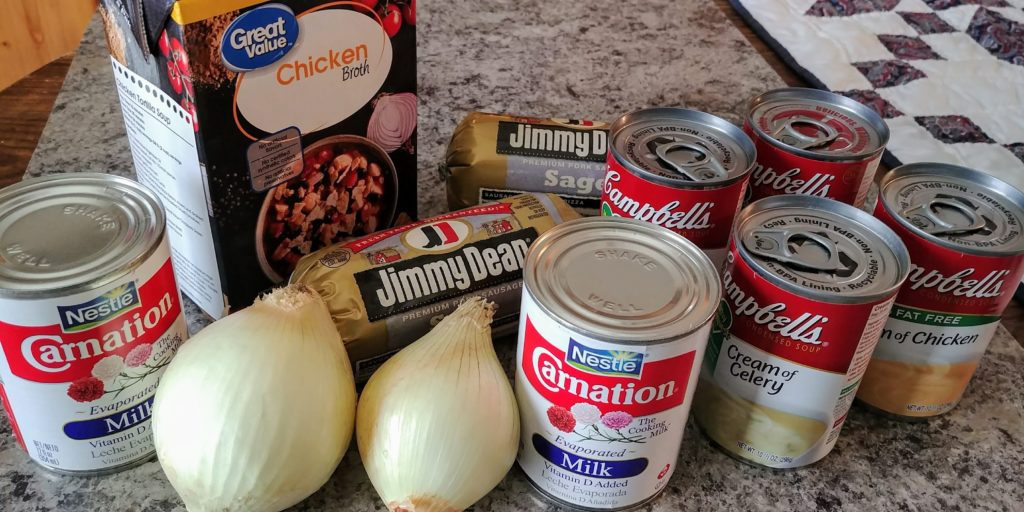
Sausage Potato Soup Ingredients

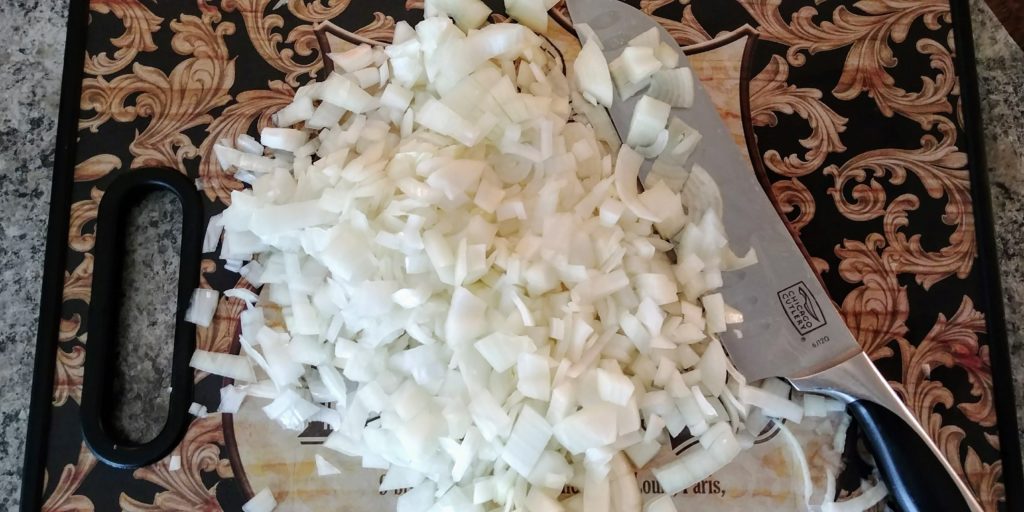
I start off with 2 lbs. of sausage.  I prefer to use the Jimmy Dean sage variety but whatever you love is what you should use.  Break the sausage up in a large skillet or large stockpot.  Finely chop 2 medium sweet or yellow onions and add to the sausage.

Sausage Potato Soup Diced Onions

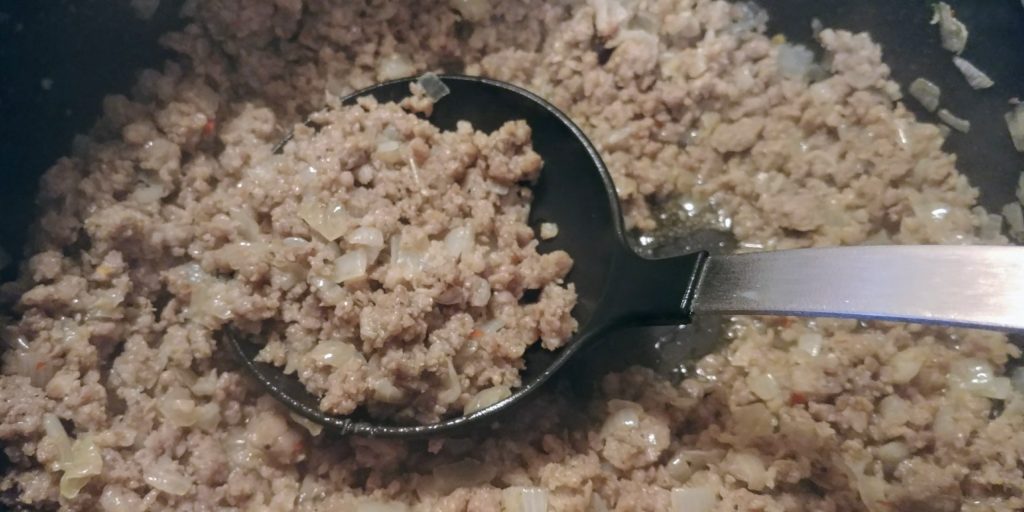
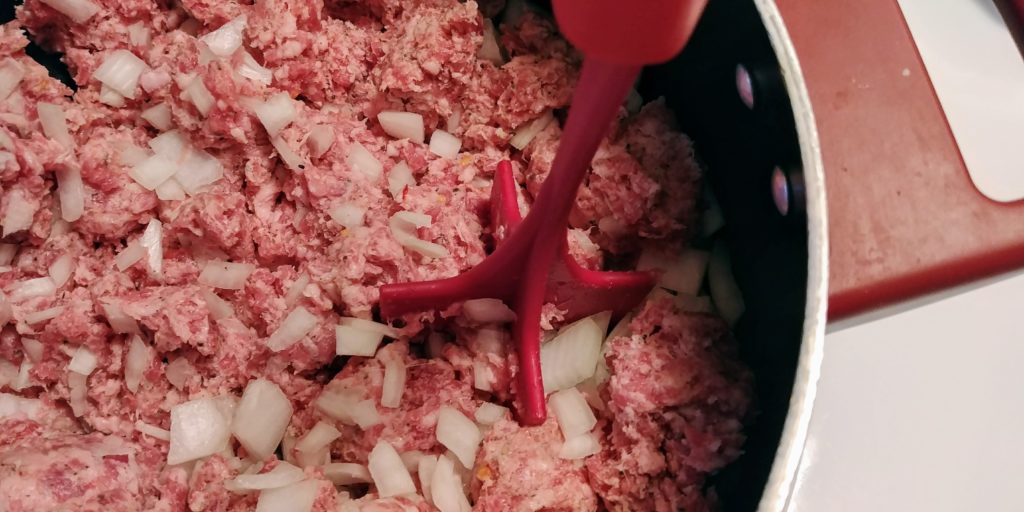
Cook these over medium high heat stirring occasionally until the sausage is browned and the onions are at least trans lucent if not browned.  Most recipes will say to just cook the sausage until no longer pink but I like to brown mine a bit. I think that it adds a deeper flavor and a little color.  By the way, look at this cool tool. My husband gave this to me a year or so ago and it is amazing for cooking burger and sausage. You can chop the large chunks of meat into small bits and it is made of some sort of plastic so it won’t scratch your pots and pans.  I don’t remember the brand name of this tool but he said that he got it at a dollar store. One of these days I will find out what it is and I will dedicate an entire post to singing the praises of this kitchen tool.

Sausage Potato Soup Raw Sausage and Onions with tool
Sausage Potato Soup Browned Sausage and Onions

(more…)