Hi Everyone! In your family or group of friends are there food traditions? I mean, do your loved ones have signature dishes? Does it seem wrong somehow if you make someone else’s dish? Well, in my family (the Goode side) that feeling of protectiveness and competition is becoming more prevalent. As the nieces and nephews grow older and develop some mad cooking skills of their own the need to one-up each other is growing. One of the signature recipes in my family is the famous Tea Ring. The recipe is Mom’s but my sister, Marilyn, started making them for our Christmas gathering many years ago. Now she has to make two and hide one so that there is some left for the rest of us to take home. There have been good-natured arguments about these Tea Rings and many threats to abscond with the whole extra ring before anyone else can find it. This past year I finally worked up the nerve to ask for the recipe. Marilyn gladly gave it to me. The thing is, it was an exact copy of Mom’s recipe and while it gave the ingredients and amounts; it gave no instructions. Yikes! Marilyn verbally gave me her process which I promptly forgot. I did a little research of other Tea Ring recipes to get an idea of what to do. I finally got brave enough to give it a try. You see, I have an irrational fear of yeast baking. I needed to make a Mardi Gras dessert for a work potluck and I decided that the Tea Ring was close enough to King Cake to work. I gave it a shot and it actually turned out great! Winner, Winner, Tea Cake Dinner! My husband and sons asked who was going to break it to Marilyn that someone else could make the famous Tea Ring. Not me! I am perfectly happy to let her make them for Christmas. But I know that I can do it and that is all that counts. And, I can make them whenever I want. This is not a good thing for my thighs. I am even playing around with the basic recipe to make other goodies. More to come on that.
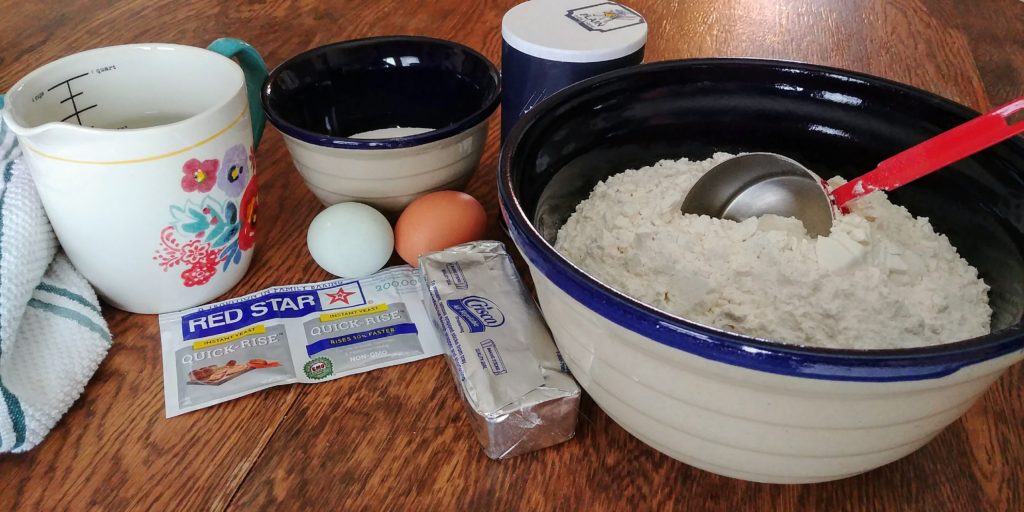
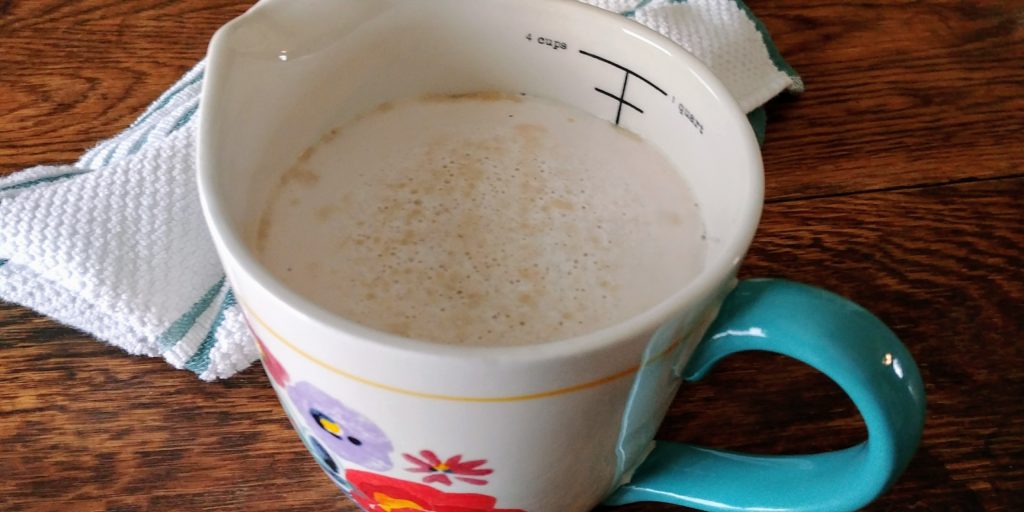
Start off by adding your yeast to the water along with 1 teaspoon of the sugar. The water should be around 100 degrees. I try to get mine just slightly cooler than my bath water. You can certainly test it with a thermometer to be absolutely sure. Let this mixture sit until the yeast activates and a foam develops on the top of the liquid.
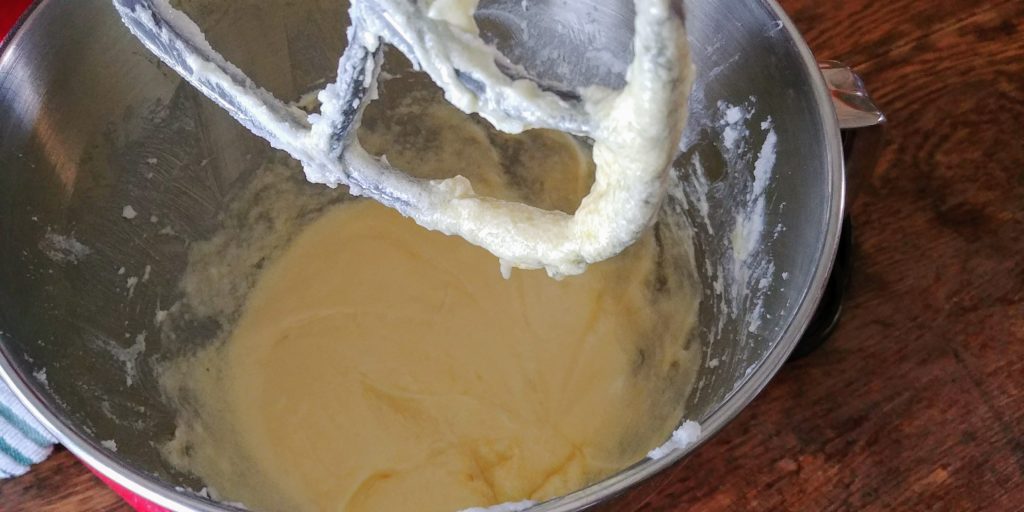
Meanwhile, mix the shortening and remaining sugar in a large bowl with a hand mixer or stand mixer. A stand mixer works better for this recipe since a dough hook is recommended toward the end of mixing. Add the eggs and salt and mix well.
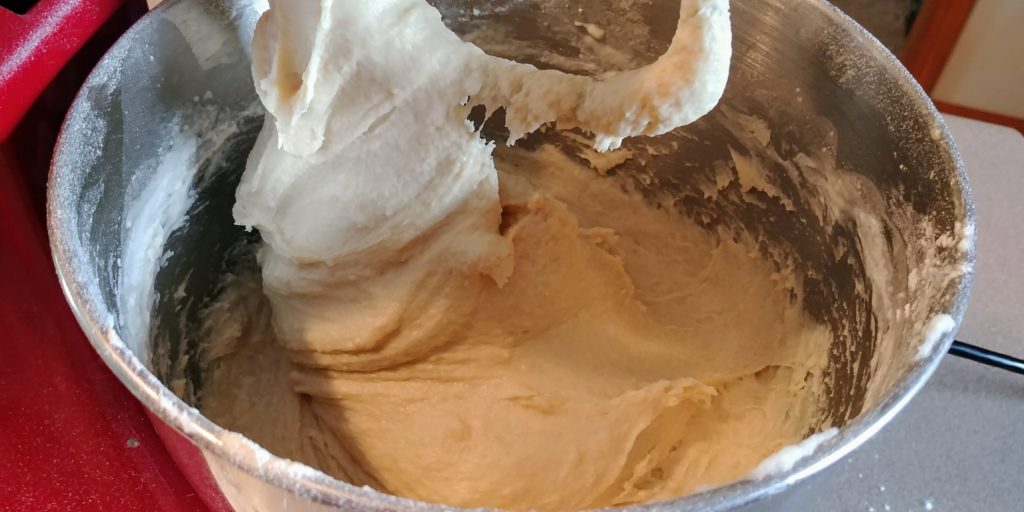
If you have a dough hook for your mixer go ahead and switch your beaters for it. It will be much easier to get your dough to the correct consistency. Add the flour a little at a time alternating with small amounts of the yeast mixture. When all of the flour and liquid have been added continue to mix on high speed until a nice elastic dough has formed and pulled away from the edge of the bowl slightly. When I made mine for this post the dough was too sticky as you can see in the photo. I added another ½ cup of flour and the dough came together. It does not need to be a completely formed dough ball. You will be adding a bit more flour during the kneading process after rising.
Cover the dough in the bowl and refrigerate for 3 hours minimum. I have let this chill overnight and it works just fine. I know that some of you are raising an eyebrow about now. Chilling the dough? Not what you would expect. Most recipes call for raising in a warm spot. I was skeptical too but trust me on this.
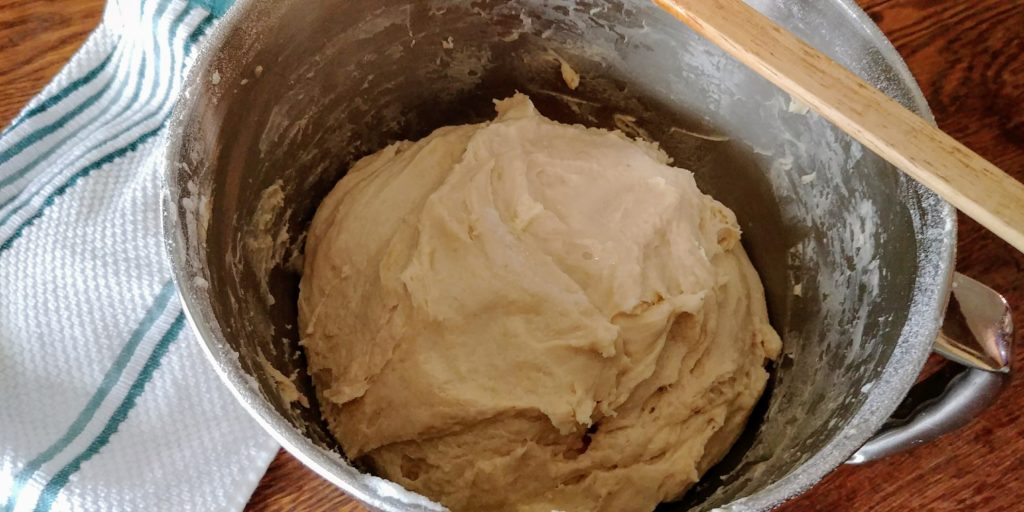
When you remove the dough from the refrigerator pull it from the bowl and place on a lightly floured surface.
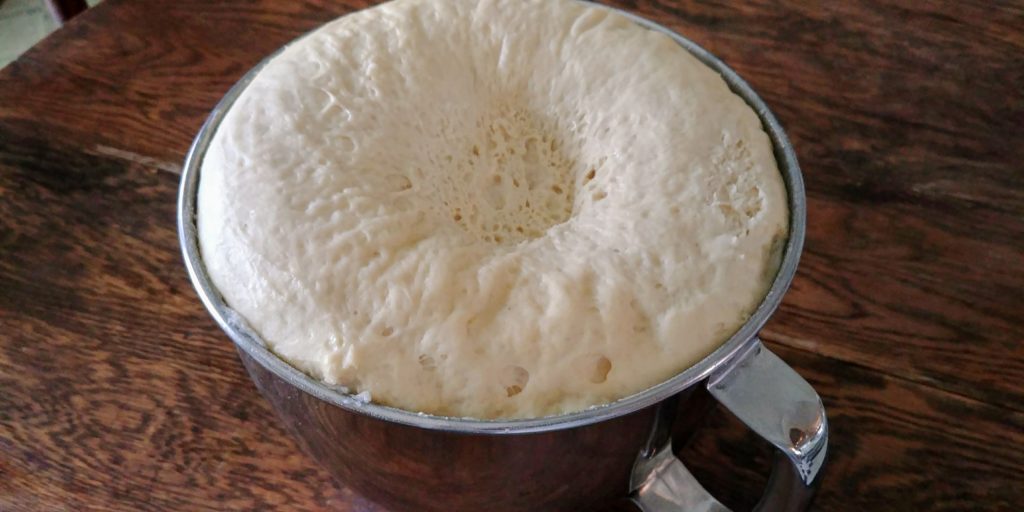
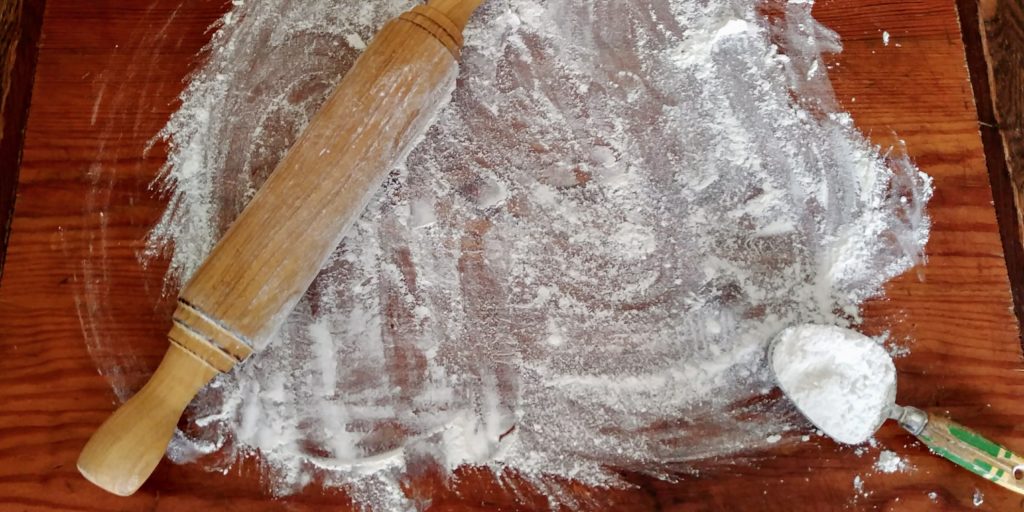
Give yourself some room to work. The rolled dough will be about the size of a cookie sheet. Sprinkle the dough ball with a little flour and knead it gently. I usually fold mine over about 5 times. Just make sure that your dough ball is no longer sticky and looks smooth.
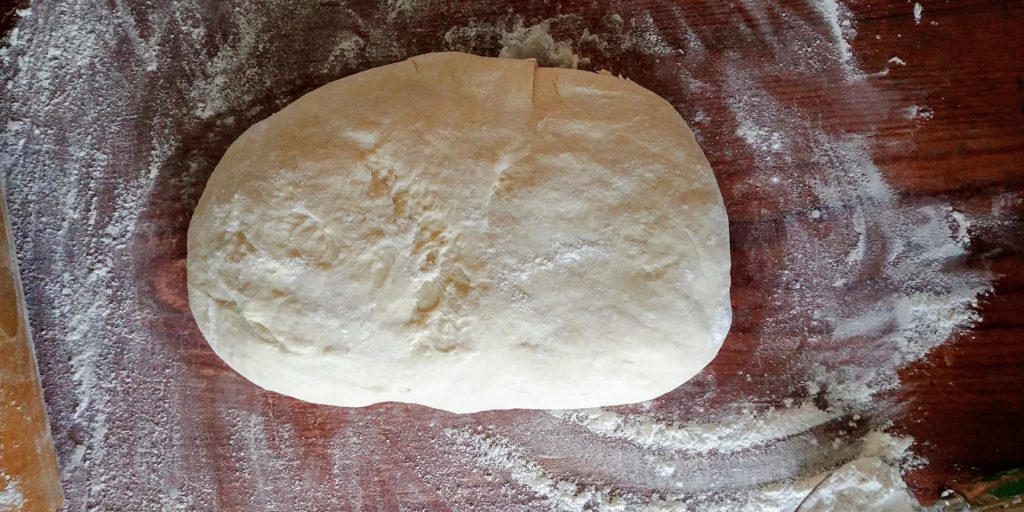
Sprinkle with a little more flour and begin rolling with a floured rolling pin. This will take a bit of elbow grease (what a weird saying). You want the finished product to be about 15 inches by 18 inches. At first it will seem that this is an impossible task but keep at it. Press down firmly while rolling and change directions frequently.
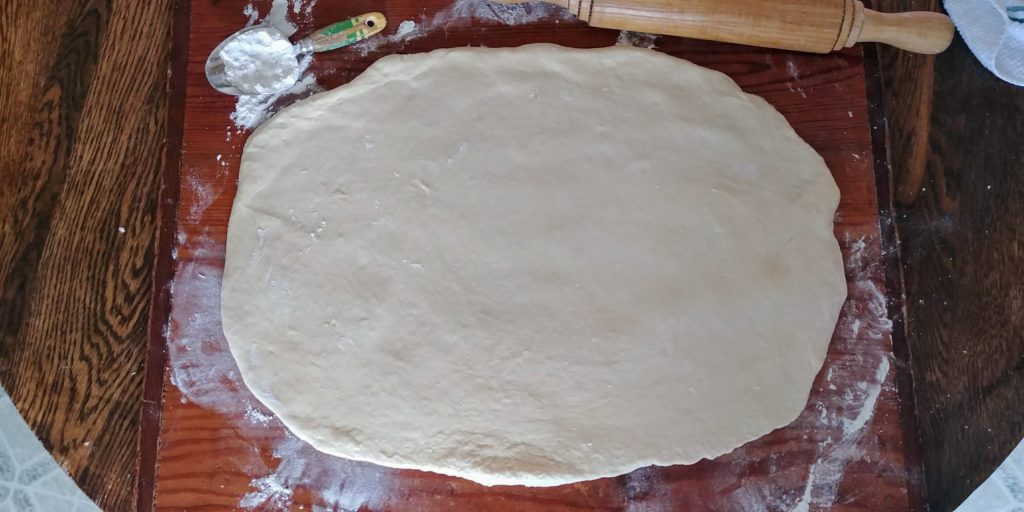
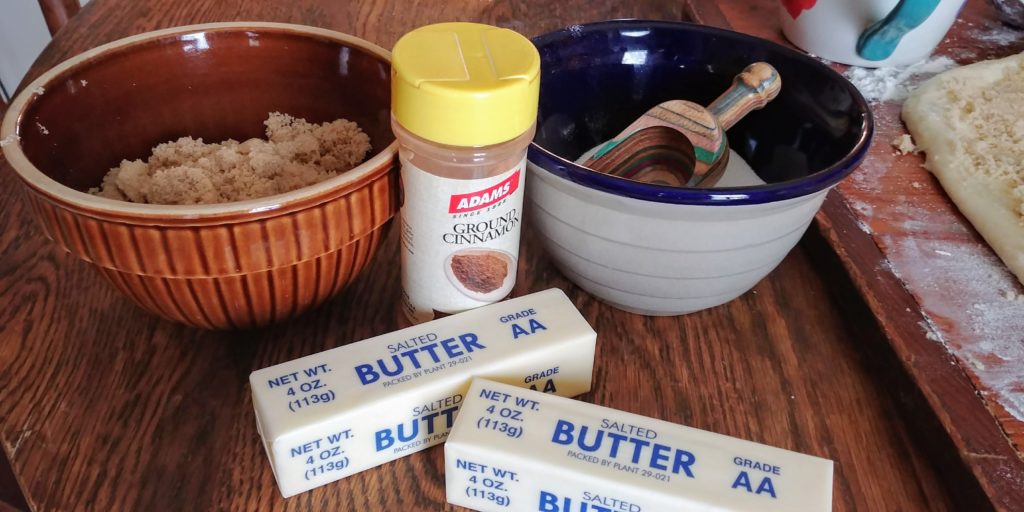
When you have it all rolled out, spread the melted butter as evenly as you can over the dough stopping about ½ inch short of the edges.
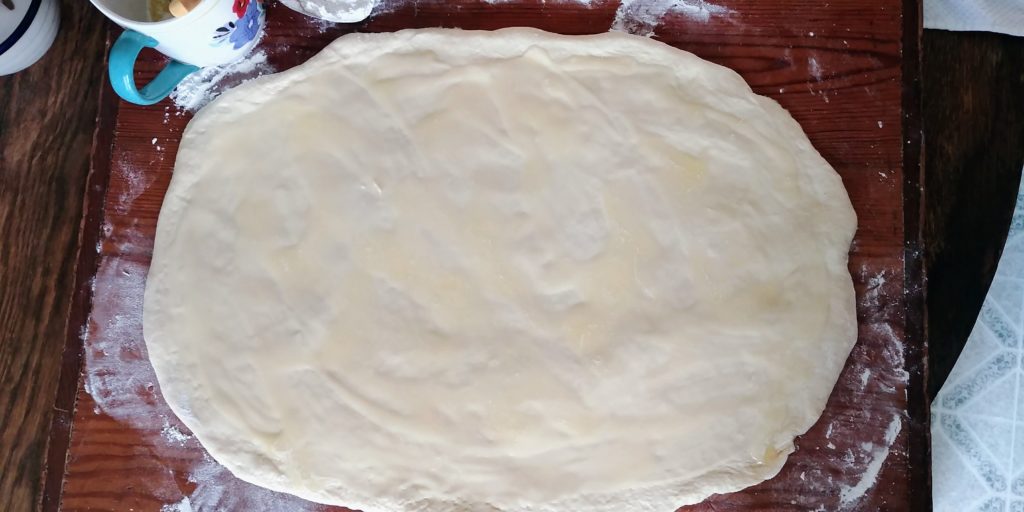
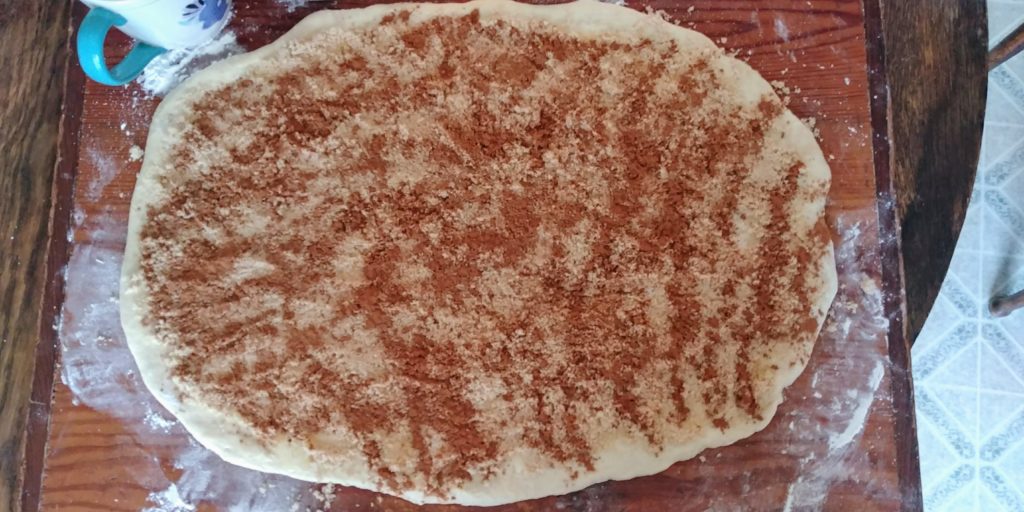
Sprinkle the white sugar over the melted butter. Use as much as you like.
Sprinkle the brown sugar over the white sugar. Again, use as much as you like.
Sprinkle the cinnamon over everything.
Carefully, beginning on the longer side, roll the dough and filling as tightly as you can. This can be tricky but take your time and adjust the roll as needed.
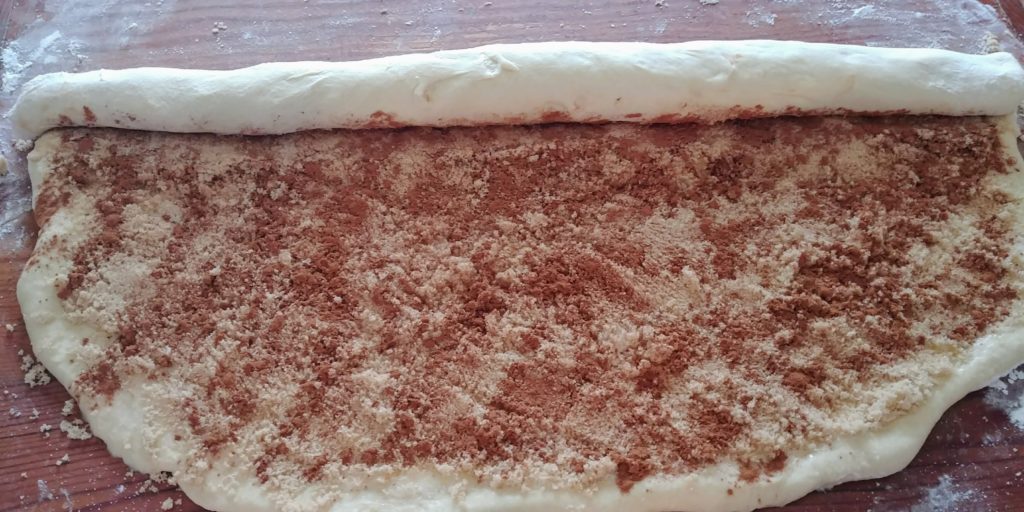
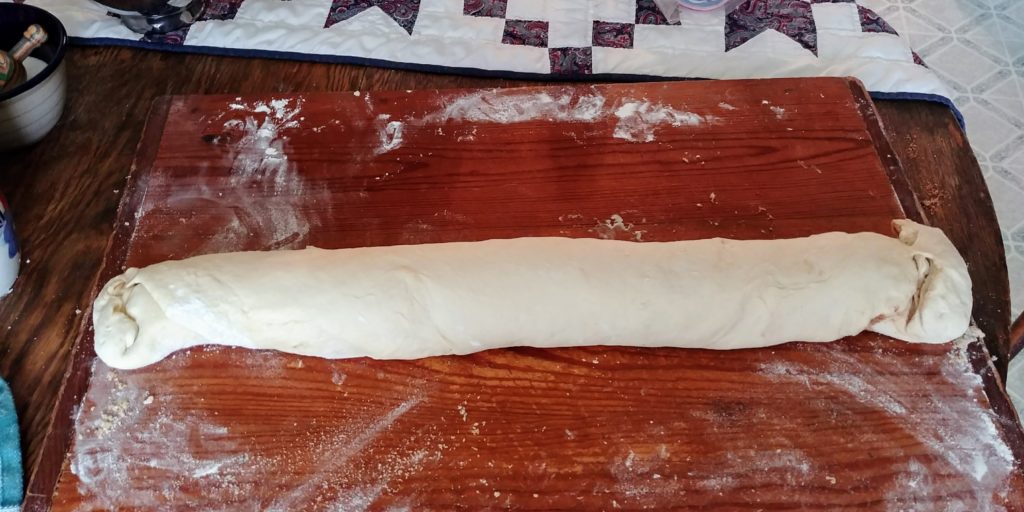
When you have it all rolled up, carefully relocate to a large cookie sheet that has been lined with parchment paper and sprayed with cooking spray. Try to situate the roll so that the seam is underneath. I have found that an oval shape works best but circular is good too. I think that next time I will just leave it straight and use my larger baking sheet. Seal the ends up as best you can and overlap them slightly.
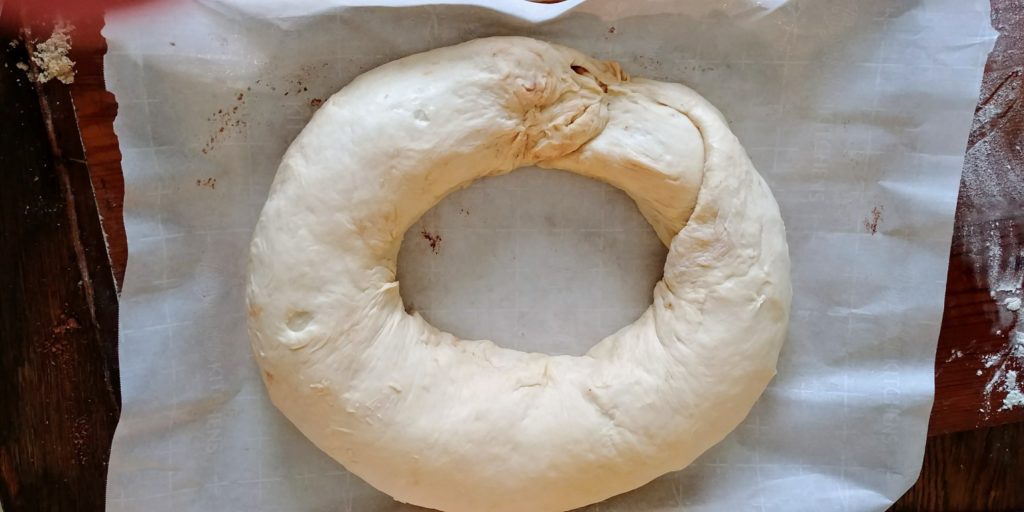
Make shallow cuts in the dough about 1 inch apart as shown here. Cover the Tea Ring at this point and place in a warm spot for about 30 minutes or until it rises a bit.
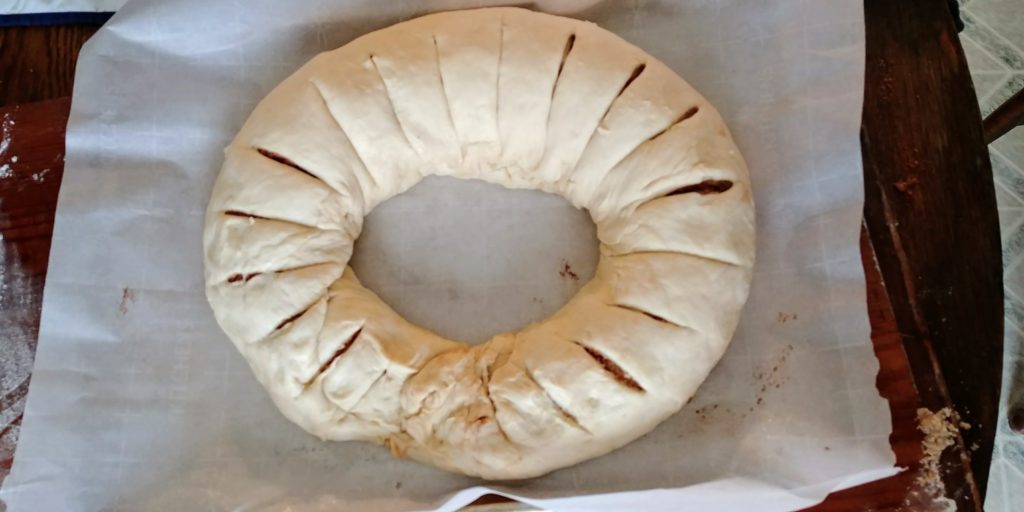
Uncover the Tea Ring and place in the preheated oven. Bake for about 15 or 20 minutes. The baking times vary wildly for this recipe. Watch it closely. You want it to be just very slightly browned. It is ok for the Tea Ring to look just a little raw when you remove it but not too much so. It will continue to bake a bit after you remove it from the oven. I poke around in the middle of the fattest part of the Tea Ring to test. The last time that I made this recipe it took 15 minutes but this time it took considerably longer. It all depends on how fat your roll is and how much filling you have. If you need to leave it in the oven longer than expected cover loosely with foil so that it does not brown too much.
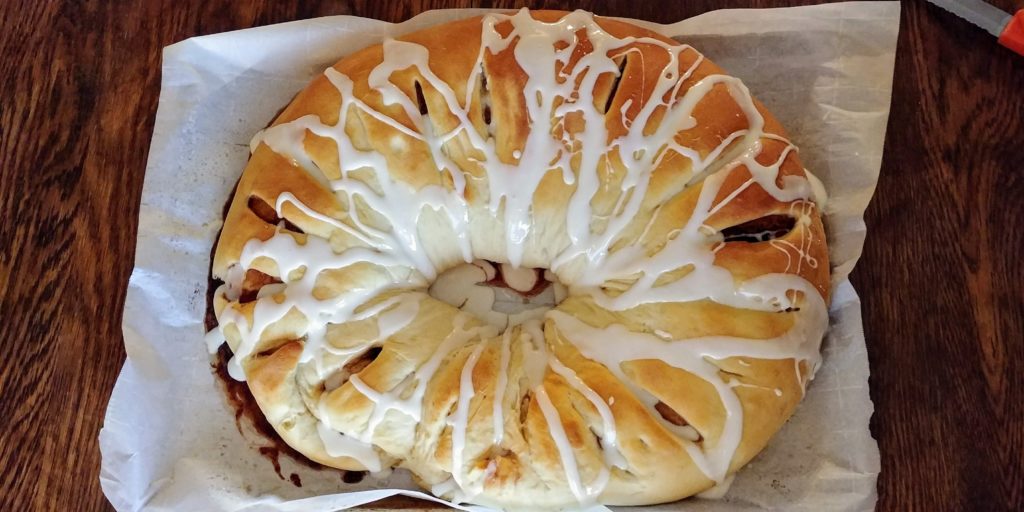
Once you are satisfied with the baking remove from the oven. Allow to cool for about 15 minutes.
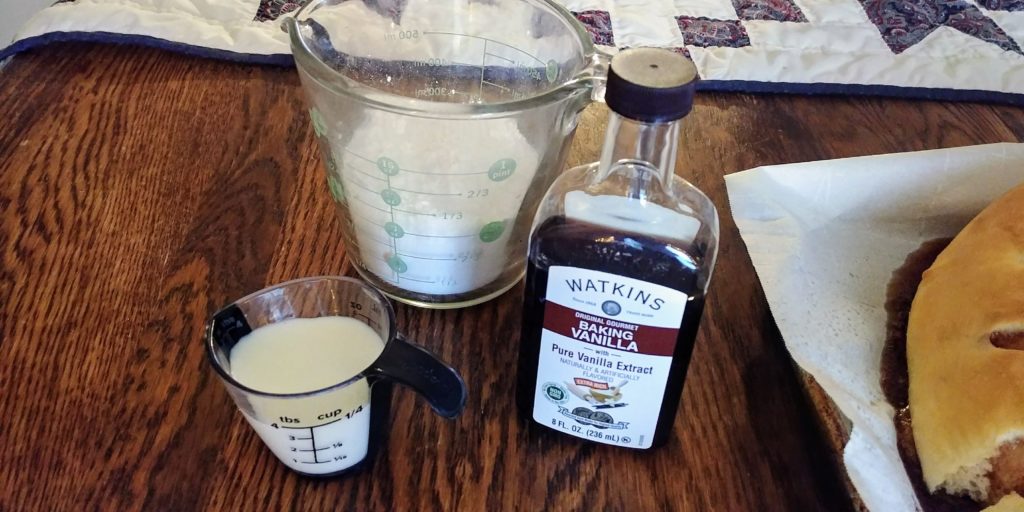
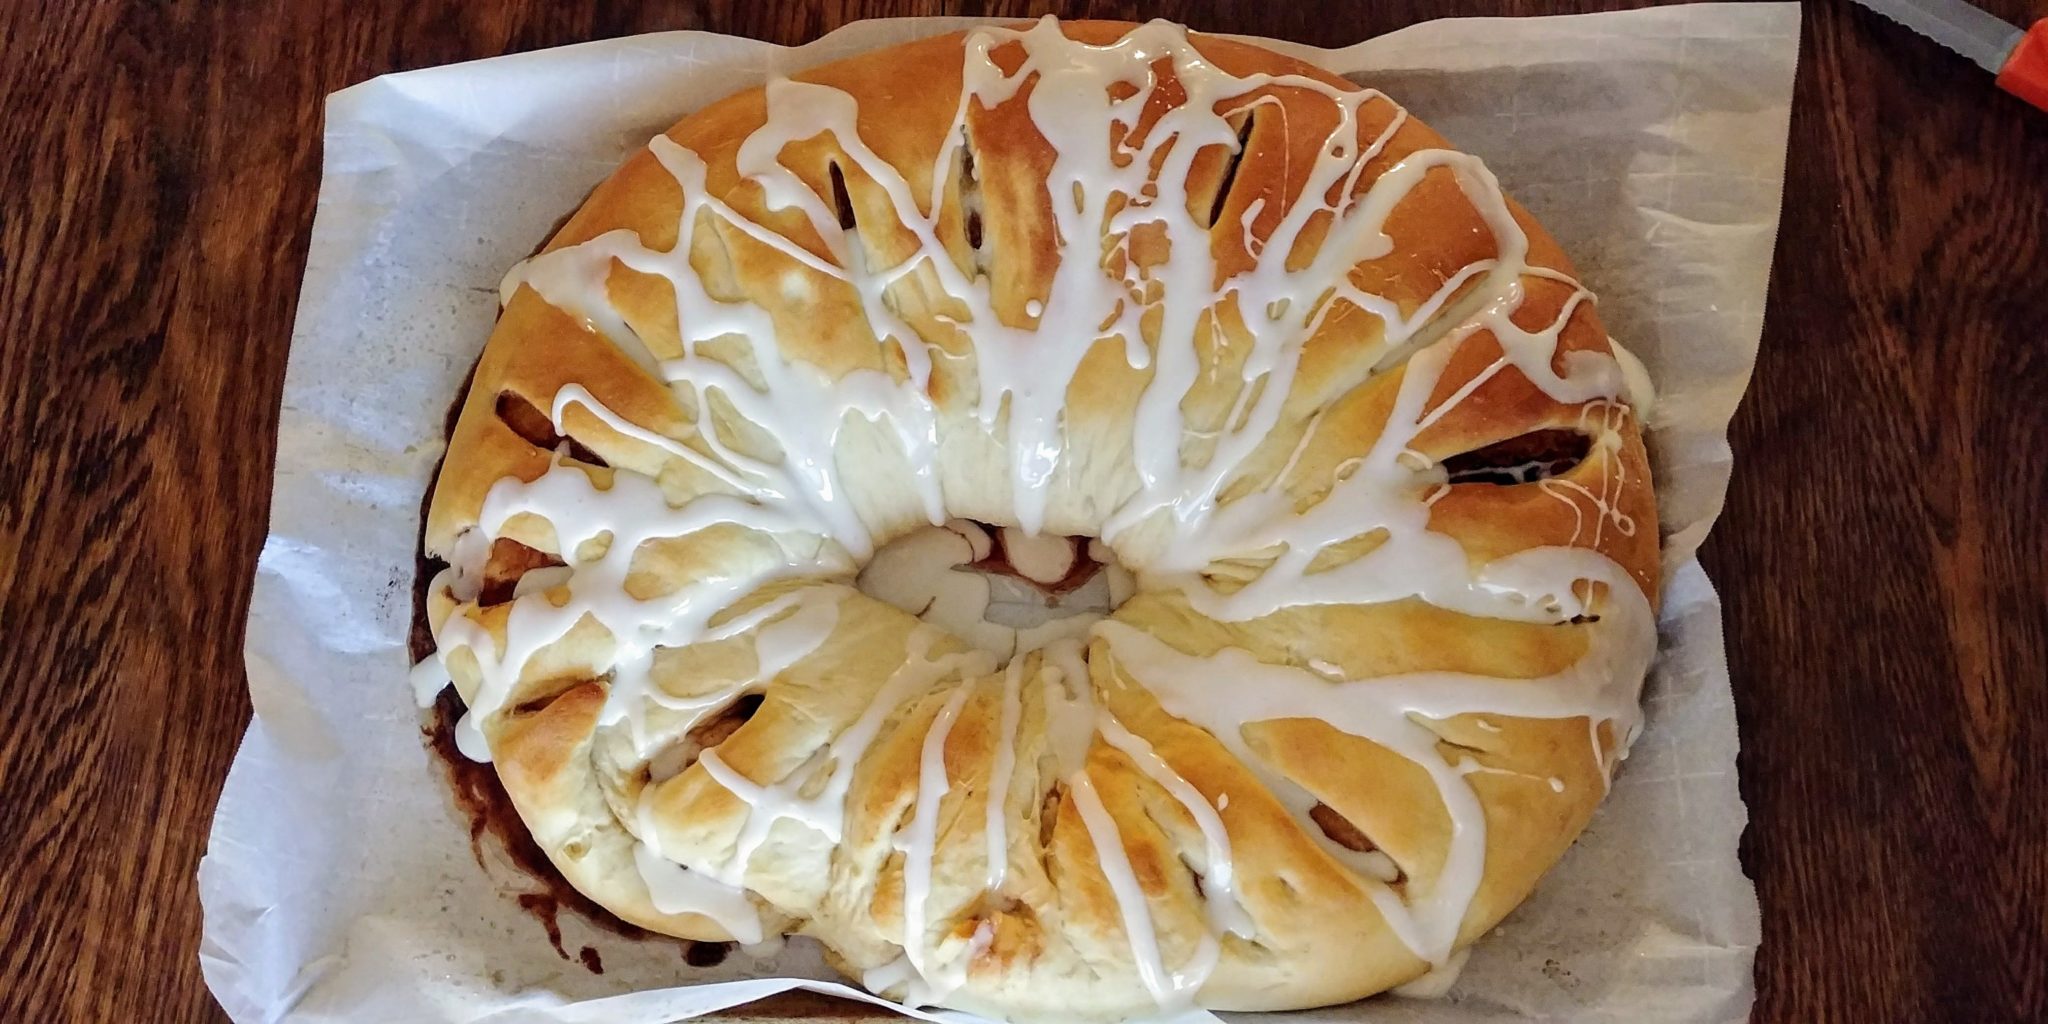
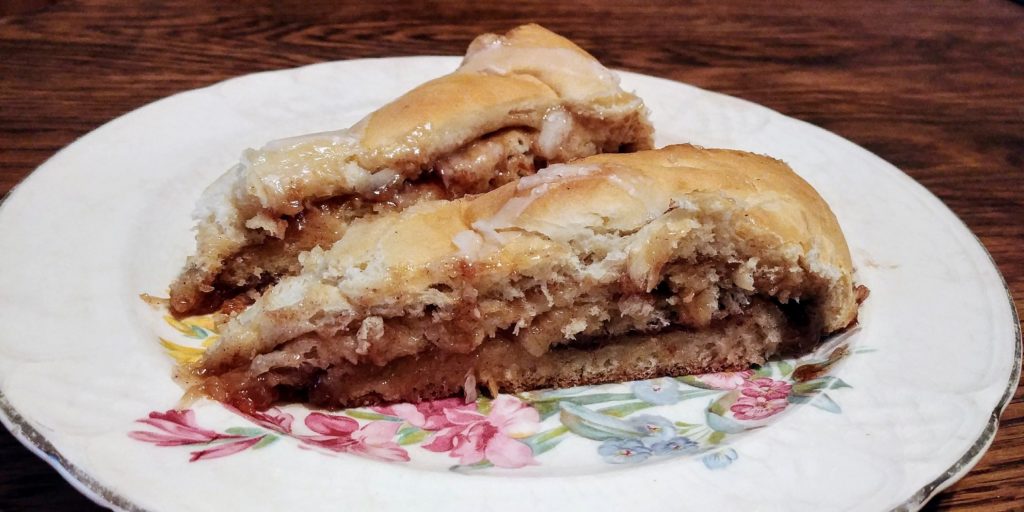
Meanwhile, mix the glaze ingredients until smooth and drizzle over the Tea Ring. Slice and enjoy! This keeps very well in an airtight container for several days on the counter. The Tea Ring is much like a giant cinnamon roll but more ooey-gooey. It can also be dressed up for a show-stopping presentation that is just right for potlucks and holiday gatherings.
Before I leave for today I want to give a very proud mom shout-out to my son, Alex. He has recently joined the ranks as a writer for the St. Louis Bullpen blog. He just published his first post, Go Crazy, Folks and I have to say that it is fantastic. Please check it out. Aaaannnddd…he has taken on this creative role while finishing his last semester at SLU Law! Both of my boys are super talented and smart. Yeah, I am a bit smug about it, but more than that I am incredibly proud of both of them! Congratulations Alex! Well done!
Tea Ring
The Tea Ring is much like a giant cinnamon roll but more ooey-gooey. It can also be dressed up for a show-stopping presentation that is just right for potlucks and holiday gatherings.

Ingredients
- Tea Ring:
- 2 packages quick rise yeast
- 2 1/2 cups warm water
- 3/4 cup sugar
- 3/4 cup shortening (Crisco)
- 2 1/2 teaspoons salt
- 7 cups flour
- 2 beaten eggs
- Filling:
- 1 stick butter, melted
- 1 cup (or more) brown sugar
- 1 cup (or more) sugar
- cinnamon (to taste)
- Glaze:
- 1 1/2 cups powdered sugar
- 3 to 4 Tablespoons heavy cream or milk
- 1 teaspoon vanilla
Directions
- Step 1 Dissolve the yeast packets in warm water (around 100 degrees) along with 1 teaspoon of the sugar. Let this mixture sit until the yeast activates and a foam develops on the top of the liquid. Set aside.
- Step 2 Mix the shortening and remaining sugar in a large bowl with a hand mixer or stand mixer. A stand mixer works better for this recipe since a dough hook is recommended toward the end of mixing.
- Step 3 Add the eggs and salt and mix well.
- Step 4 Switch from paddle beater to a dough hook now if you want.
- Step 5 Add the flour a little at a time alternating with small amounts of the yeast mixture.
- Step 6 When all of the flour and liquid have been added continue to mix on high speed until a nice elastic dough has formed and pulled away from the edge of the bowl slightly. If the dough is still too sticky add 1/2 cup more flour.
- Step 7 Cover the dough in the bowl and refrigerate for 3 hours minimum.
- Step 8 Remove the dough from the refrigerator and preheat the oven to 350 degrees.
- Step 9 Pull it from the bowl and place on a lightly floured surface.
- Step 10 Sprinkle the dough ball with a little flour and knead it gently. I usually fold mine over about 5 times. Make sure that your dough ball is no longer sticky and looks smooth.
- Step 11 Sprinkle with a little more flour and begin rolling with a floured rolling pin. You want the finished product to be about 15 inches by 18 inches and rectangular.
- Step 12 Spread the melted butter as evenly as you can over the dough stopping about ½ inch short of the edges.
- Step 13 Sprinkle the white sugar over the melted butter. Use as much as you like.
- Step 14 Sprinkle the brown sugar over the white sugar. Again, use as much as you like.
- Step 15 Sprinkle the cinnamon over everything.
- Step 16 Carefully, beginning on the longer side, roll the dough and filling as tightly as you can into a long cylinder shape.
- Step 17 Carefully relocate to a large cookie sheet that has been lined with parchment paper and sprayed with cooking spray. Make sure to place the seam side down.
- Step 18 Arrange the roll into a circular or oval shape if desired.
- Step 19 Make shallow cuts in the dough about 1 inch apart.
- Step 20 Cover the Tea Ring and place in a warm spot for about 30 minutes to rise.
- Step 21 Uncover the Tea Ring and place in the preheated oven. Bake for about 15 or 20 minutes. Watch carefully. It should be just slightly browned but not too doughy in the middle. You can cover loosely with foil and bake up to 10 minutes longer if the middle is not done enough.
- Step 22 Remove from the oven. Allow to cool for about 15 minutes.
- Step 23 Mix the glaze ingredients until smooth and drizzle over the Tea Ring.
