Hi Everybody! The Kitchen Wench is back from a short hiatus. You know how life gets crazy sometimes? At least, my life gets crazy. Most of the time, I can handle it. I’m a world-class multitasker. I actually feel weird if I am not doing more than one thing at a time. Lately, however, I have been trying to juggle too many bowling balls and got whacked on the head a few times. So, I have had to put a couple of things on the back burner (Ha! See how I stuck that cooking reference in there?) Unfortunately, blog posts had to be put aside briefly. I was still cooking and baking…a lot…so I have some recipes to share as soon as I can get all the production work done. The one that I am sharing today is a doozy and I have been anxiously awaiting a time when I could share it.
One of the bowling balls that has been hovering over my head was a move of my younger son, Alex. He has some very dear friends who offered to rent a cute little house to him. He jumped at the chance. He loved his apartment in downtown St. Louis. It had an amazing view and was within walking distance of Busch Stadium and lots of other great places. But it was a pretty small studio apartment and he was craving some more space. So, we spent weeks preparing for the move. We quickly discovered that there is a huge difference in the amount of furniture needed for a studio apartment and a 2-bedroom house. We began collecting furniture from family and second-hand stores and purchased a few new items. Alex had collected kitchen and decor items and stored them in our basement. We sorted through boxes and found lots of stuff that he could use in his new home. Sometimes, it pays to be a packrat. Everything was moving along pretty smoothly until Alex had a car accident the week before the move and consequently totaled his car. Well, then, we had to scramble to get all the insurance stuff taken care of and get a rental car for him. Fortunately, he wasn’t hurt. If I ever catch the semi driver who forced him off the road and into the guardrail, I am gonna do some serious butt kicking, though. You know that the guy didn’t even stop to see if anyone was hurt? Jerk. And then, the weekend that we had chosen to move, the weather became terrible with bitter cold and snow. Thank goodness for the family and friends who came to help (Nino, Patricia, Gigi
And, this recipe always brings Alex to my mind, so I thought it appropriate to share it today. You see, I developed this by accident – or rather by good fortune. I had promised Alex that I would make a special treat for him to share with his co-workers for this birthday. I ran a few choices by him, and he decided on a recipe that I am sure you have seen online or on Pinterest. It is called Knock You Naked Brownies and they do look fantastic. So, I got ready to make them and discovered that I did not have the correct ingredients. Well, then I was in a pickle. I don’t live all that close to a grocery store and I was running short on time. I looked at the ingredients that I did have in my pantry and decided to come up with my own similar recipe. I was pretty unsure about the result. I sent the whole pan back to Missouri with Alex without even testing them. The next weekend when I saw Alex again, he brought up the brownies. I was awaiting the negative review, but he said that they were the best thing I ever made. He said that he left them in a common area of his office where he could hear his co-workers’ reactions and there were many moans and exclamations of delight. Needless to say, I was incredibly happy and made another batch asap so that I could write down the measurements and method before I forgot.
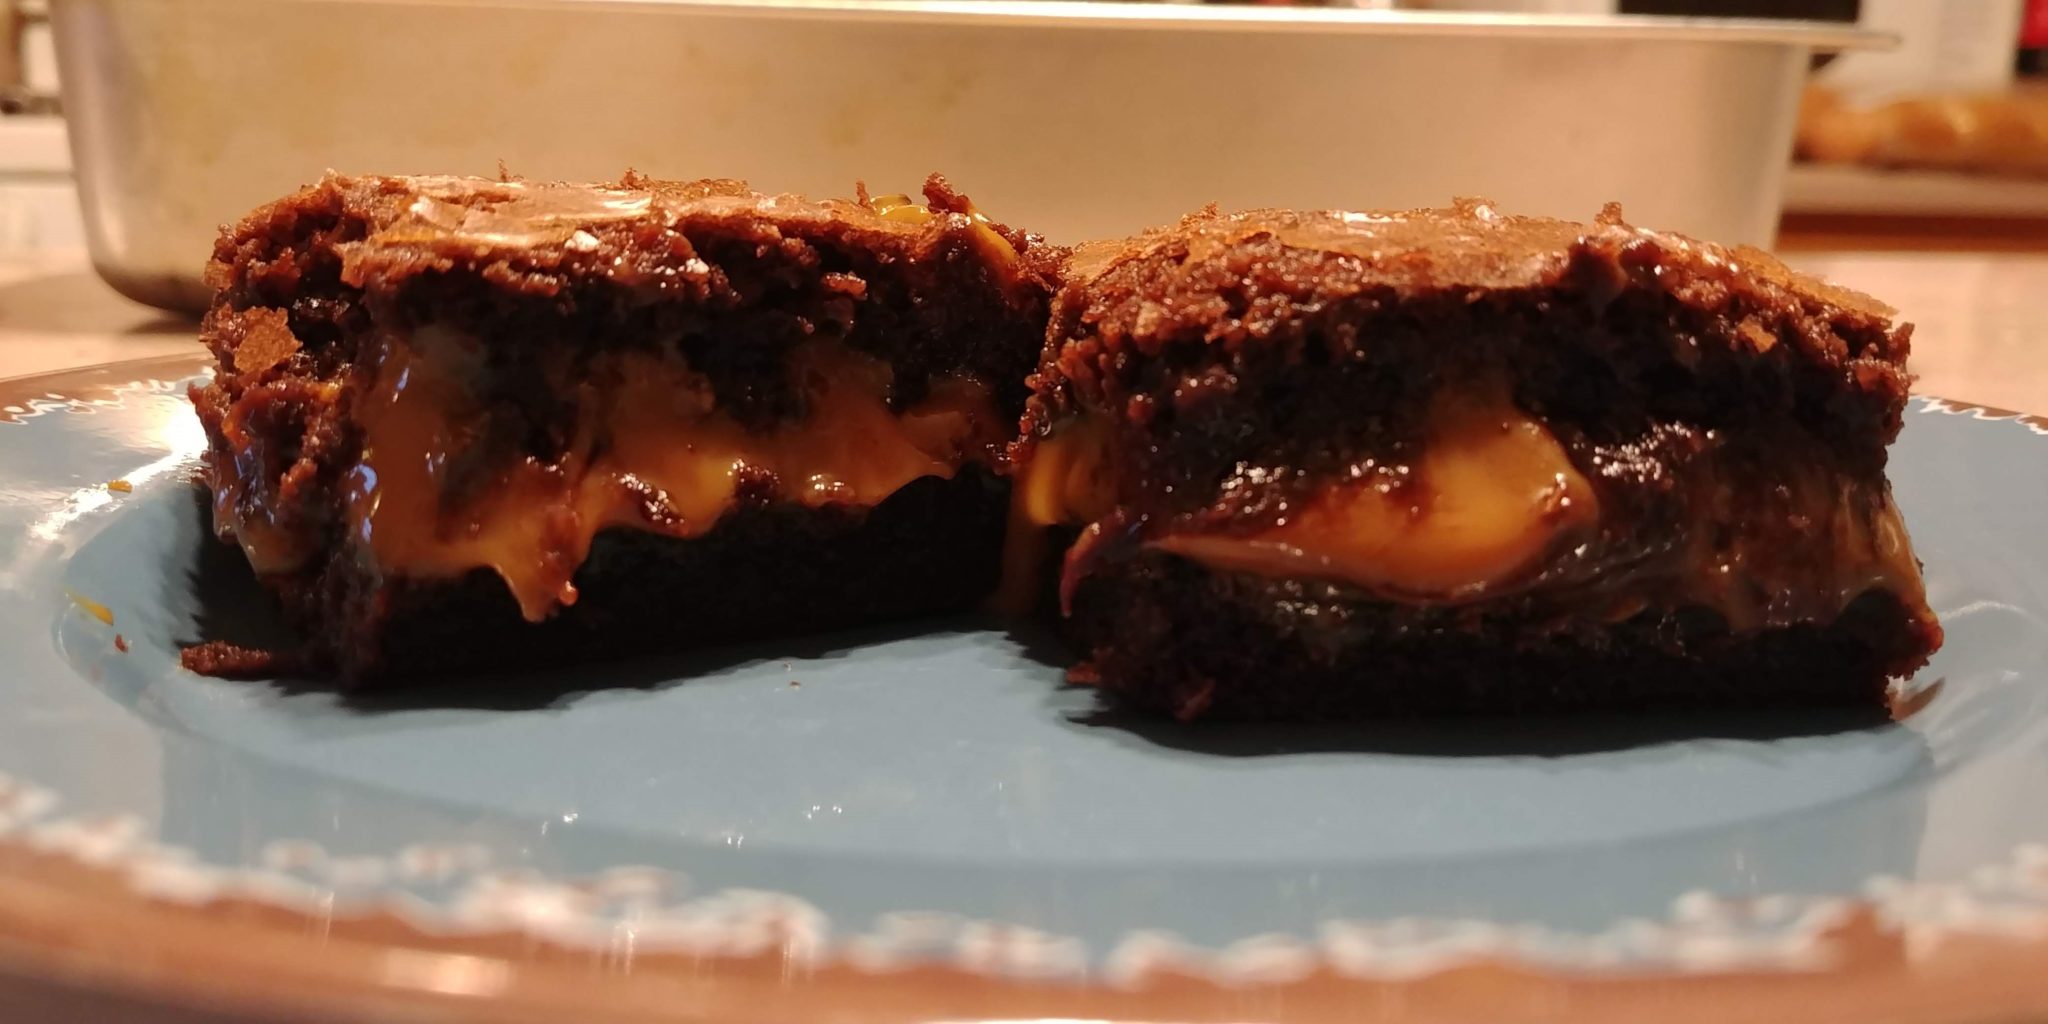
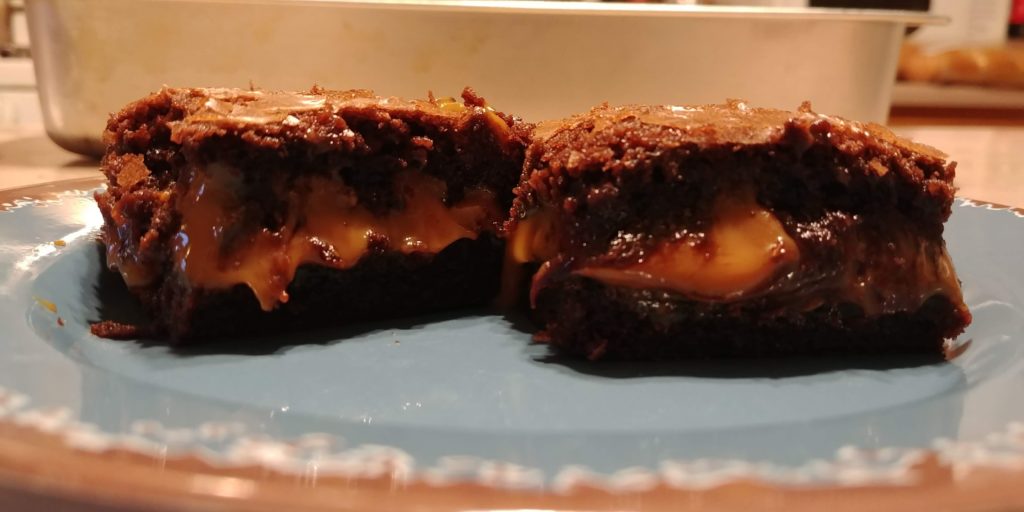
I’m not sure exactly what magic happens in these brownies but the filling and brownie layers morph into a wonderful ooey-gooey and decadent love potion. They are wonderful the first day but get better and better over time. And, they last for days and days on the counter! That magnificent filling keeps the brownie layers from drying out. They are
You will need 2 box brownie mixes and the oil, water
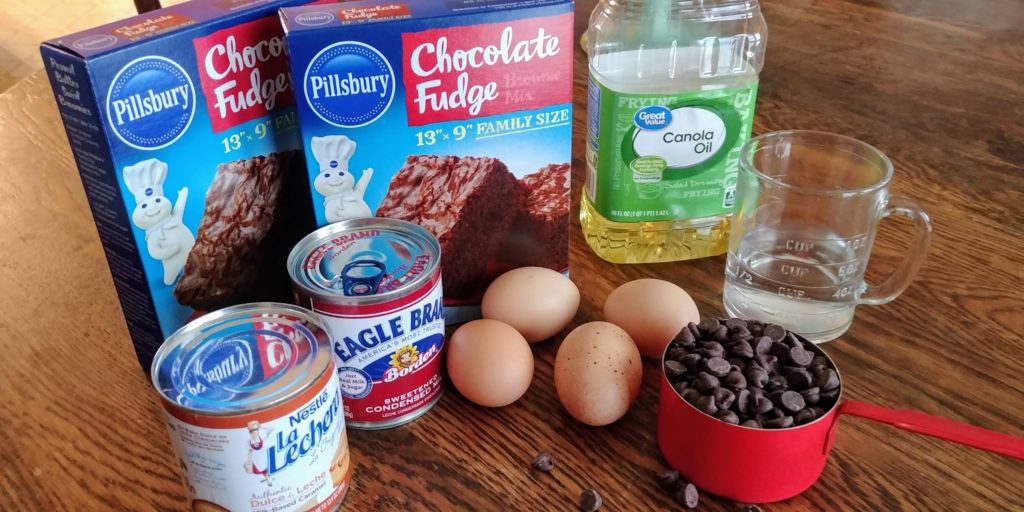
To begin
Mix up both boxes of brownies in a large bowl with 1 ⅓ cups of canola or vegetable oil, 4 large eggs
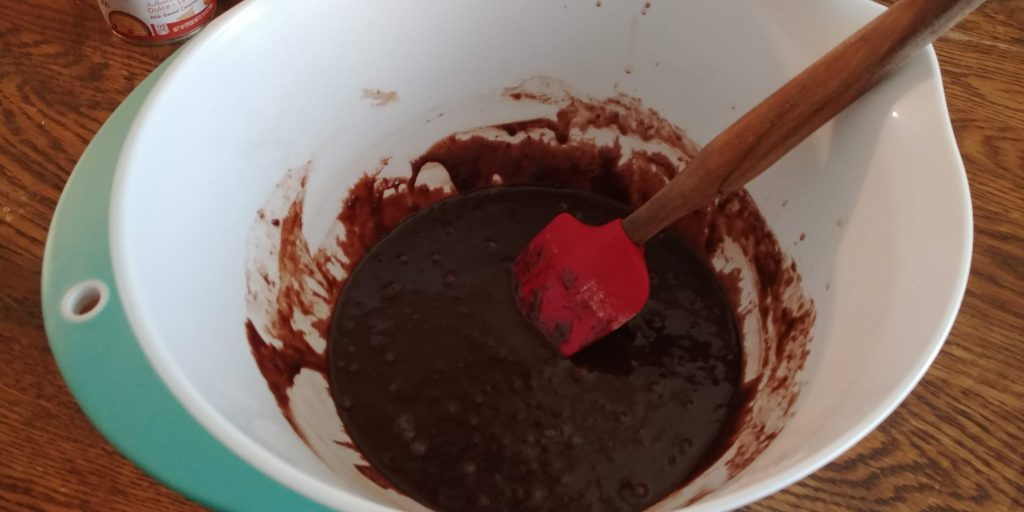
Spread half of the batter in the prepared pan. Bake for 18 minutes. Remove the pan from the oven and let it sit on the counter for 20 minutes to cool a bit. They will not be fully baked but that’s okay.
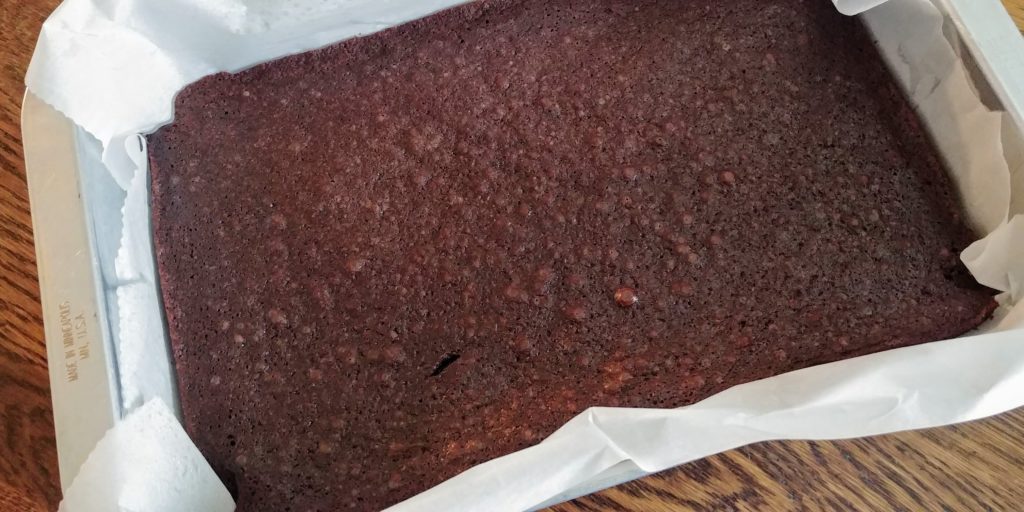
While that layer is cooling, make the filling. In a small bowl or large measuring cup stir together the dulce de leche and sweetened condensed milk until well combined.
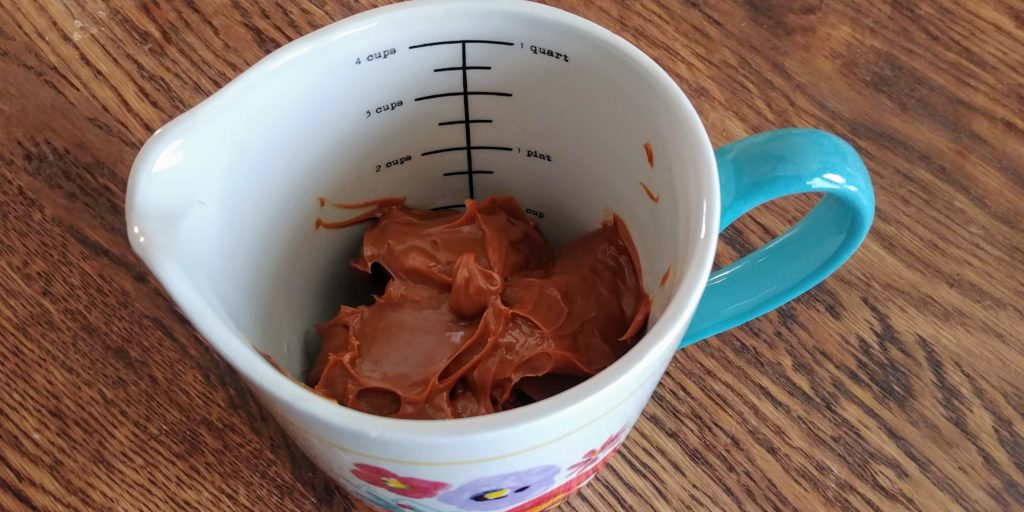
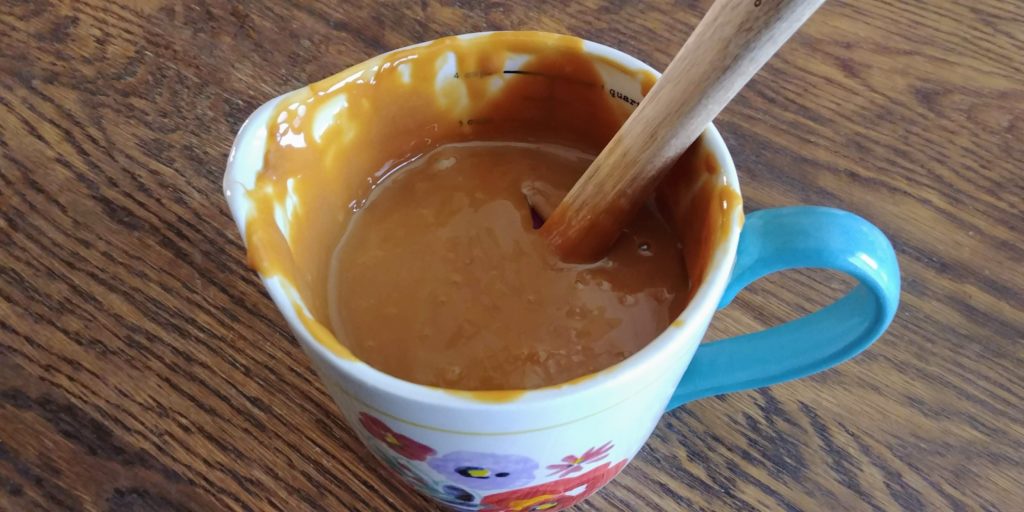
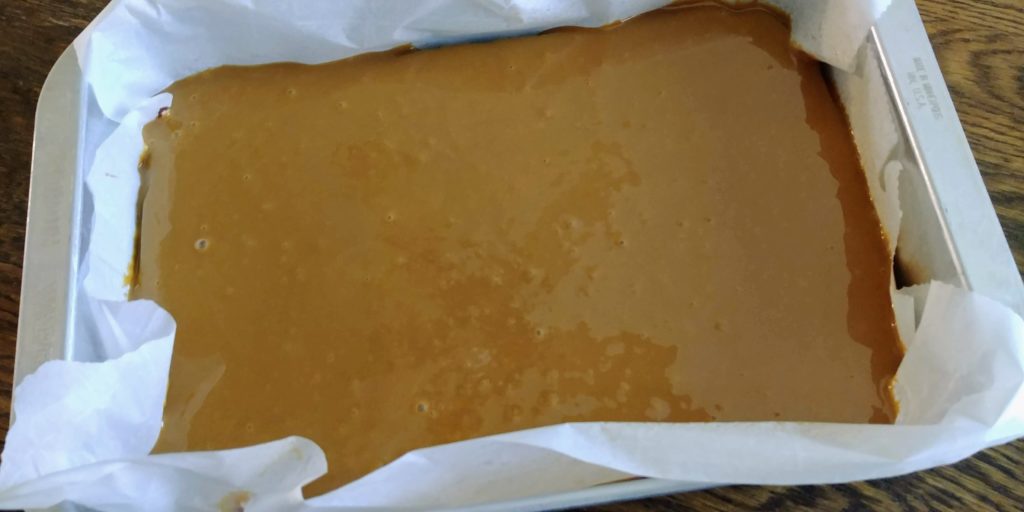
When the 20-minute cooling time is up, carefully pour the
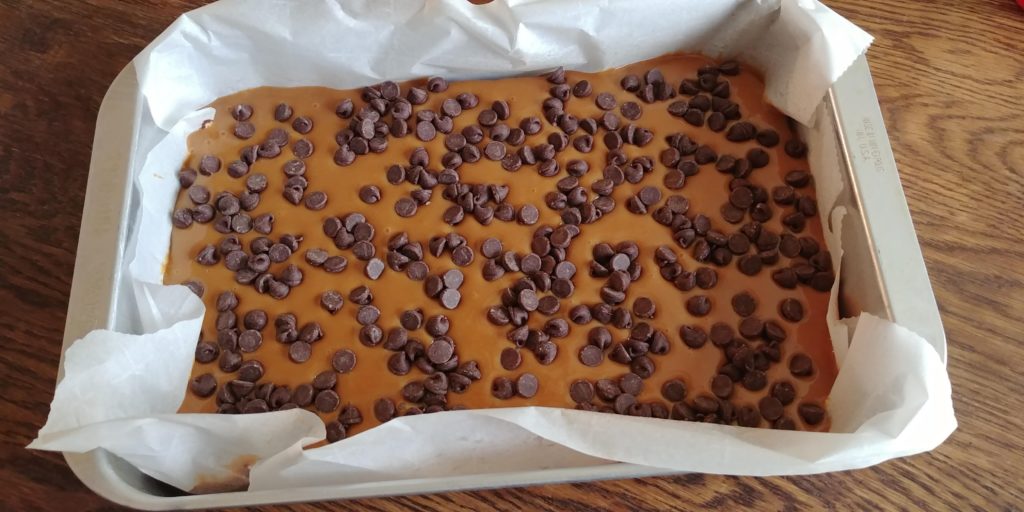
Spread the remaining brownie batter over all of this deliciousness. Go slow and carefully spread to cover all the filling all the way to the edges.
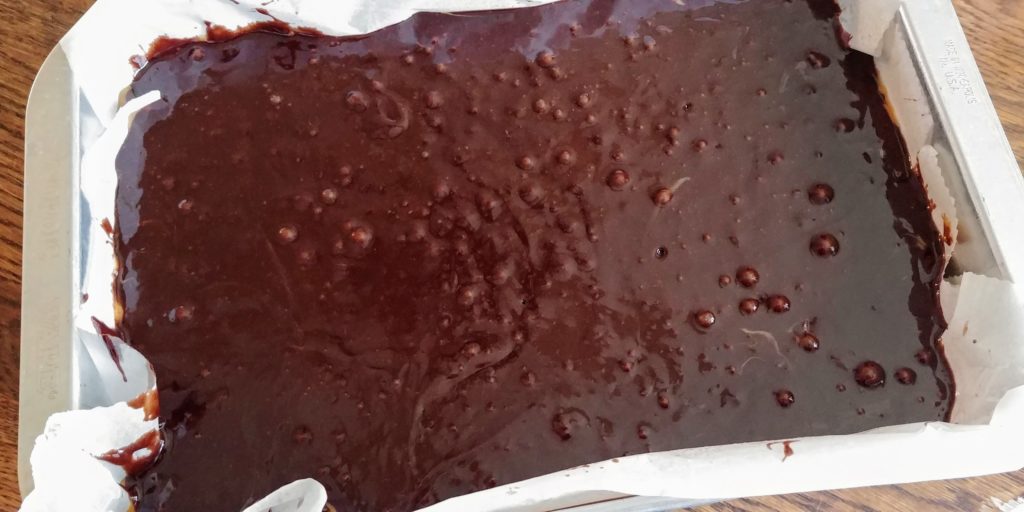
Pop the brownies into the still-hot oven and bake for 45 to 55 minutes. My oven usually takes the whole 55 minutes. You want for the middle of that top layer of brownies to be set with no liquidy spots. The toothpick test really does not work in this instance because the filling will always be gooey and look underdone. Remove them from the oven and let them sit on the counter for 30 minutes and then chill the brownies in the frig for 1 – 2 hours.
After they have chilled you can remove the brownies from the pan using the parchment handles. Cut the brownies into squares (how big is your choice, of course) and serve with some nice cold milk and a side of smug satisfaction in the knowledge that you are going to blow everyone’s minds.
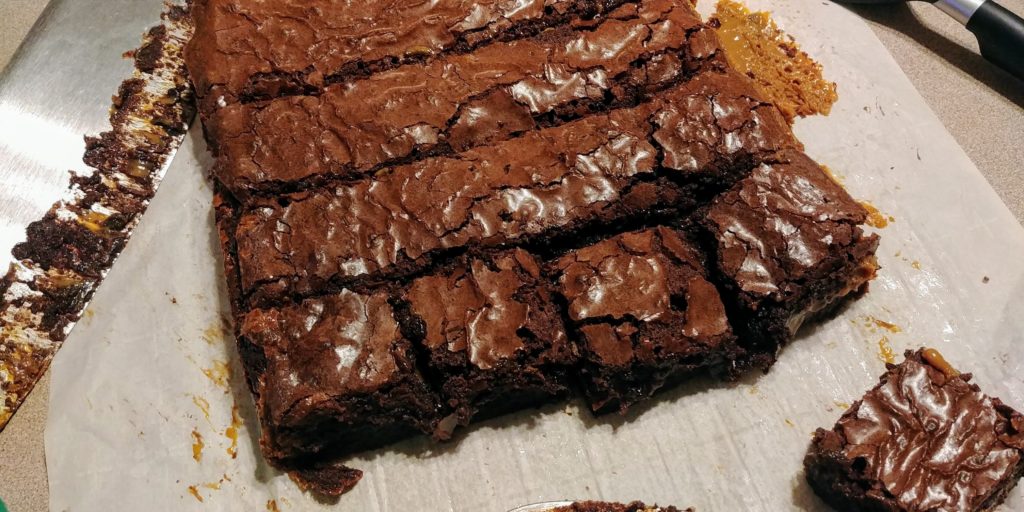
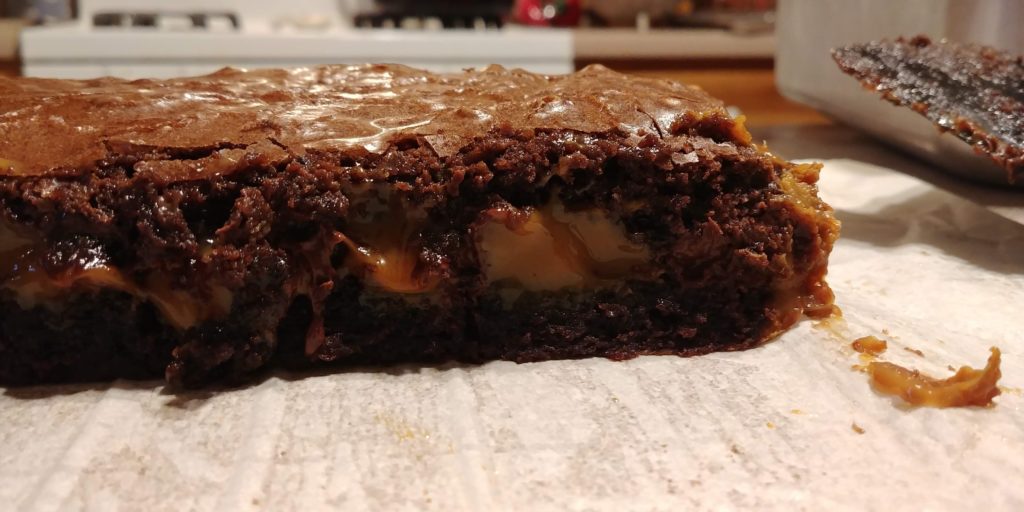
Seriously, prepare for oohs and aahs and looks of ecstasy. These are not your ordinary caramel brownies. The fudgy brownie layers encase a divine, smooth caramel and melted chocolate mixture that softens the brownie to create an out of this world texture and flavor.
These are not your ordinary caramel brownies. The fudgy brownie layers encase a divine, smooth caramel and melted chocolate mixture that softens the brownie to create an out of this world texture and flavor.
Ingredients
- 2 family-sized boxes fudge brownie mix
- 1 1/3 cups canola or vegetable oil
- 4 large eggs
- 1/2 cup water
- 1 can (13.4 oz.) Dulce De Leche (can find in the Hispanic foods area of the grocery store)
- 1 can (14 oz.) sweetened condensed milk
- 1 cup semi-sweet chocolate chips
Instructions
- Line a 9 X 13 baking pan with parchment paper and spray the paper with cooking spray. Make sure that the paper hangs over the ends of the pan to act as handles to lift the brownies from the pan.
- Preheat the oven to 350 degrees.
- Mix up both boxes of brownies in a large bowl with 1 1/3 cups of canola or vegetable oil, 4 large eggs, and ½ cup of water. Spread 1/2 of the batter into the prepared pan. Set the remaining batter aside.
- Bake for 18 minutes.
- Remove the pan from the oven and let it sit on the counter for 20 minutes to cool a bit. They will not be fully baked but that’s okay.
- During this cooling period, in a small bowl or large measuring cup, stir together the dulce de leche and sweetened condensed milk until well combined.
- When the 20-minute cooling time is up, carefully pour the caramel filling mixture over the first brownie layer and spread to cover from edge to edge.
- Sprinkle the 1 cup of semi-sweet chocolate chips evenly over the filling.
- Spread the remaining brownie batter over all of the layers. Go slow and carefully spread to cover all the filling all the way to the edges.
- Place the brownies into the still-hot oven and bake for 45 to 55 minutes until the top layer of brownie is set with no liquid spots.
- Remove the brownies from the oven and let them sit on the counter for 30 minutes and then chill them in the refrigerator for 1 – 2 hours.
- Remove the brownies from the pan using the parchment handles after chilling. Cut the brownies into squares.
- These keep well on the counter with no further need for refrigeration.

